Authentication
Hey ,
I'm thrilled to help you learn JavaScript. Unfortunately, you've landed on a page where you cannot access with your current purchase.
Please upgrade (use this link) access this content.
I'm super eager to help you learn more!
Hey ,
I'm thrilled to help you learn JavaScript. Unfortunately, you've landed on a page where you cannot access with your current purchase.
Please upgrade (use this link) access this content.
I'm super eager to help you learn more!
There are two ways to authenticate with JavaScript:
Basic authentication happens when you send your username and password to a server. The server will check whether your username and password are correct. If they are correct, the server gives you access.
To perform basic authentication in JavaScript, you need to send an Authorization header. The value should be Basic plus a base64 encoded string.
Base64 is a format to transfer binary data. Encoding is the process of converting text to a format like Base64. Decoding is the process of converting from a format like base64 back to text.
To convert text to Base64, you can use the btoa function. For authentication, we want to encode your username and password like this:
// Replace username with your username
// Replace password with your password
const encoded = btoa('username:password')
The Authorization header looks like this in XHR and Fetch.
// Authorization header with XHR
request.setRequestHeader('Authorization', `Basic ${encoded}`)

// Authorization header with Fetch
fetch('some-url', {
  headers: {
    Authorization: `Basic ${encoded}`
  }
})
Few APIs let you perform authentication from a browser. We’ll discuss why in a while.
Github is one of the rare APIs that let you authenticate yourself through a browser. Try to request for the following endpoint to fetch a list of your repositories. It will only be successful if you’re authenticated.
// Fetching your
fetch('https://api.github.com/user/repos', {
  headers: {
    Authorization: `Basic ${encoded}`
  }
})
OAuth (Open Authorization) is a stand for performing authentication and authorization. It requires more steps compared to basic authentication.
Authenticating is the process of verifying who you claim to be. The API verifies you by checking your username and password.
Authorization is the process of verifying whether you can perform the requested action. Think of it as parental rights. You may give your child access to the App store to download free things, but you don’t let them buy. If they try to buy something, they’ll get an error message.
There are three steps in the OAuth authentication process.
When you send a request with an access token, you need to set the Authorization header to Bearer plus the token.
// Authorization header with XHR
request.setRequestHeader('Authorization', `Bearer ${encoded}`)

// Authorization header with Fetch
fetch('some-url', {
  headers: {
    Authorization: `Bearer ${encoded}`
  }
})
As before, most APIs don’t let you authenticate yourself with OAuth through a browser. Github is the rare exception.
If you want to create an access token for Github, you can go to https://github.com/settings/tokens. Once you’re on the page, click on Generate new token. You will need to give a description for this token.
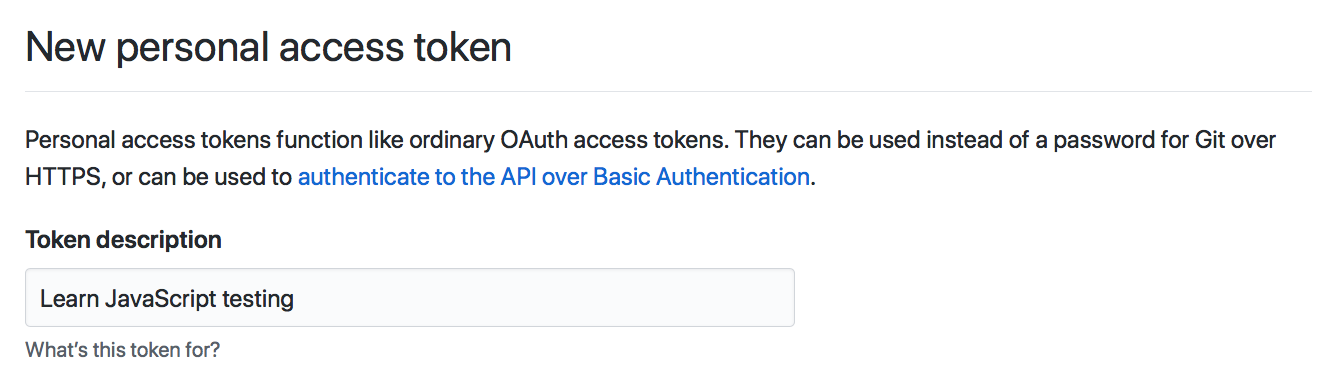
You can also choose what the person (or program) accessing Github with the token can do. This is called scopes.
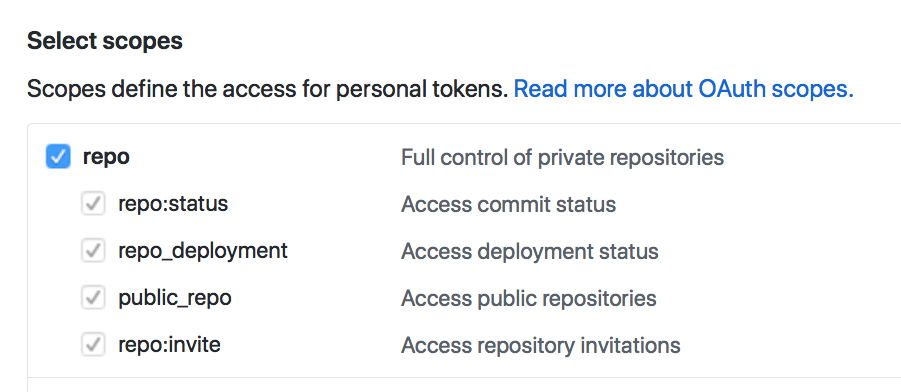
Scroll down and click on Generate token. You will see your token. Copy it immediately. You won’t be able to see it again.

Don’t give anyone access to your token to anyone. (More on this in a later next section). I’m only showing it to you because I want you to know how it looks like. You won’t be able to use it anyway because I deleted it already 😈.
Try sending a request again with the following link. Use your access token this time. You will only be able to fetch the request if you’re authenticated.
// Fetching your
fetch('https://api.github.com/user/repos', {
  headers: {
    Authorization: `Bearer ${token}`
  }
})
OAuth lets us create applications to log users in with a platform. Examples of such platforms include Facebook, Twitter, Google, and Github.
This process requires four steps.
JavaScript is not secure. Anyone can see your JavaScript if they visit your website. They can steal your credentials (username, password, or access token) if you put them in your JavaScript code.
When people steal your credentials, they can hurt you. For example, a friend leaked my Amazon access token by accident. I got surprised by a $60,000 bill for this mistake.
Lucky for me, I didn’t have to pay. Amazon decided to waive the fee off.
The moral of the story is: protect your credentials. Don’t let anyone steal it. Don’t authenticate through a browser.
If we don’t want anyone to steal our credentials, we need to authenticate through a server. Creating a server is out of scope for Learn JavaScript. We’ll go through it in a separate course.
If you’re curious, you can read why I chose to create a separate course for authentication.