🛠 Carousel: HTML and CSS
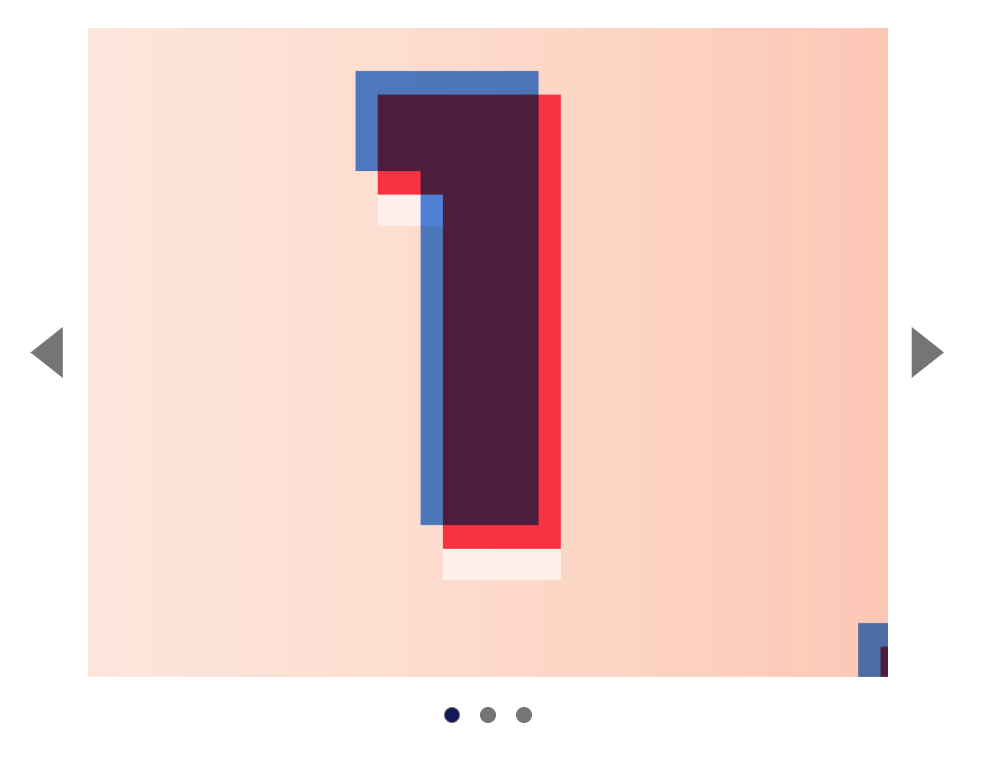
You’ll learn to build a carousel in this lesson. Here’s what it looks like:
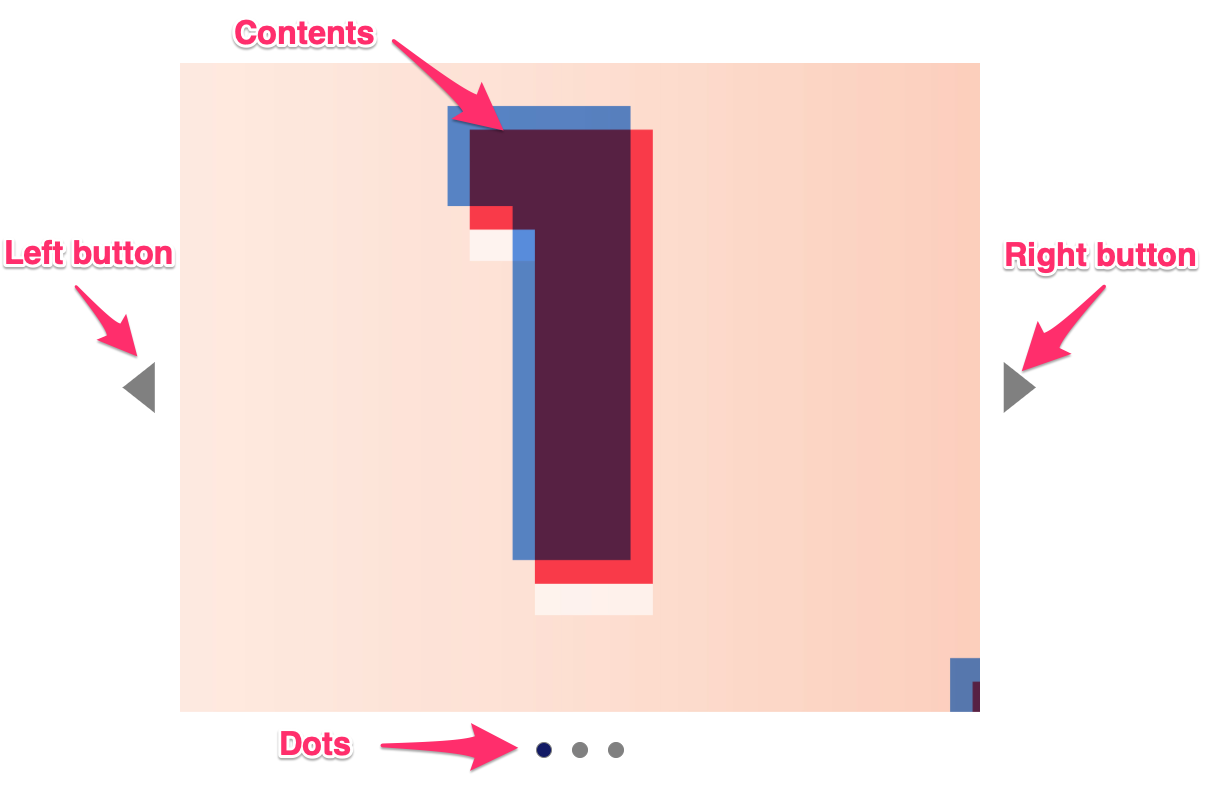
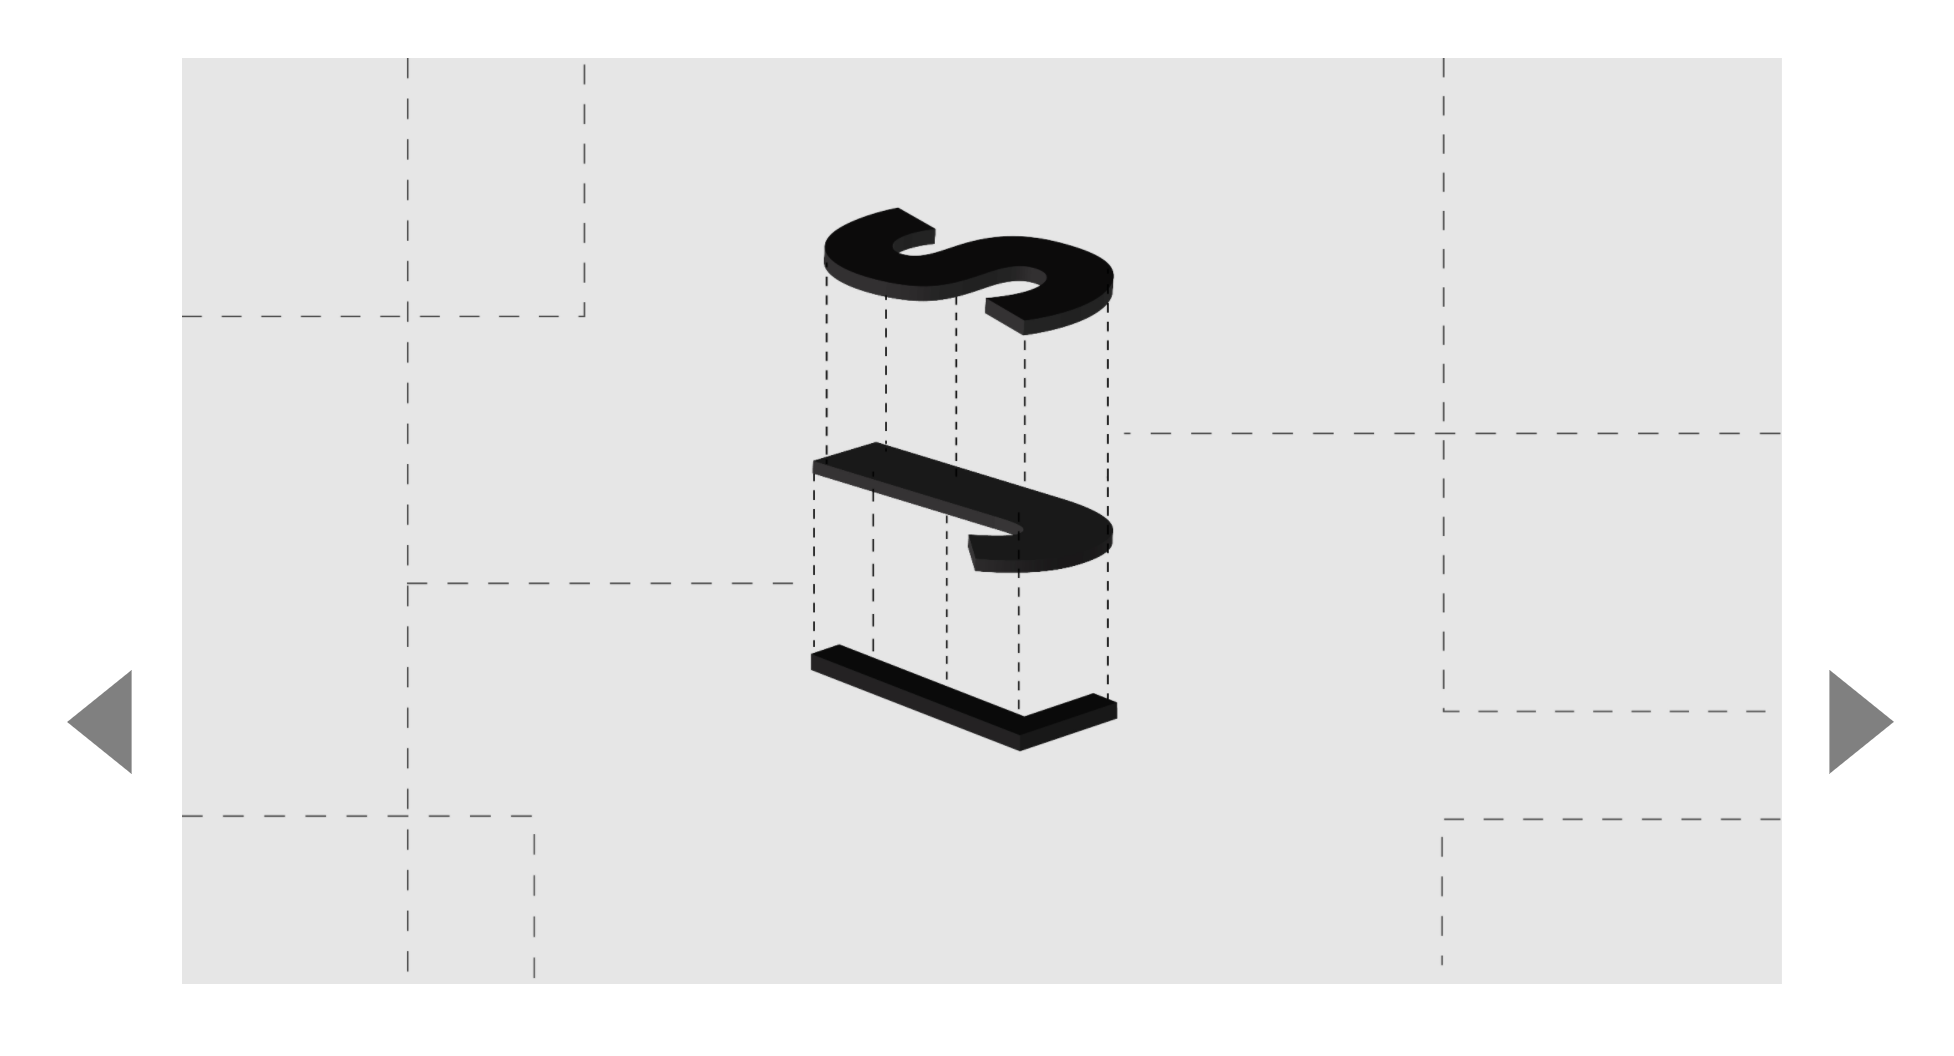
Anatomy of a carousel
Carousels (also called sliders) contain a list of content laid out in a horizontal manner. They contain four things:
A left button
A main content area for the content
A right button
Dots
Anatomy of a carousel
To build these four parts, you’ll need the following HTML:
<div class="carousel">
  <button class="carousel__button"> ... </button>
  <ul class="carousel__contents"> ... </ul>
  <button class="carousel__button"> ... </button>
  <div class="carousel__dots"> ... </div>
</div>
Contents of a carousel
The track container contains a list of content. Since there’s a list of content, you should use a list element (either <ul> or <ol>).
Let’s call each piece of content a slide .
<ul class="carousel__contents">
  <li class="carousel__slide"> ... </li>
  <li class="carousel__slide"> ... </li>
  <li class="carousel__slide"> ... </li>
</ul>
The carousel we are building contains one image per slide. The image links to another page on the website. Since the image links to another page, they are wrapped with an anchor tag.
<li class="carousel__slide">
  <a href="#link-to-somewhere">
    <img src="images/image.jpg" alt="">
  </a>
</li>
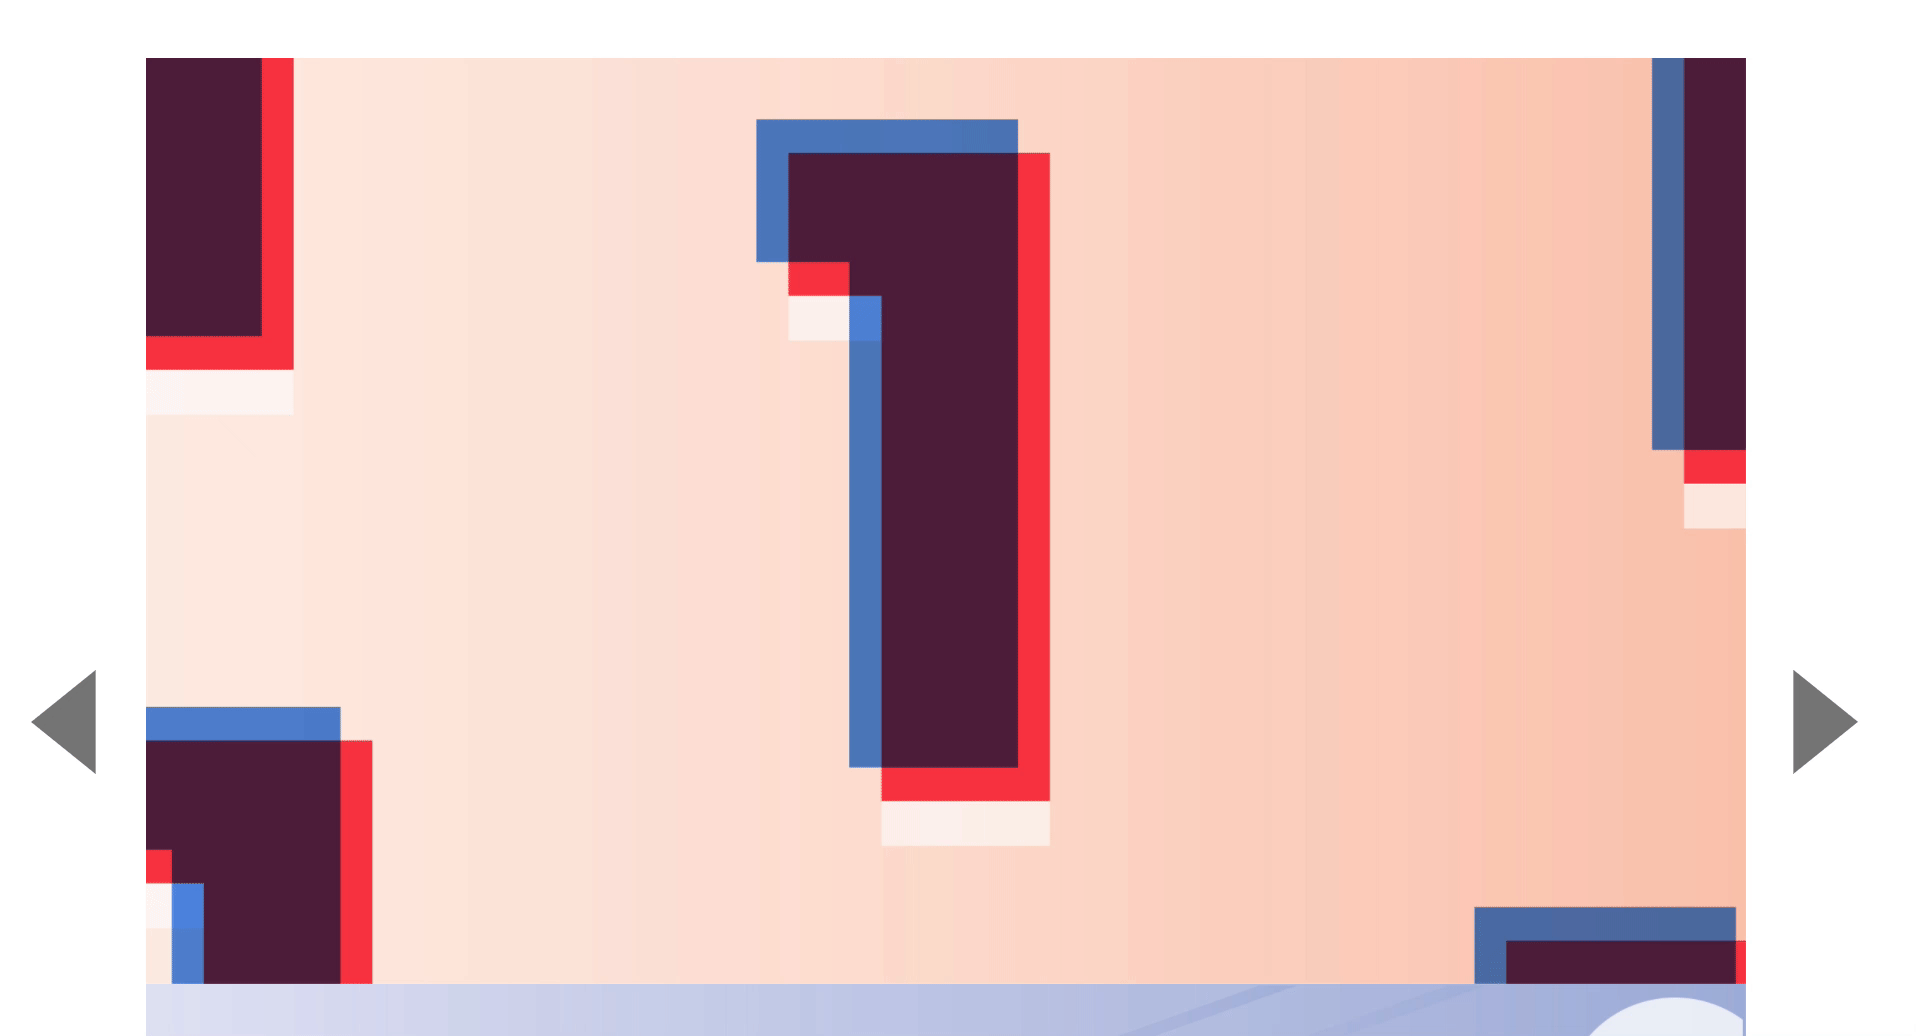
Here’s what you should see at this point:
Styling the carousel
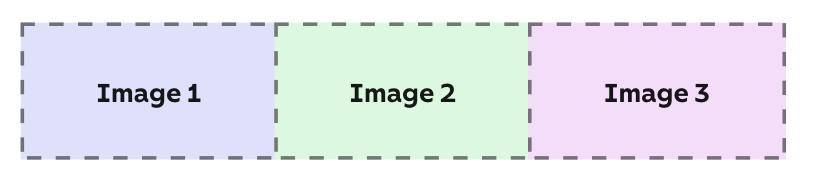
Slides of a carousel are placed next to each other, as shown in the picture below:
Slides are often positioned side by side There are many techniques to position slides next to each other. You can:
Use float on each slide
Use flexbox on each slide
Set position to absolute on each slide
Any of these methods work. There’s no best way. Pick the one you like. For this carousel, we will set position to absolute on each slide.
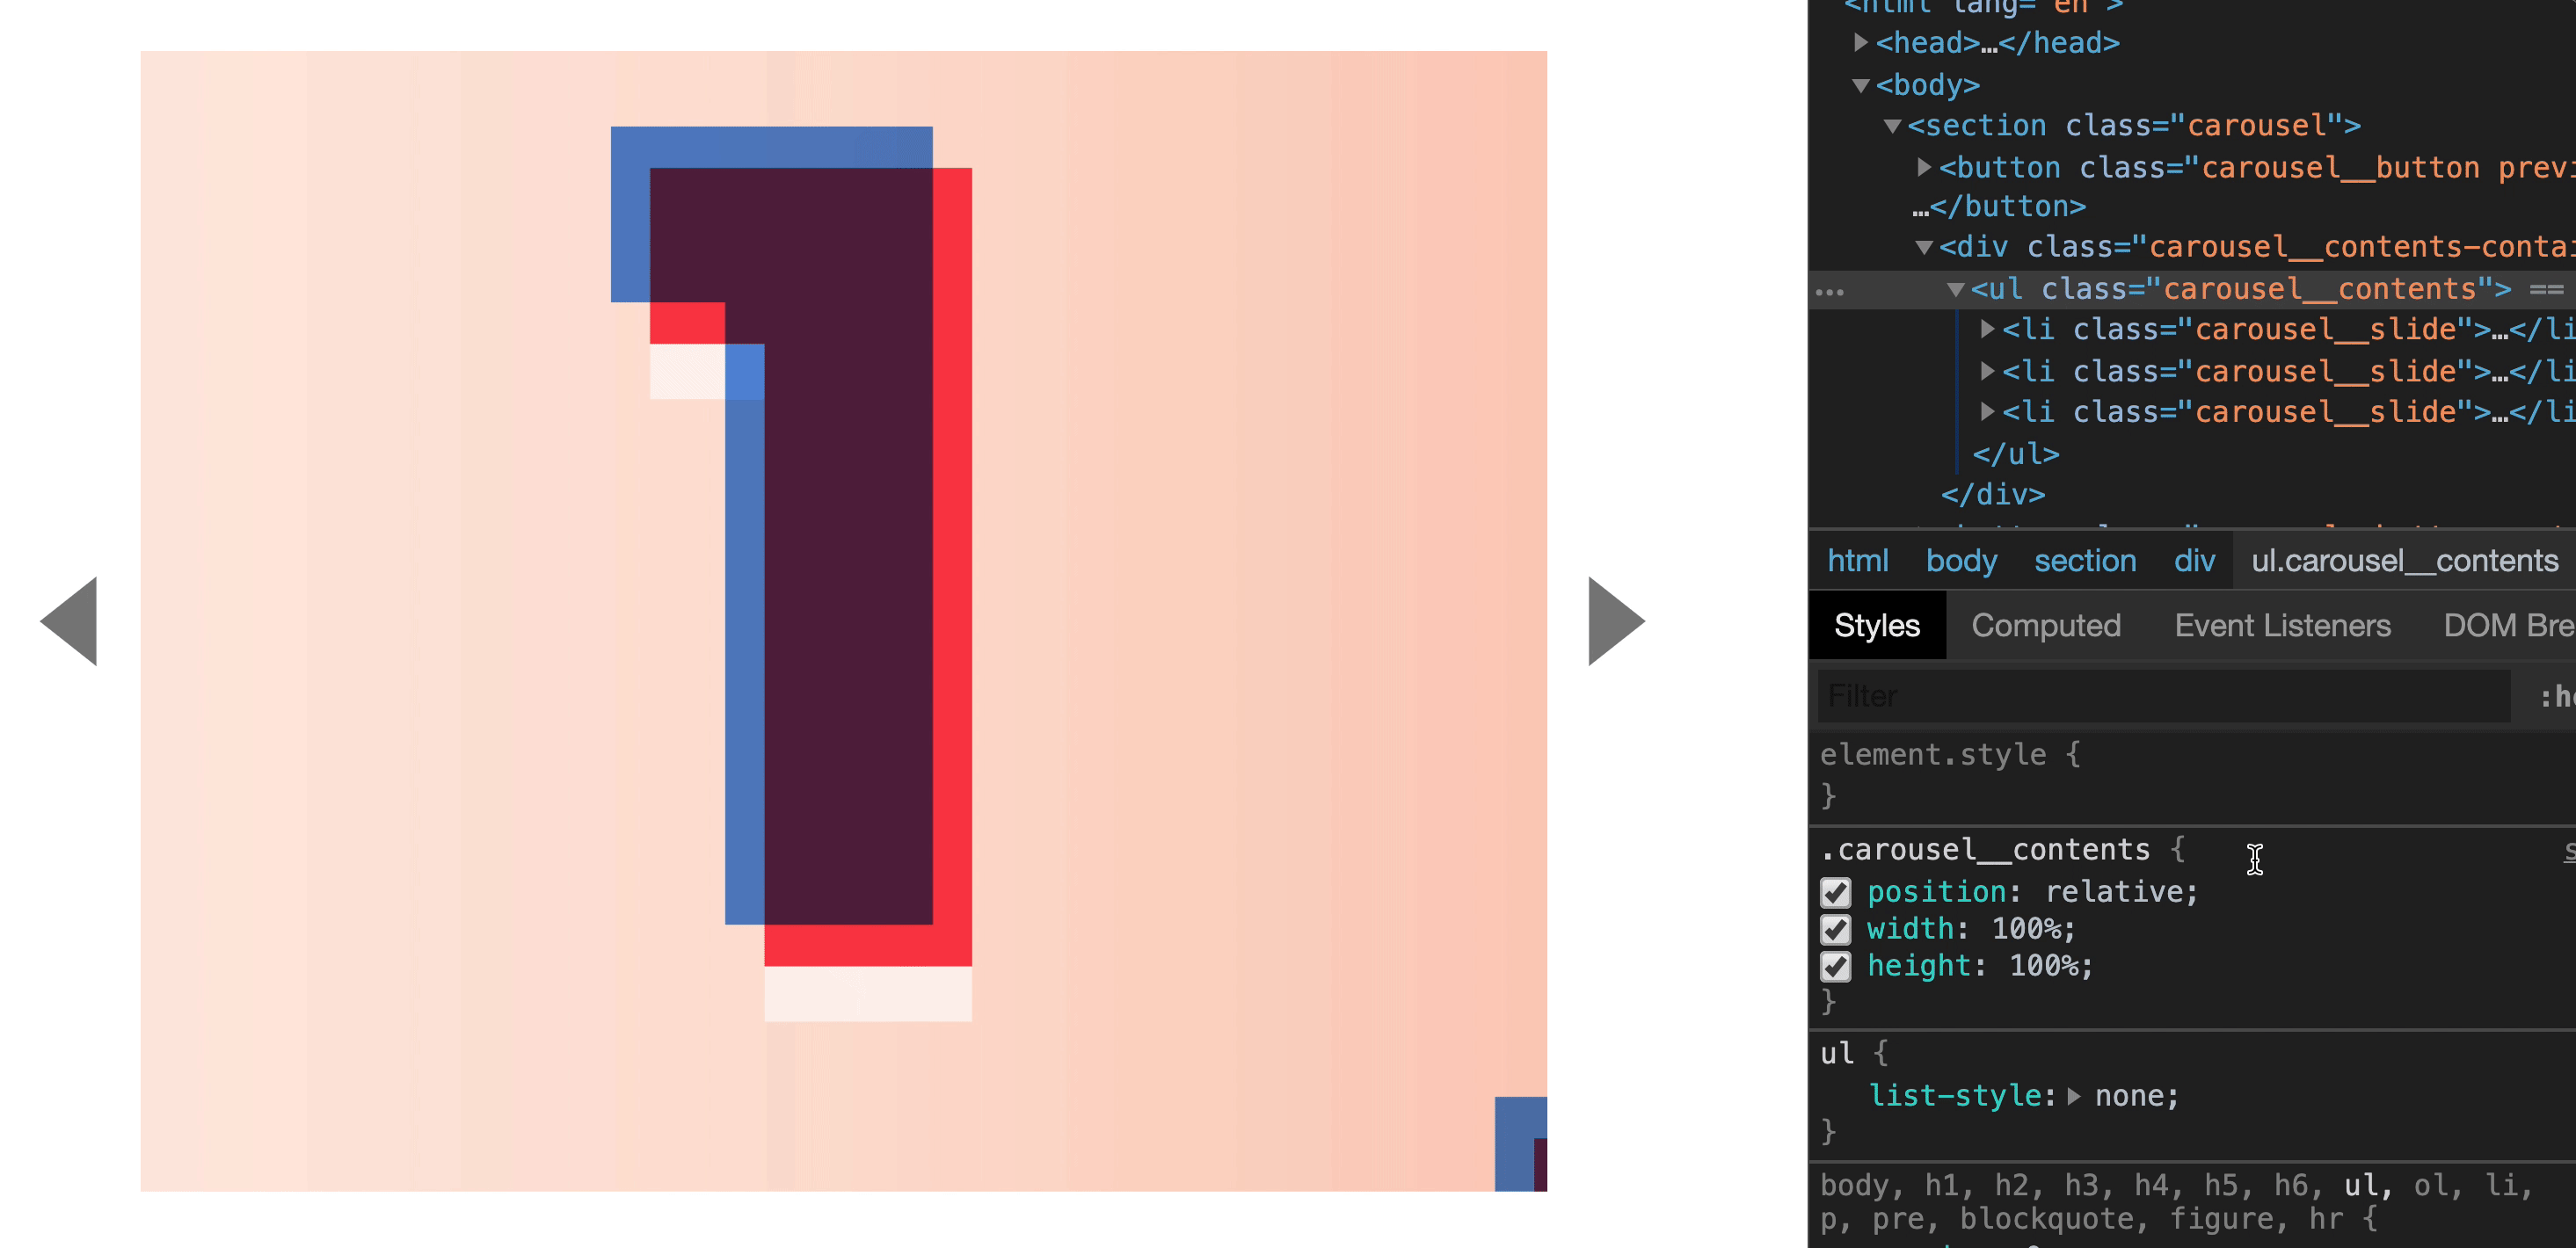
For this to work, we also need to set position to relative on the carousel contents list.
.carousel__contents {
  position: relative;
  width: 100%;
  height: 100%;
}

.carousel__slide {
  position: absolute;
  width: inherit;
  height: inherit;
}
Next, we want to position the second and third slides.
The second slide is positioned after the first slide. This means we can set left of the second slide to the width of one slide. If the width of one slide is 800px, left should be 800px.
The third slide is positioned after the second slide. To position it after the second slide, we can set left of the third slide to be the width of two slides. If the width is 800px, left should be 1600px.
/* This code works if the width of one slide is 800px */
.carousel__slide:nth-child(2) {
  left: 800px;
}

.carousel__slide:nth-child(3) {
  left: 1600px;
}
Finally, we want to show one slide at a time. We can do this by creating an extra <div> to contain .carousel__contents. In this extra div, we set overflow to hidden.
<div class="carousel__contents-container">
  <ul class="carousel__contents"> ... </ul>
</div>
.carousel__contents-container {
  overflow: hidden;
}
Styling the slide content
Each slide contains an image wrapped inside a link. Users should be able to navigate to a desired page if they click anywhere on the image.
This means the <a> tag should cover the entire slide. You can make this happen by setting:
display to blockwidth and height properties to ihnerit.
.carousel__slide > a {
  display: block;
  width: inherit;
  height: inherit;
}
Each image should also fill up the available space. We can do this with object-fit set to cover.
.carousel__slide img {
  width: inherit;
  height: inherit;
  object-fit: cover;
  object-position: center center;
}
Switching slides
You can change carousel__content's left property to decide which slide to show.
We can use the following values to show the second and third slides:
To show second slide, set carousel__content's left to -800px
To show third slide, set carousel__content's left to -1600px
The dots
Dots of a carousel indicate two things:
The total number of slides
The currently selected slide
You can click on a dot to change the selected slide. This means each dot must use a <button> element.
<div class="carousel__dots">
  <button class="carousel__dot"></button>
  <button class="carousel__dot"></button>
  <button class="carousel__dot"></button>
</div>
That’s it! You’ll learn how to add JavaScript functionality to the previous and next buttons in the next lesson.