🛠️ Calculator: Testing the Happy Path

Hey ,

I'm thrilled to help you learn JavaScript. Unfortunately, you've landed on a page where you cannot access with your current purchase.

Please upgrade (use this link) access this content.

I'm super eager to help you learn more!

🛠️ Calculator: Testing the Happy Path

People are weird. They would use your software in ways you cannot imagine. And they will break your software when they do this.

You need to think about how they may break your software and code for these use cases. I call them edge cases.

There are a lot of edge cases for the calculator (as you’ll see in the next lesson). It gets confusing quickly when we need to handle edge cases. So before we tackle edge cases, we will take a detour and test the happy path.

(Testing would turn out to be a shortcut instead).

Note: If you’d like a challenge, go ahead and build edge cases without writing tests. I guarantee you’ll start 🤬-ing and 😱-ing soon enough. 😛.

Testing with console.assert

The console object has an assert method that lets you make assertions. Here’s the syntax:

console.assert(assertion, message)

When you make an assertion (in programming), you state an expression that evaluates to true. If the expression evaluates to true, the test passes. And nothing will be shown in the console.

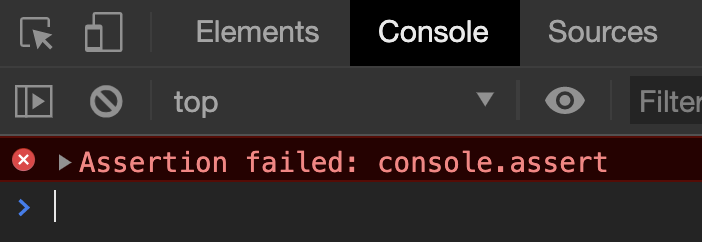
If the expression evaluates to false, the test fails and you get an error.

console.assert(1 === 1) // true. Assertion passes. No error.
console.assert(1 === 2) // false. Assertion fails. Has error.
Failed assertion.

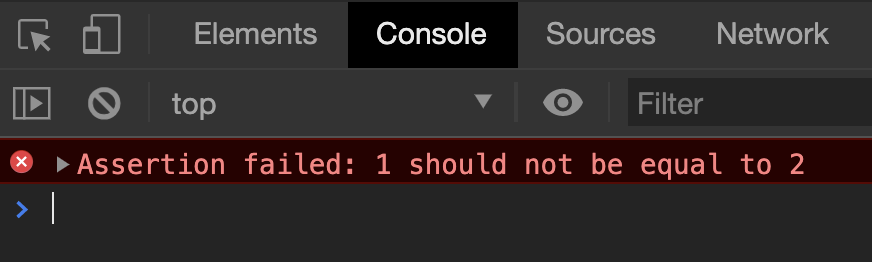
You can give yourself more information about the test with the message argument. This message will show up when the test fails.

console.assert(1 === 2, '1 should not be equal to 2')
Added a message to identify the failed assertion.

Creating your first test

Think about what you want to test. For a calculator, we want to make sure the calculator shows the correct result no matter what users punch in.

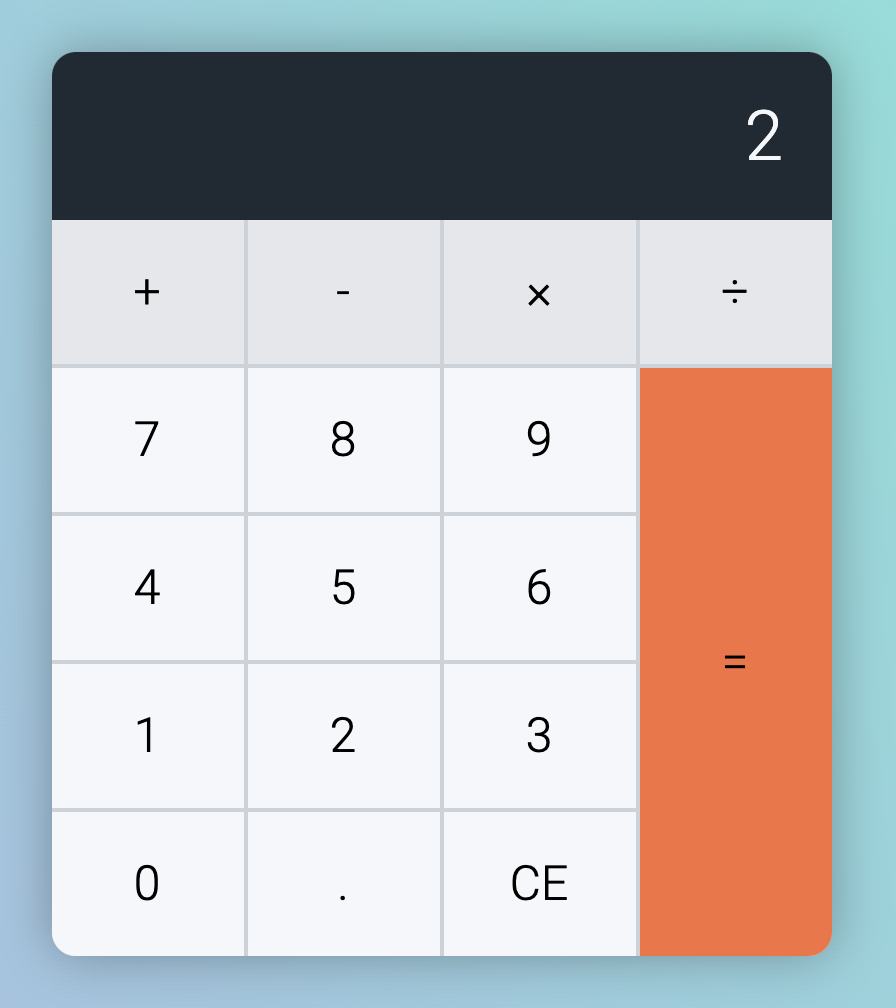
Let’s make things simple for our first test. If a user presses 2, we want to check whether the calculator shows 2.

We can make JavaScript press a button with the click method. If we want the user to press 2, we need to select the 2 button and use click on it.

const buttonTwo = calculator.querySelector('[data-key="2"]')
buttonTwo.click()

If you refresh the page, you should see the calculator shows 2. This is because we used JavaScript to click the button that says 2.

Calculator shows 2.

Now we want to make sure the calculator says 2. We do this with console.assert.

Here, we need to get the displayed result from the calculator first. After getting the displayed result, we check whether this displayed result is 2.

const result = calculator.querySelector('.calculator__display').textContent
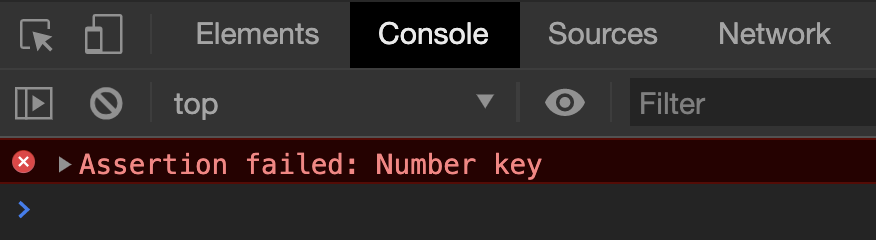
console.assert(result === 2, 'Number key')
Assertion failed.

The test failed. But why?

It failed because result (a String) is not strictly equal to 2 (a Number). If we change 2 to a String, the test should pass, and no errors would show up in the console.

const result = calculator.querySelector('.calculator__display').textContent
console.assert(result === '2', 'Number key')

Resetting the calculator

We need to reset the calculator after each test. This ensures results from the current test doesn’t affect the next test.

To reset the calculator, we press the clear button twice.

// Reset calculator
const clearKey = calculator.querySelector('[data-key="clear"]')
clearKey.click()
clearKey.click()

We’ll make another test to ensure the calculator is cleared here.

const resultAfterClear = calculator.querySelector('.calculator__display').textContent
console.assert(result === '0', 'Calculator cleared')

If the calculator is cleared, it should not have dataset.firstValue and dataset.operator. We’ll ensure they don’t exist.

console.assert(!calculator.dataset.firstValue, 'No first value')
console.assert(!calculator.dataset.operator, 'No operator value')

Creating helper functions

We need to click calculator buttons many times throughout our tests. We should create a function to click a button. It’ll make things easier for us down the road.

const pressKey = key => {
  calculator.querySelector(`[data-key="${key}"]`).click()
}

We need to get the displayed value many times. Let’s create a function to help us here.

const getDisplayValue = _ => {
  return calculator.querySelector('.calculator__display').textContent
}

We also need to reset the calculator after each test. Let’s create a function too.

const resetCalculator = _ => {
  pressKey('clear')
  pressKey('clear')

  console.assert(getDisplayValue() === '0', 'Calculator cleared')
  console.assert(!calculator.dataset.firstValue, 'No first value')
  console.assert(!calculator.dataset.operator, 'No operator value')
}

Our test should look like this now:

// Make sure calculator shows number
pressKey('2')
console.assert(getDisplayValue() === '2', 'Number key')
resetCalculator()

Some more tests

Let’s say the user presses 3, then 5. We want to make sure the calculator shows 35.

pressKey('3')
pressKey('5')
console.assert(getDisplayValue() === '35', 'Number Number')
resetCalculator()

If the user presses 4, then ., the calculator should show 4..

pressKey('4')
pressKey('decimal')
console.assert(getDisplayValue() === '4.', 'Number Decimal')
resetCalculator()

If the user presses 4, ., 5, the calculator should show 4.5.

pressKey('4')
pressKey('decimal')
pressKey('5')
console.assert(getDisplayValue() === '4.5', 'Number Decimal Number')
resetCalculator()

Creating another helper

We used pressKey many times now. Each pressKey stays on its a new line now, but wouldn’t it make sense to put all our key presses in a single line?

Let’s create a function to help us write keypresses. Ideally, we want to to use the function like this:

pressKeys('4', 'decimal', '5')

In pressKeys, we can use the rest operator to pack all arguments into an array. Then, we run pressKey over each item in the array.

const pressKeys = (...keys) => {
  keys.forEach(key => pressKey(key))
}

We can simplify the function a little since pressKey takes in one variable only:

const pressKeys = (...keys) => {
  keys.forEach(pressKey)
}

Our test should look like this now:

// Test 1
pressKeys('2')
console.assert(getDisplayValue() === '2', 'Number key')
resetCalculator()

// Test 2
pressKeys('3', '5')
console.assert(getDisplayValue() === '35', 'Number Number')
resetCalculator()

// Test 3
pressKeys('4', 'decimal')
console.assert(getDisplayValue() === '4.', 'Number Decimal')
resetCalculator()

// Test 4
pressKeys('4', 'decimal', '5')
console.assert(getDisplayValue() === '4.5', 'Number Decimal Number')
resetCalculator()

Another helper to run tests

We have to write console.assert and reset calculator for every test. This is okay, but it gets tedious. We can create a function called runTest that runs each test.

const runTest = _ => {
  // ...
}

We’ll copy one of our tests into runTest first.

const runTest = _ => {
  pressKeys('4', 'decimal', '5')
  console.assert(getDisplayValue() === '4.5', 'Number Decimal Number')
  resetCalculator()
}

We know runTest needs three things:

  1. The keys to press
  2. The expected result
  3. A message for each test

We can do this:

const runTest = (result, message, ...keys) => {
  pressKeys(...keys)
  console.assert(getDisplayValue() === result, message)
  resetCalculator()
}

But this code is not friendly. We need to remember the order of arguments we pass in. We can simplify things by passing in an array of keys instead.

const runTest = (result, message, keys) => {
  pressKeys(...keys)
  console.assert(getDisplayValue() === result, message)
  resetCalculator()
}

We can simplify things even further by asking them to pass in an object.

const runTest = test => {
  pressKeys(...test.keys)
  console.assert(getDisplayValue() === test.result, test.message)
  resetCalculator()
}

We can run each test like this:

runTest({
  message: 'Number Decimal Number',
  keys: ['4', 'decimal', '5'],
  result: '4.5'
})

This new format makes more sense than simply writing console.assert. It helps the brain read what’s happening since we defined it this way:

  1. What we call the test (message)
  2. What keys we’re testing (keys)
  3. What we expect to see (result)

Since we have many tests, we can create a tests array to contain our tests. We’ll loop through this test array and use runTest on each test.

const tests = [
  {
    message: 'Number key',
    keys: ['2'],
    result: '2'
  },
  {
    message: 'Number Number',
    keys: ['3', '5'],
    result: '35'
  },
  {
    message: 'Number Decimal',
    keys: ['4', 'decimal'],
    result: '4.'
  },
  {
    message: 'Number Decimal Number',
    keys: ['4', 'decimal', '5'],
    result: '4.5'
  }
]

// Runs tests
tests.forEach(runTest)

Testing calculations

Next, we want to make sure our calculator works. We need to test addition, subtraction, multiplication, and division.

You should be able to get to this without much difficulty:

const tests = [
  // Initial Expressions
  // ...

  // Calculations
  {
    message: 'Addition',
    keys: ['2', 'plus', '5', 'equal'],
    result: '7'
  },
  {
    message: 'Subtraction',
    keys: ['5', 'minus', '9', 'equal'],
    result: '-4'
  },
  {
    message: 'Multiplication',
    keys: ['4', 'times', '8', 'equal'],
    result: '32'
  },
  {
    message: 'Division',
    keys: ['5', 'divide', '1', '0', 'equal'],
    result: '0.5'
  }
]

Testing the clear key

The clear key has two functions:

  1. Press once: Clear the display ONLY
  2. Press twice: Clear everything

We already tested the “press twice” version with resetCalculator. What’s left is to create tests for the “press once” version.

There are two possibilities here:

  1. Before a calculation
  2. After a calculation

Let’s start by creating a function to test the clear key.

const testClearKey = _ => {
  // ...
}

Before a calculation

Let’s say the user presses 5, then clear. Two things should happen:

  1. Display should change from 5 to 0.
  2. Clear key should change from CE to AC.

First, we’ll make testClearKey press 5 and clear.

const testClearKey = _ => {
  // Before calculation
  pressKeys('5', 'clear')
}

We want to make sure the calculator display changed to 0. This should be easy for you because we’ve been doing this the entire lesson.

const testClearKey = _ => {
  // Before calculation
  pressKeys('5', 'clear')
  console.assert(getDisplayValue() === '0', 'Clear before calculation')
}

Next, we want to make sure the clear key says AC.

const testClearKey = _ => {
  // Before calculation
  pressKeys('5', 'clear')
  const clearKeyText = calculator.querySelector('[data-key="clear"]').textContent
  console.assert(getDisplayValue() === '0', 'Clear before calculation')
  console.assert(clearKeyText === 'AC', 'Clear once, should show AC')
}

Finally, we make sure to reset the calculator for later tests.

const testClearKey = _ => {
  // Before calculation
  // ...
  resetCalculator()
}

Remember to run testClearKey in your code!

testClearKey()

After a calculation

Let’s say the user pressed 5, times, 9, equal, clear. What should happen? In this case, four things should happen:

  1. Display should show 0.
  2. Clear key should show AC
  3. calculator.dataset.firstValue should not be reset.
  4. calculator.dataset.operator should not be reset.

We already covered the first two changes in before a calculation, so we only need to test the last changes.

First, we’ll make testClearKey press 5, times, 9, equal, clear.

const testClearKey = _ => {
  // ...
  // After calculation
  pressKeys('5', 'times', '9', 'equal', 'clear')
}

Next, we need to ensure firstValue and operator did not get reset. We can do this with a truthy expression.

const testClearKey = _ => {
  // ...
  // After calculation
  pressKeys('5', 'times', '9', 'equal', 'clear')
  const { firstValue, operator } = calculator.dataset
  console.assert(firstValue, 'Clear once;  should have first value')
  console.assert(operator, 'Clear once;  should have operator value')
}

Finally, we reset the calculator again.

const testClearKey = _ => {
  // ...
  // After calculation
  // ...
  resetCalculator()
}

That’s it!