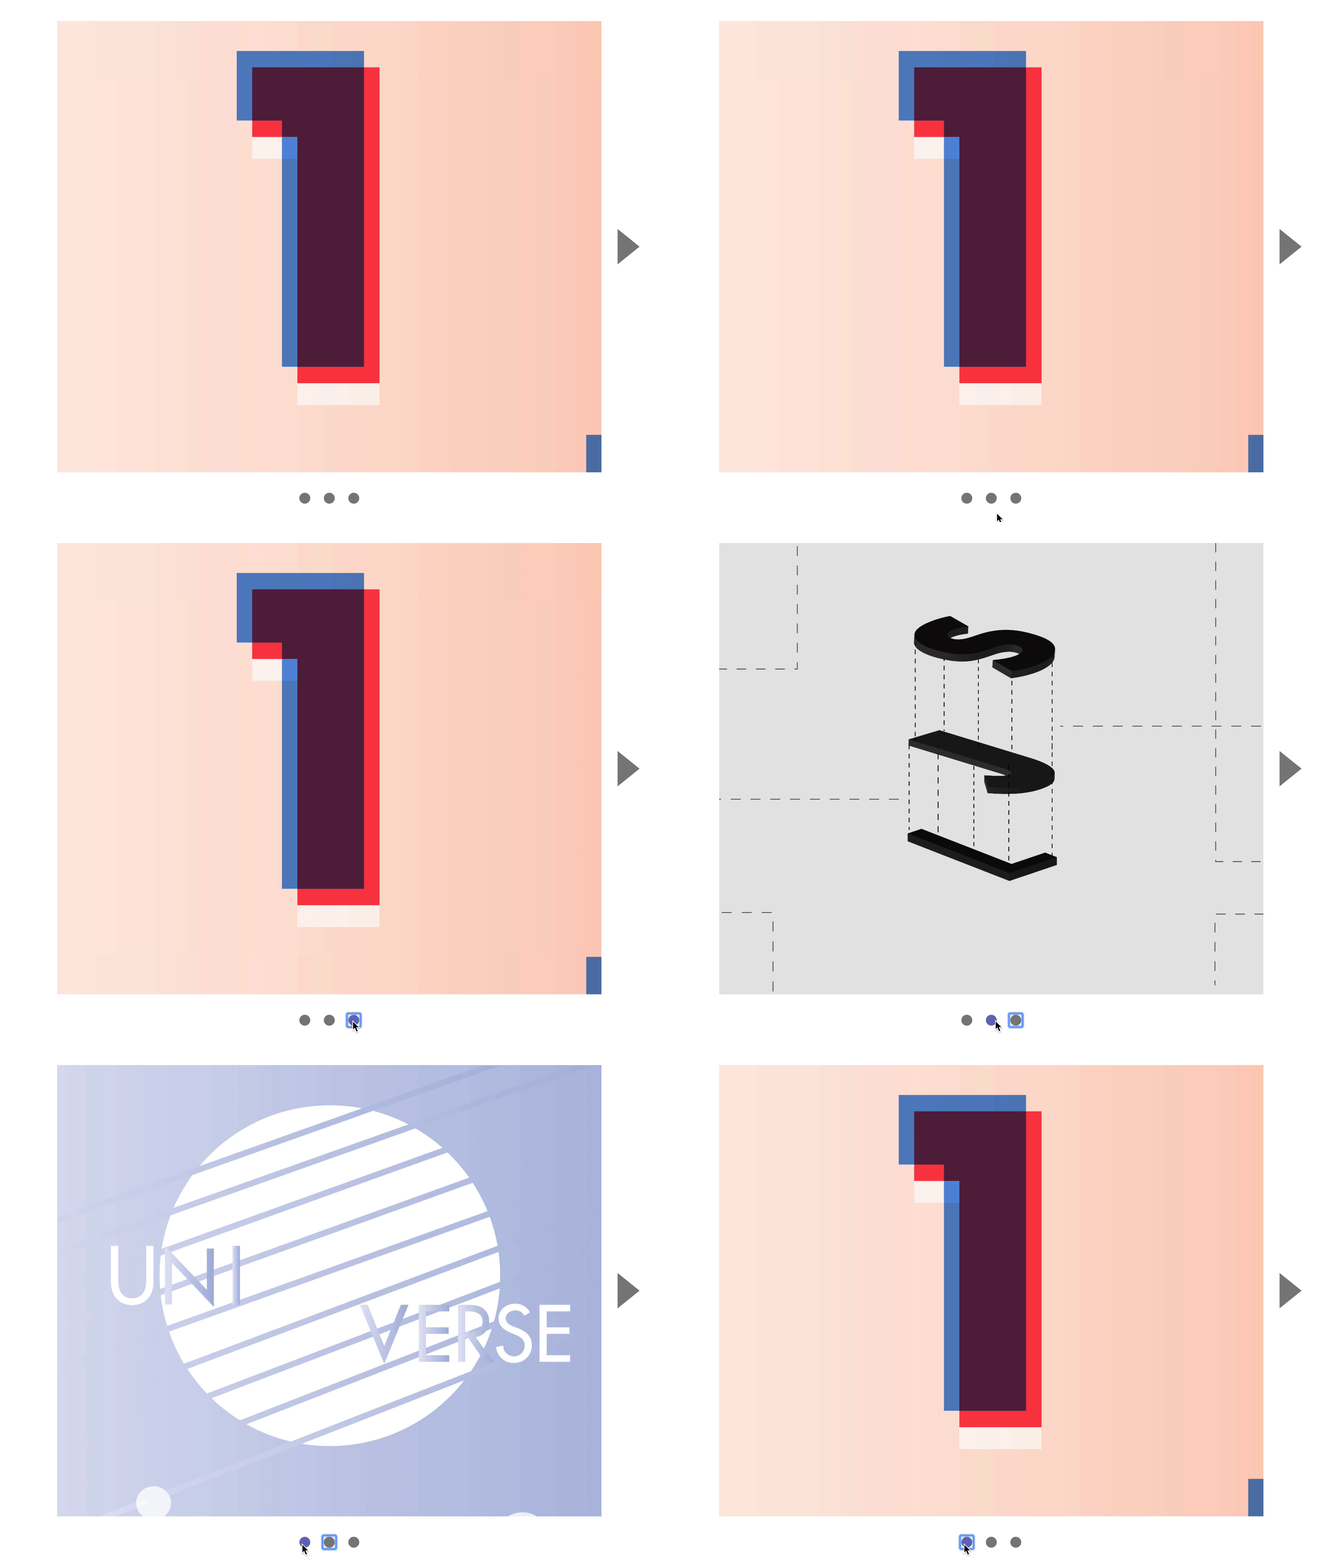
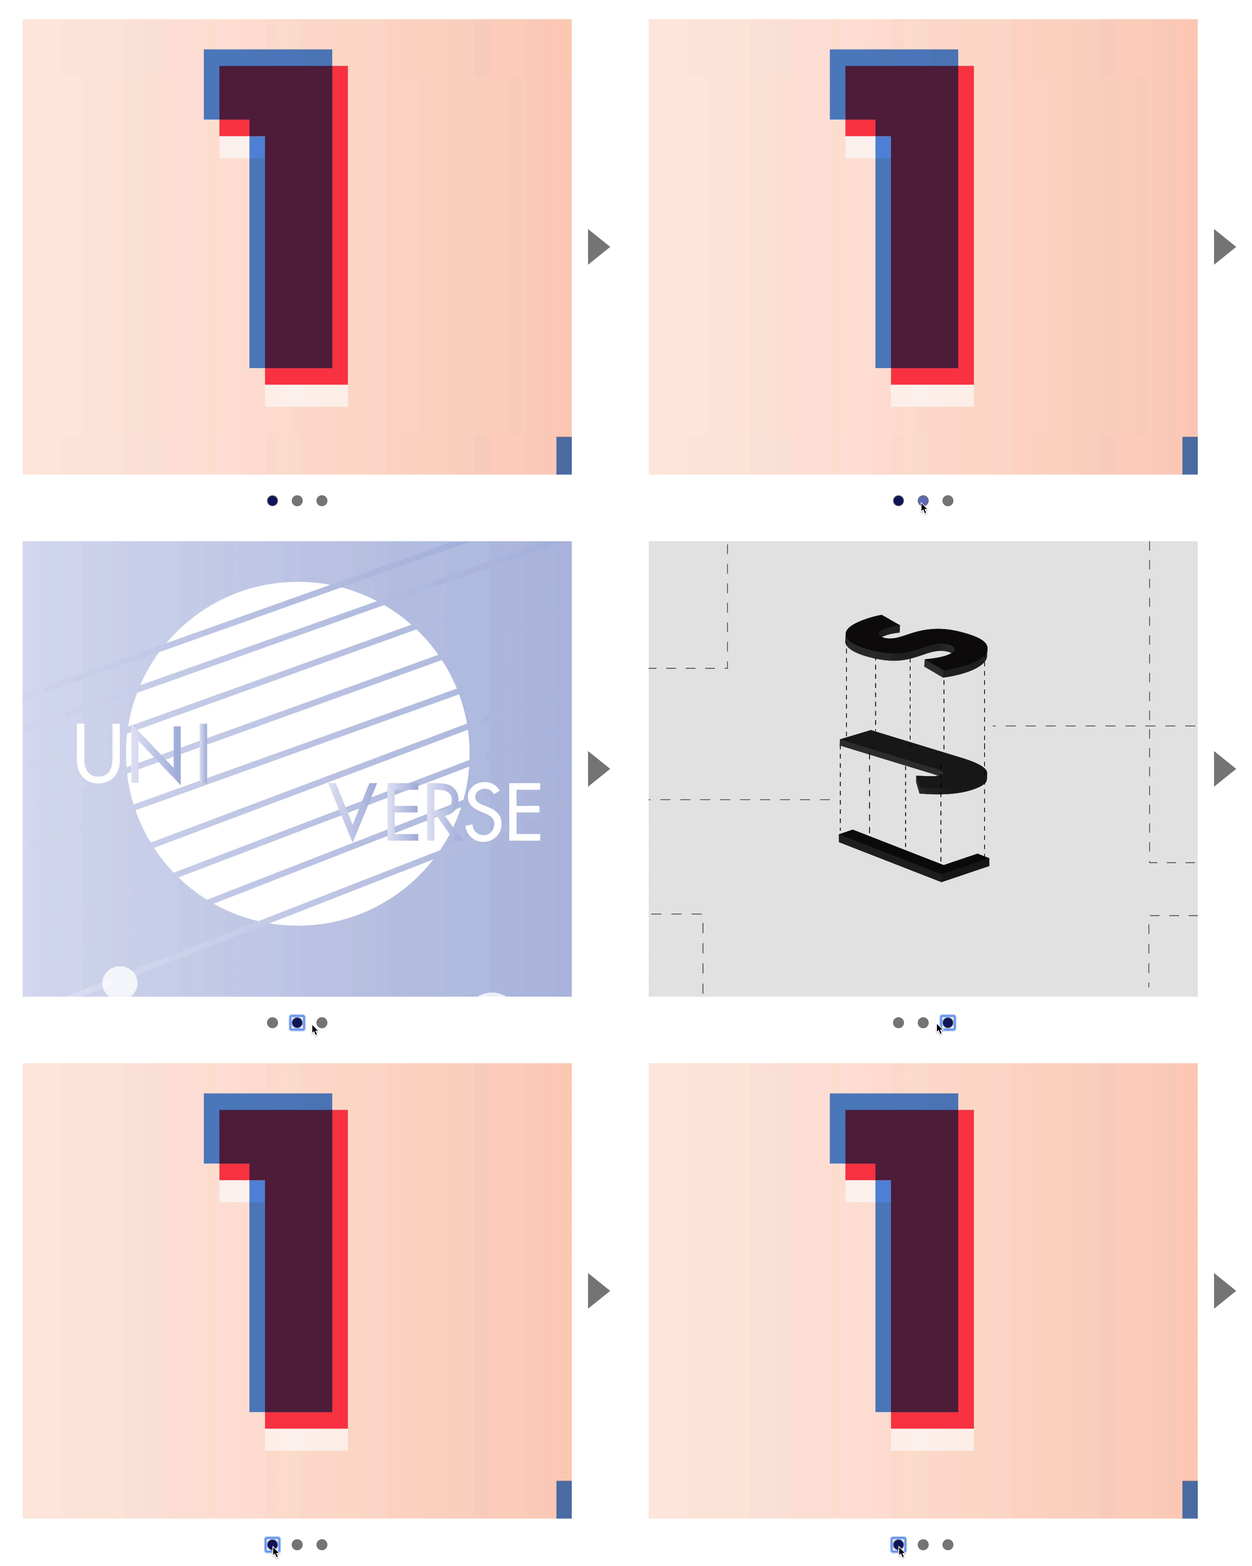
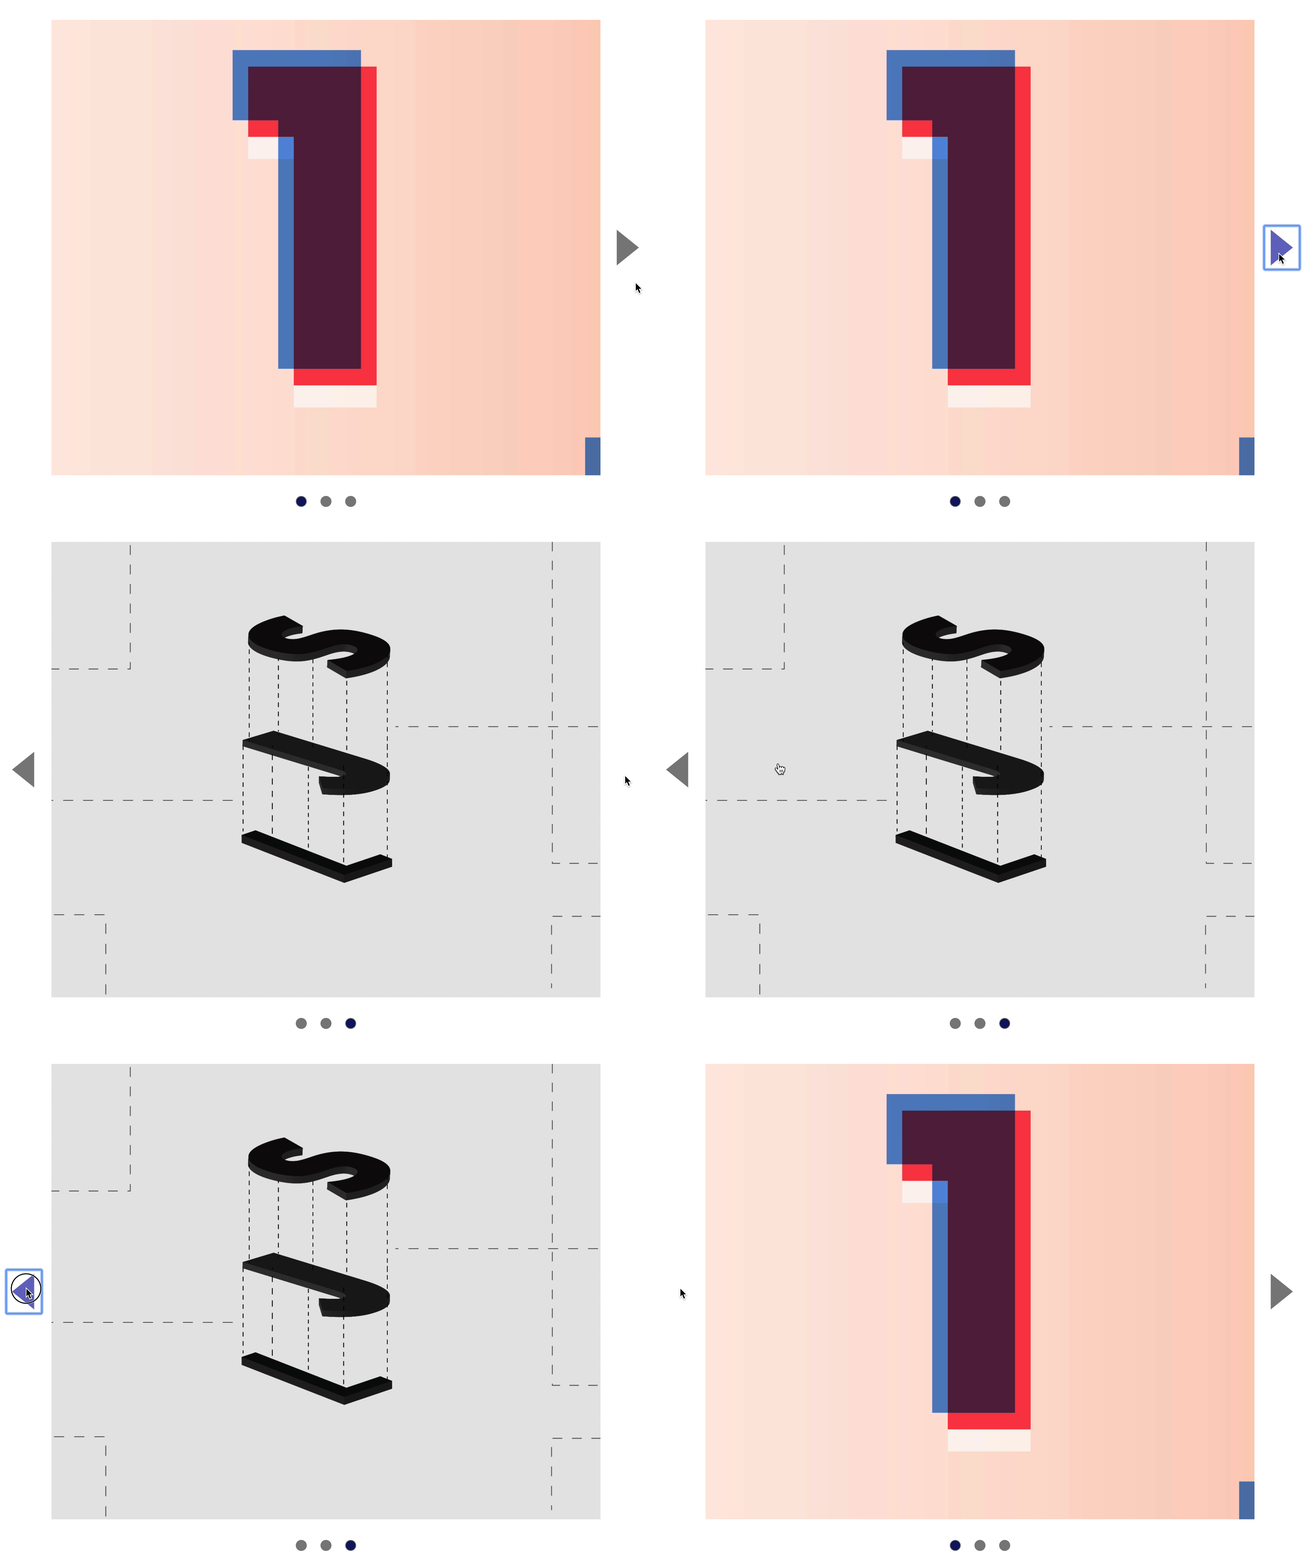
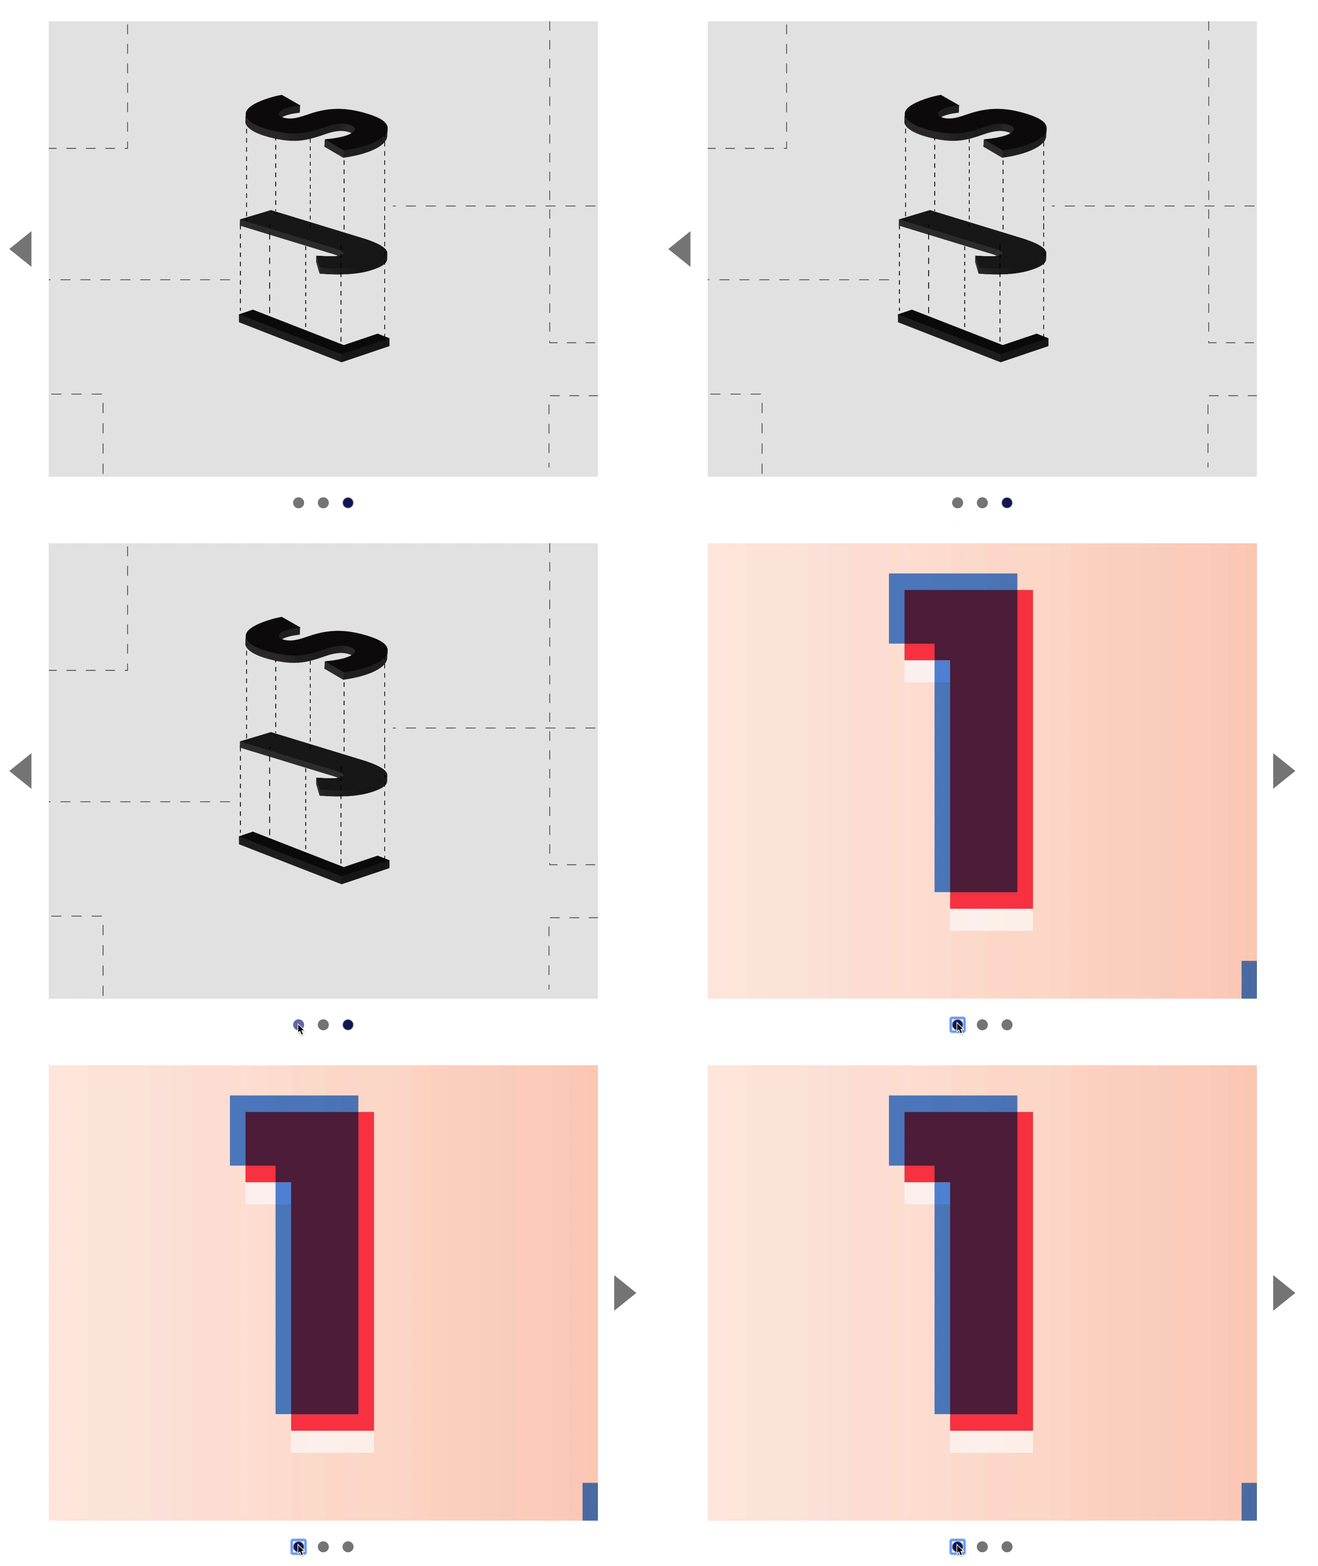
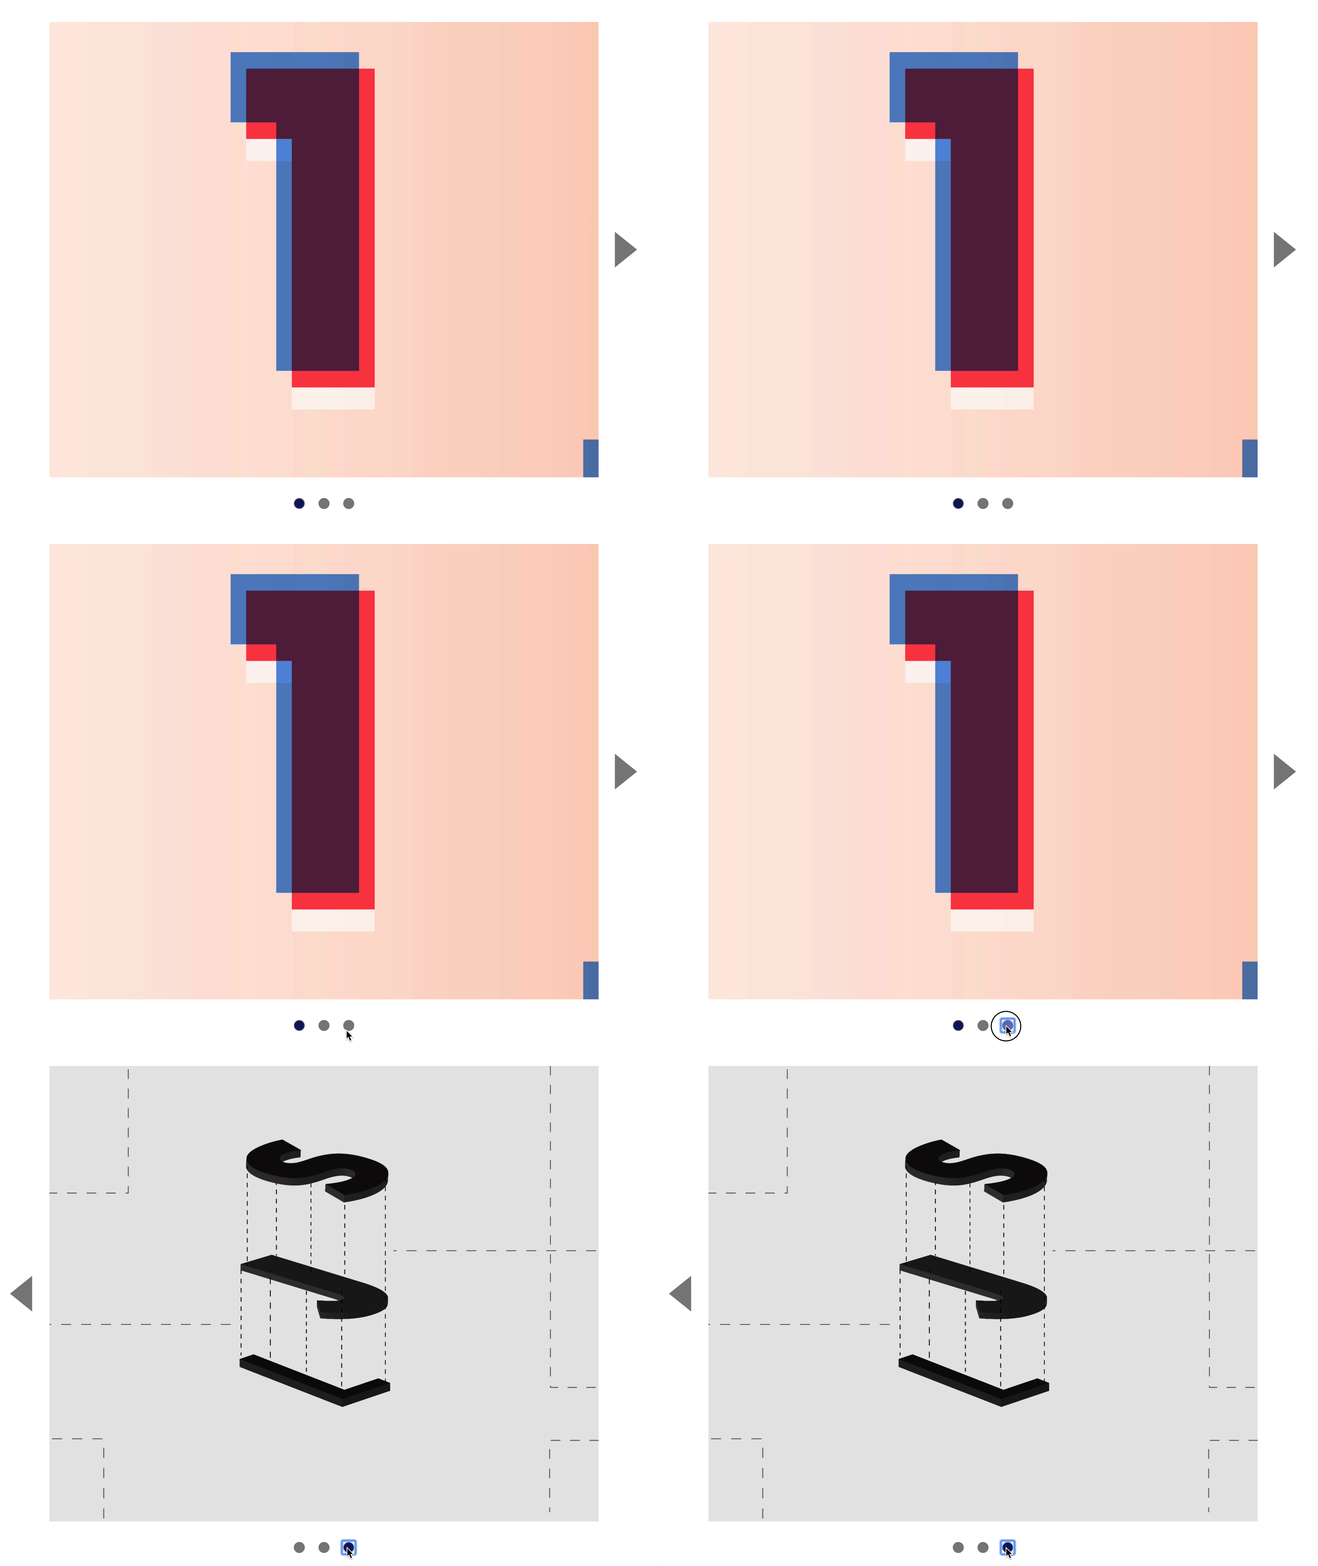
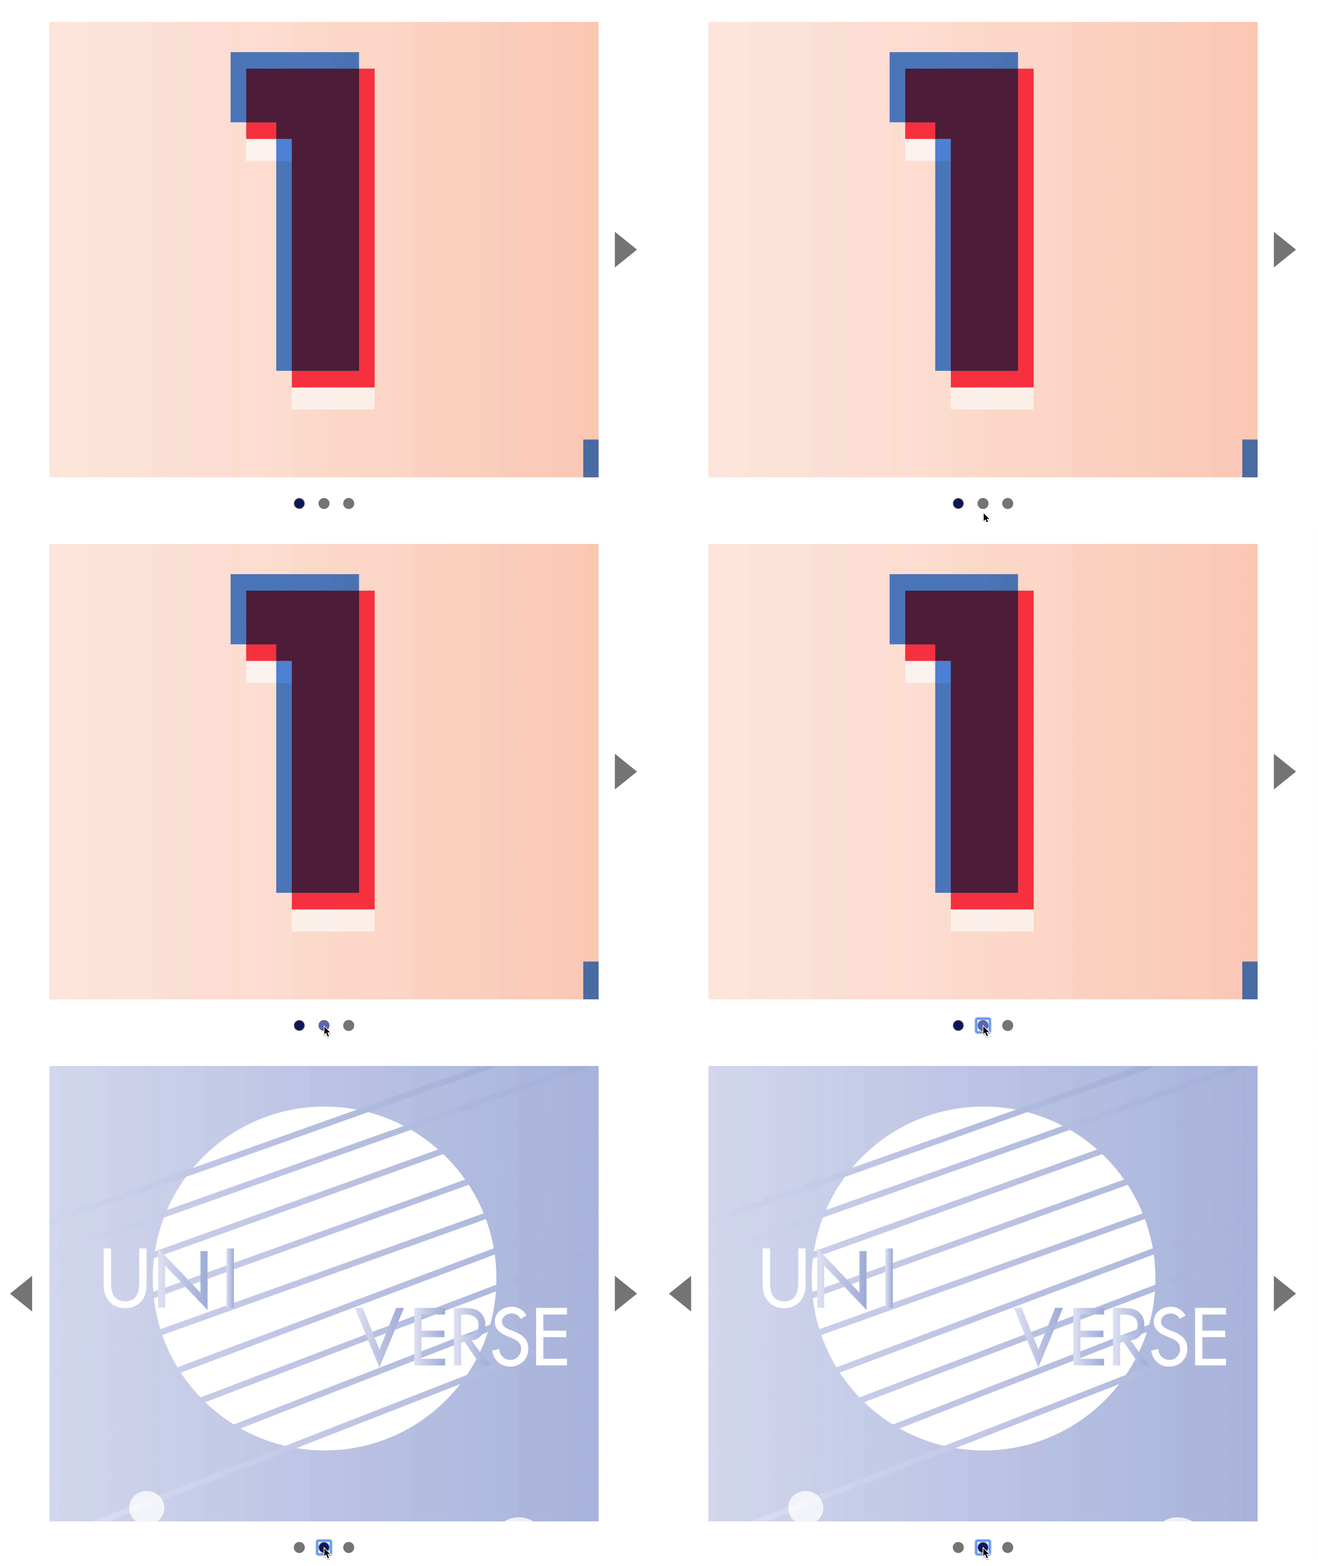
🛠 Carousel: Working the dots
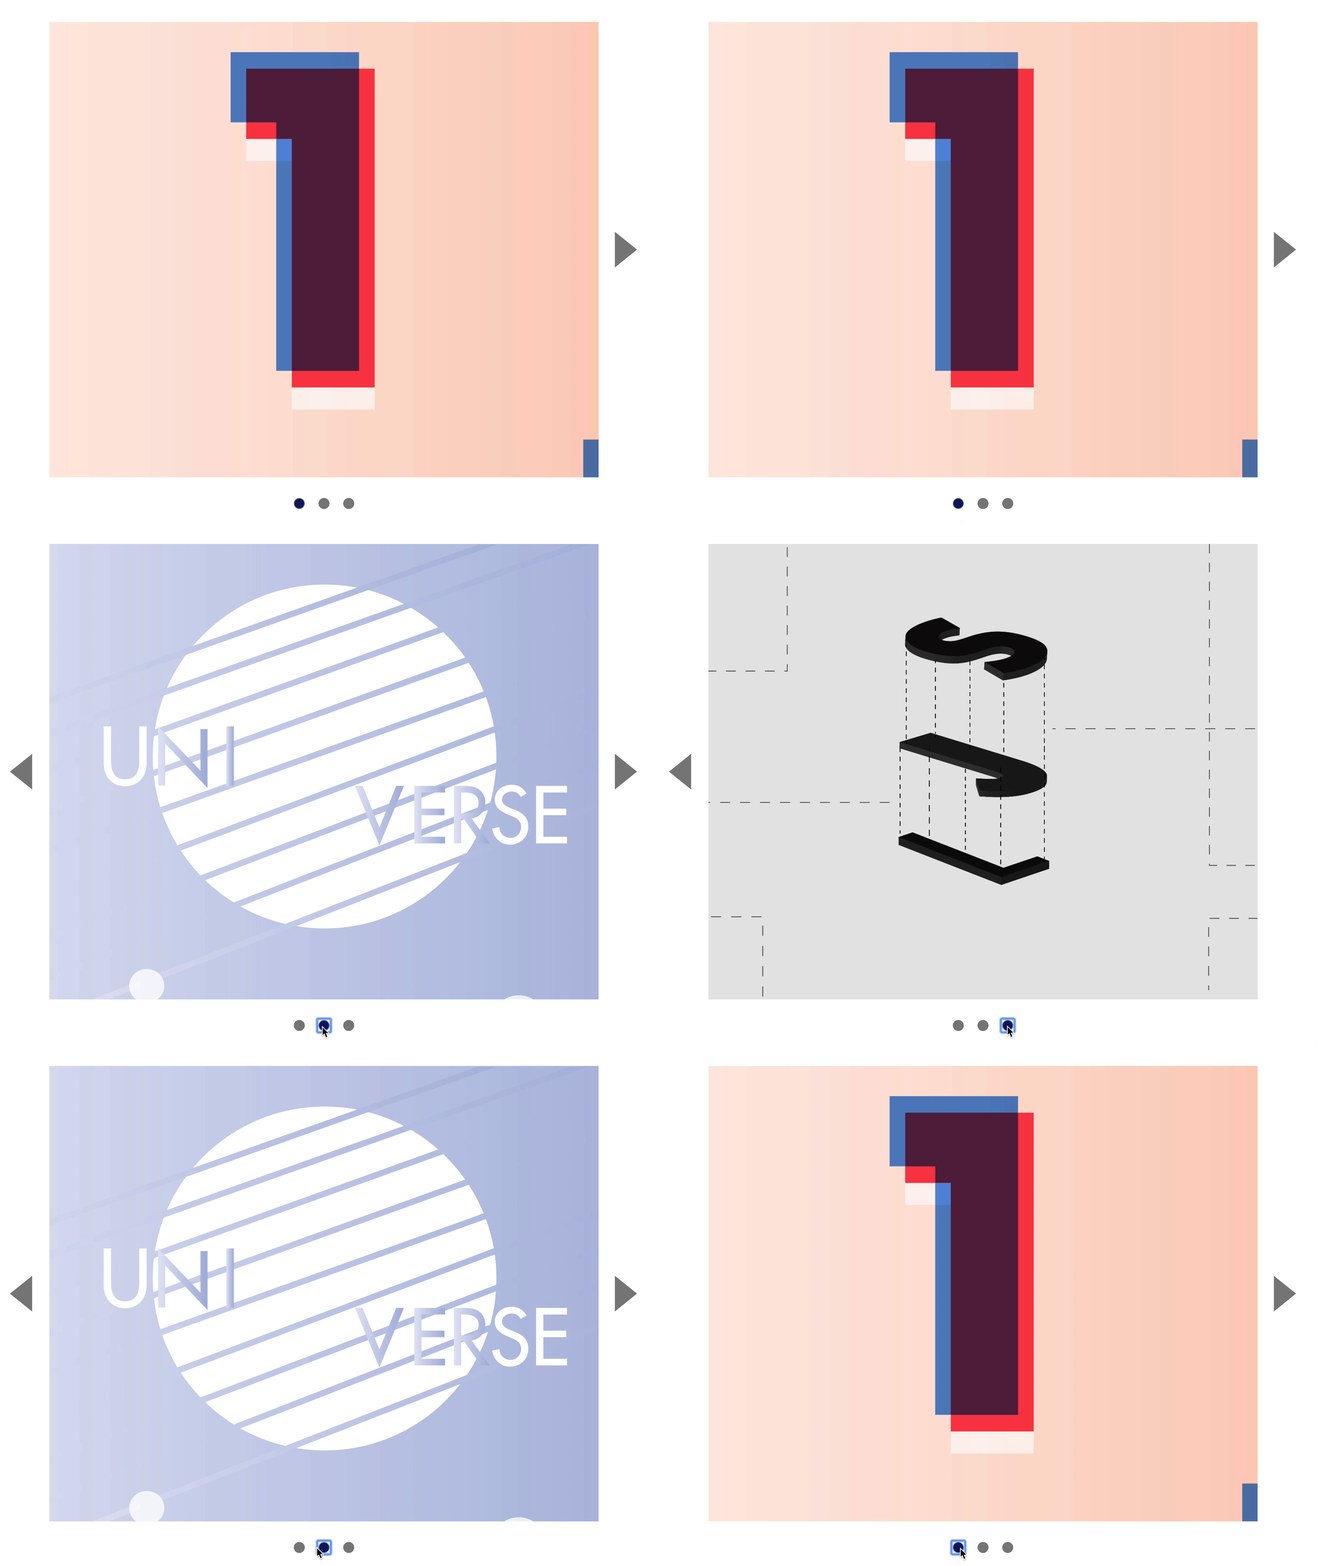
When a user clicks on a dot, the carousel shows the slide that corresponds to the clicked dot.
Click first dot: Show first slide
Click second dot: Show second slide
Click third dot: Show third slide
First, we need to get the dots in JavaScript.
const dots = Array.from(carousel.querySelectorAll('.carousel__dot'))
We want to know when a dot gets clicked. To do this, we need to add an event listener to each dot.
dots.forEach(dot => {
  dot.addEventListener('click', event => {
    console.log(dot)
  })
})
When a dot gets clicked, we want to find the corresponding slide.
First dot: First slide
Second dot: Second slide
Third dot: Third slide
To do this we need to know the position of the dot that was clicked. (Did the user clicked the first dot, second dot, or third dot?)
If the user clicks the first dot, dots[0] and dot should be the same thing. We can compare them with the strictly equal operator ===.
dots.forEach(dot => {
  dot.addEventListener('click', event => {
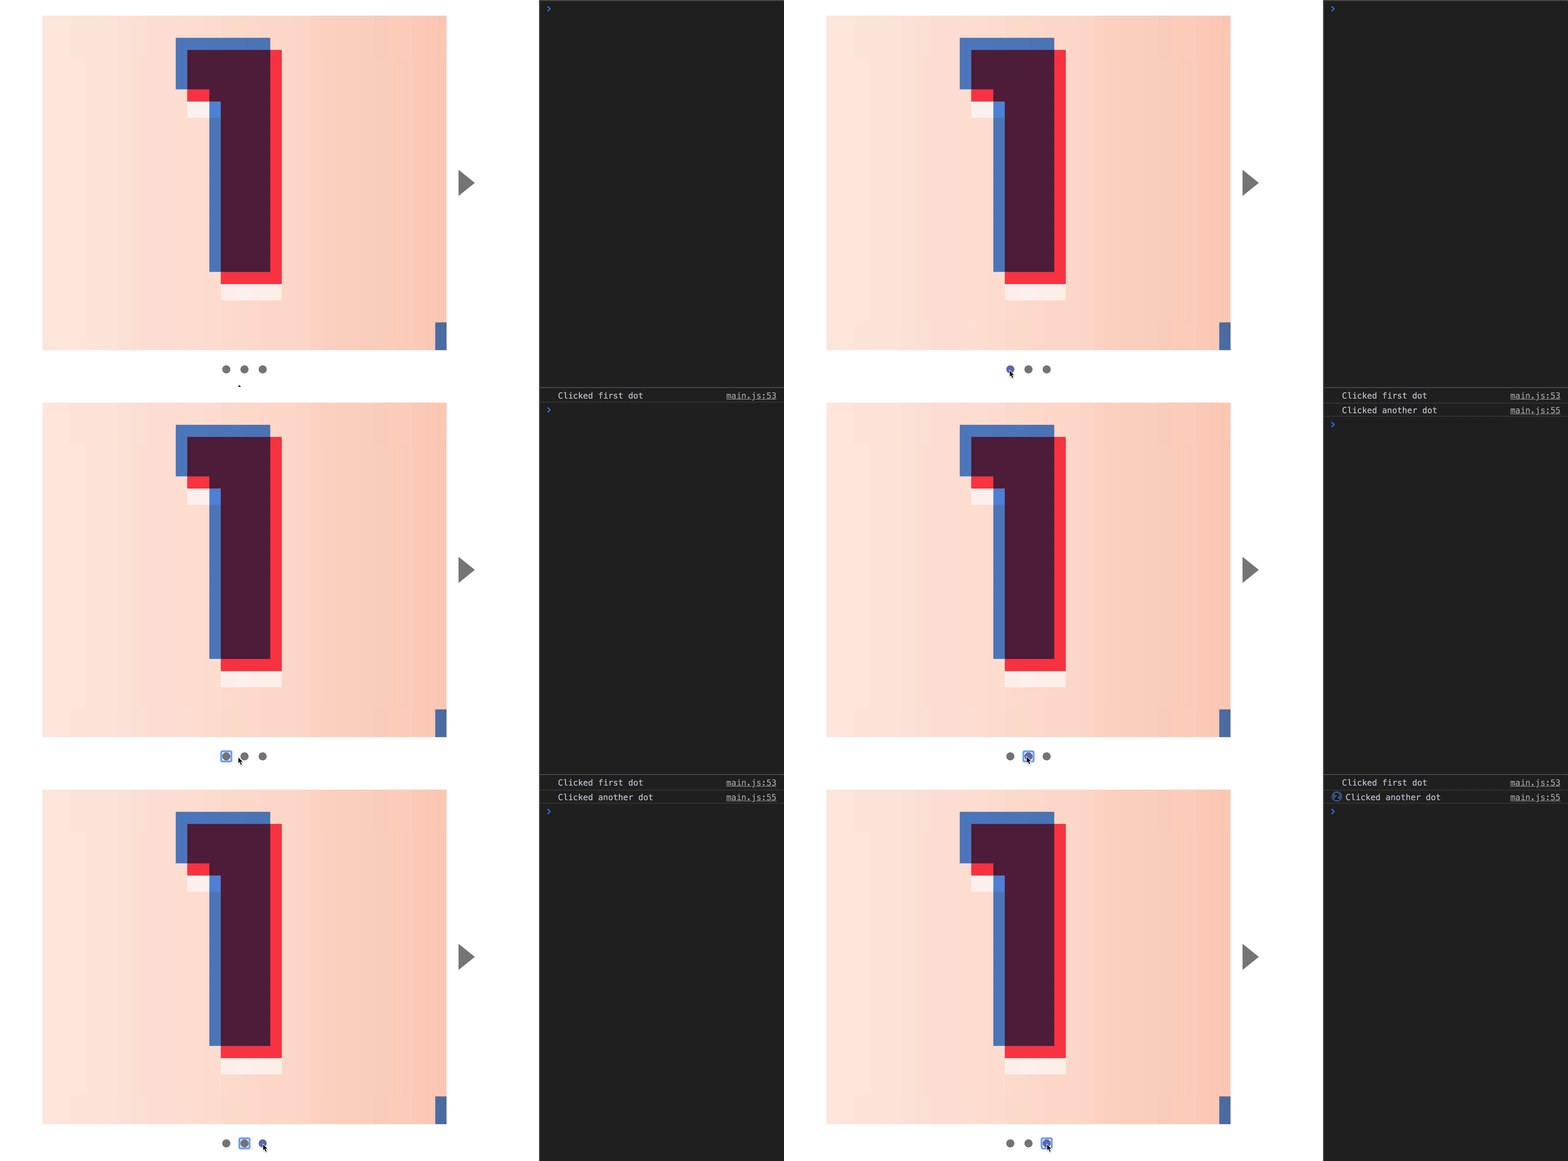
    if (dots[0] === dot) {
      console.log('Clicked first dot')
    } else {
      console.log('Clicked another dot')
    }
  })
})
The same applies for other dots:
If user clicks second dot, dots[1] === dot
If user clicks third dot, dots[2] === dot
We can loop through dots and check which dot was clicked.
dots.forEach(dot => {
  dot.addEventListener('click', event => {
    let clickedDotIndex

    for (let index = 0; index < dots.length; index++) {
      if (dots[index] === dot) {
        clickedDotIndex = index
      }
    }

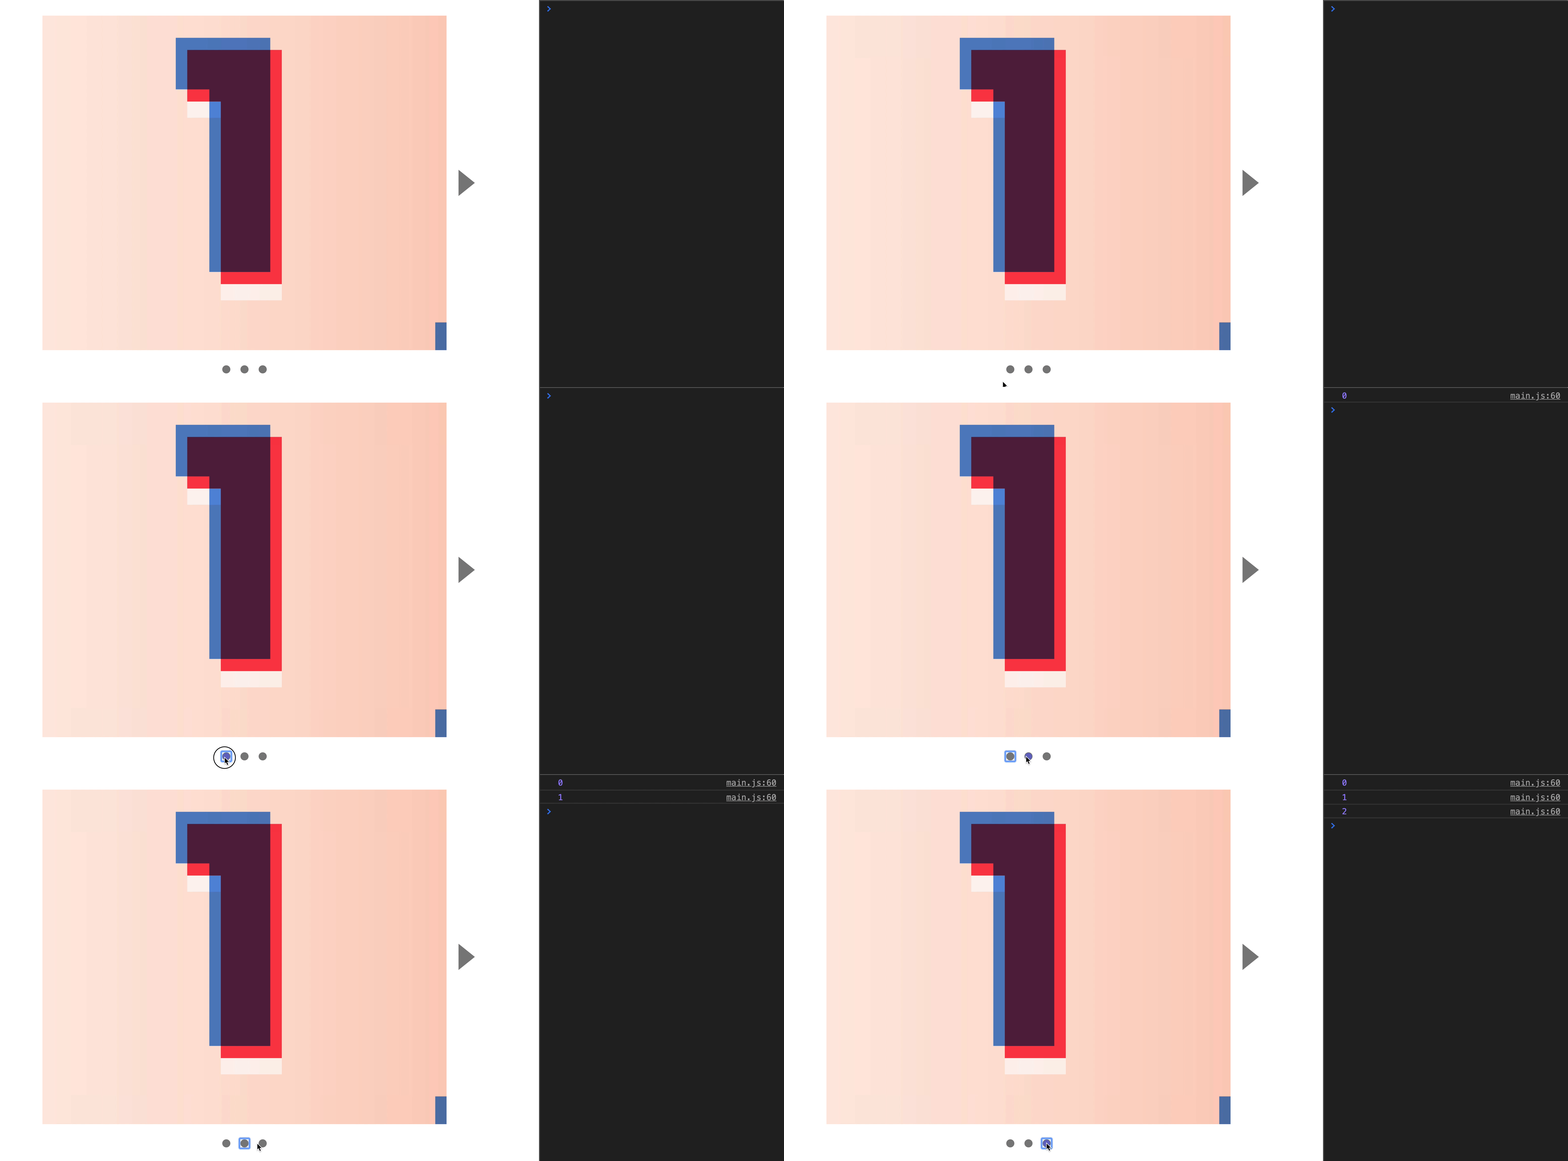
    console.log(clickedDotIndex)
  })
})
Once we know clickedDotIndex, we can use it to find the slide to show.
const slides = Array.from(carousel.querySelectorAll('.carousel__slide'))

dots.forEach(dot => {
  dot.addEventListener('click', event => {
    let clickedDotIndex

    for (let index = 0; index < dots.length; index++) {
      if (dots[index] === dot) {
        clickedDotIndex = index
      }
    }

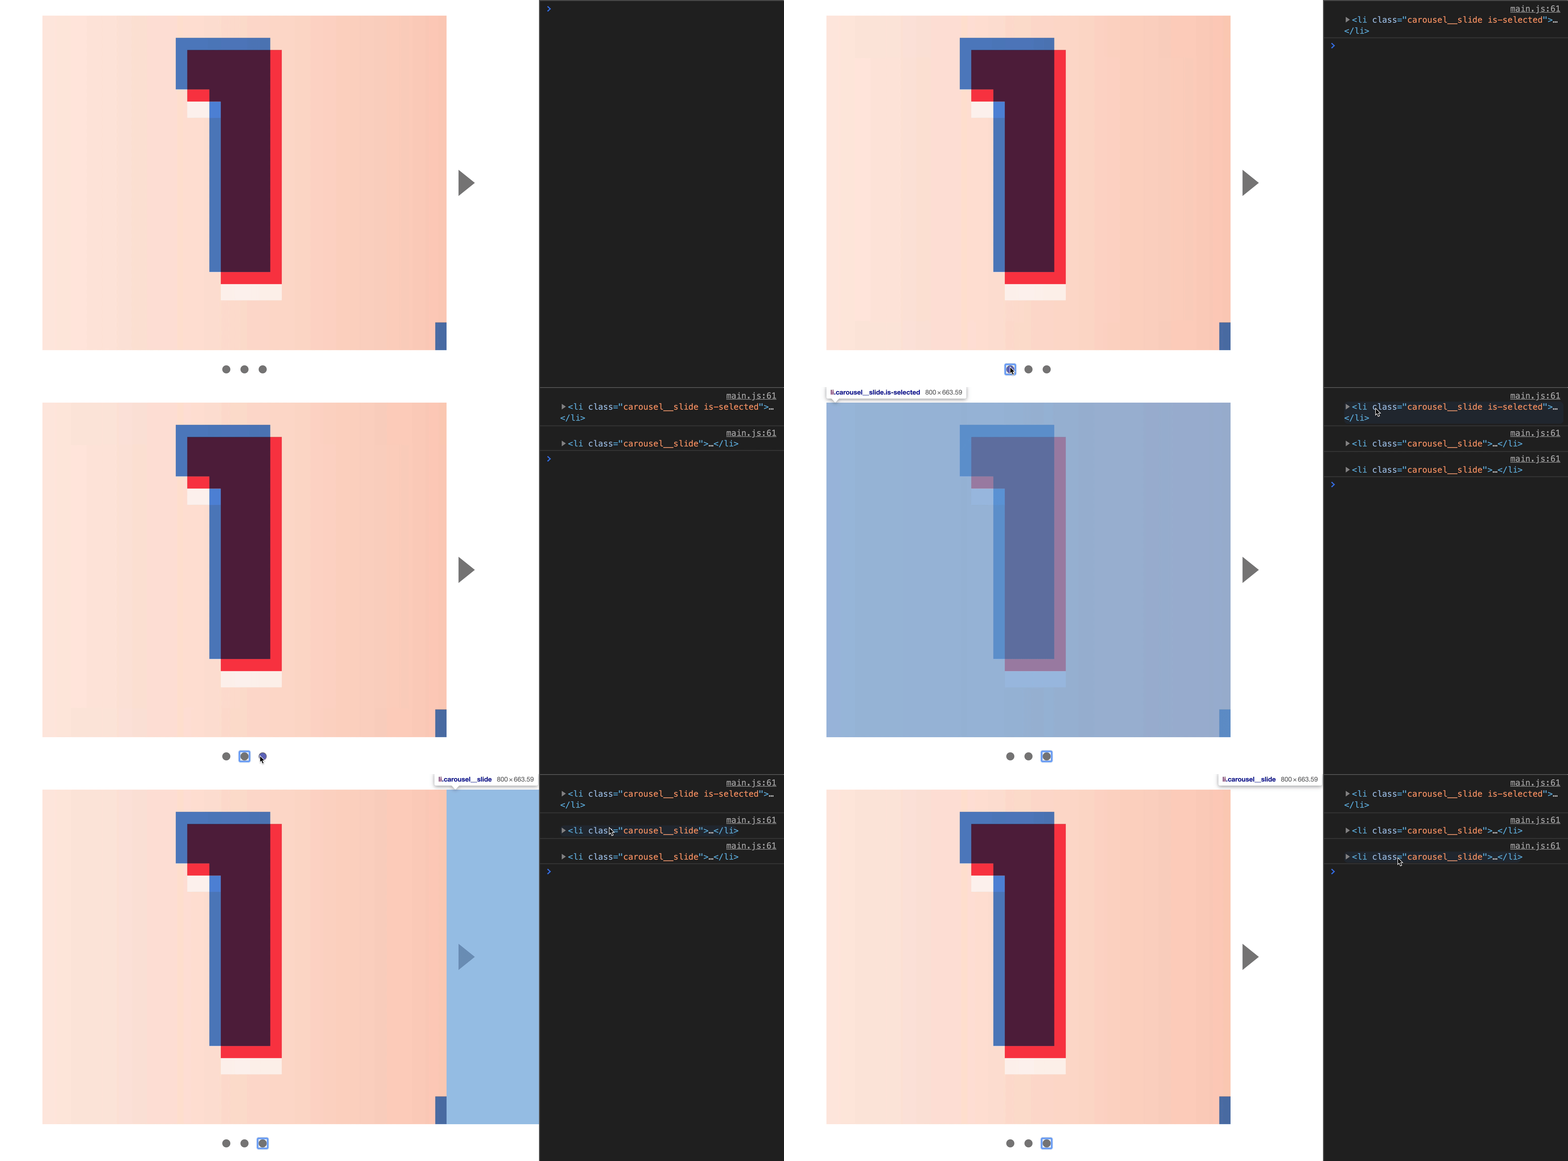
    const slideToShow = slides[clickedDotIndex]
    console.log(slideToShow)
  })
})
Once we know the slide to show, we can get its left position with getComputedStyle.
dots.forEach(dot => {
  dot.addEventListener('click', event => {
    // ...
    const slideToShow = slides[clickedDotIndex]
    const destination = getComputedStyle(slideToShow).left
    console.log(destination)
  })
})
And we can show the slide by changing .carousel__content's left position.
dots.forEach(dot => {
  dot.addEventListener('click', event => {
    // ...
    const slideToShow = slides[clickedDotIndex]
    const destination = getComputedStyle(slideToShow).left

    contents.style.left = '-' + destination
  })
})
After changing the selected slide, we need to update the location of the is-selected class. (Without this, our previous and next buttons will not work).
To do this, we need to remove the is-selected class from the current slide. We can find the selected slide with querySelector
dots.forEach(dot => {
  dot.addEventListener('click', event => {
    // ...
    const currentSlide = contents.querySelector('.is-selected')
    currentSlide.classList.remove('is-selected')
  })
})
An alternate way is to loop through all slides and remove the is-selected class from them all.
const slides = Array.from(carousel.querySelectorAll('.carousel__slide'))

dots.forEach(dot => {
  dot.addEventListener('click', event => {
    // ...
    // Either use this code or the one above. Pick one!
    slides.forEach(slide => {
      slide.classList.remove('is-selected')
    })
  })
})
Then, we add is-selected to the newly displayed slide.
dots.forEach(dot => {
  dot.addEventListener('click', event => {
    // ...
    slides.forEach(slide => {
      slide.classList.remove('is-selected')
    })
    slideToShow.classList.add('is-selected')
  })
})
Updating dot state
Dots on a carousel help to indicate the selected slide. The selected dot should be styled differently from the rest of the dots. We can style the selected dot with an is-selected class.
<div class="carousel__dots">
  <button class="carousel__dot is-selected"></button>
  <button class="carousel__dot"></button>
  <button class="carousel__dot"></button>
</div>
To update the styled dot, we remove the is-selected class from all other dots. And we add is-selected back to the clicked dot.
dots.forEach(dot => {
  dot.addEventListener('click', event => {
    // ...
    dots.forEach(d => {
      d.classList.remove('is-selected')
    })
    dot.classList.add('is-selected')
  })
})
Dots should also get updated when a user clicks the previous and next buttons.
When the user clicks the next button, we need to find the selected dot with querySelector. Then, we find the next dot with nextElementSibling. Then, we remove and add the is-selected class accordingly.
const dotsContainer = carousel.querySelector('.carousel__dots')

nextButton.addEventListener('click', event => {
  // ...
  // Highlight dot
  const currentDot = dotsContainer.querySelector('.is-selected')
  const nextDot = currentDot.nextElementSibling
  currentDot.classList.remove('is-selected')
  nextDot.classList.add('is-selected')
})
We can repeat the same steps for the previous button listener.
previousButton.addEventListener('click', event => {
  // ...
  // Highlight dot
  const currentDot = dotsContainer.querySelector('.is-selected')
  const previousDot = currentDot.previousElementSibling
  currentDot.classList.remove('is-selected')
  previousDot.classList.add('is-selected')
})
There’s one more thing we need to do:
If the user clicks on the first dot, we need to hide the previous button, but show the next button.
If the user clicks the second dot, we need to show both the previous and next buttons.
If the user clicks the third dot, we need to show the previous button, but hide the next button.
Let’s work it out step by step.
Clicking the first dot
When a user clicks the first dot, we want to show the next button, but hide the previous button. We can use clickedDotIndex to check if they’re clicking on the first dot.
We know these to be true:
If clickedDotIndex is 0, they click the first dot
If clickedDotIndex is 1, they click the second dot
If clickedDotIndex is 2, they click the third dot
dots.forEach(dot => {
  dot.addEventListener('click', event => {
    // ...

    // Show / hide buttons
    if (clickedDotIndex === 0) {
      previousButton.setAttribute('hidden', true)
      nextButton.removeAttribute('hidden')
    }
  })
})
Clicking the last dot
If the user clicks on the last dot, we want to show the previous button, but hide the next button. We know they clicked on the last dot if clickedDotIndex is 2.
dots.forEach(dot => {
  dot.addEventListener('click', event => {
    // ...

    // Show / hide buttons
    if (clickedDotIndex === 0) {
      previousButton.setAttribute('hidden', true)
      nextButton.removeAttribute('hidden')
    } else if (clickedDotIndex === 2) {
      previousButton.removeAttribute('hidden')
      nextButton.setAttribute('hidden', true)
    }
  })
})
This code works if there are three dots. We need to make the code work for 2 dots, 4 dots, and any other number of dots.
Here, we know this:
If last dot is 2, there are 3 dots in total
If last dot is 3, there are 4 dots in total
If last dot is 4, there are 5 dots in total
We can get the index of the last dot once we know the total number of dots. We can get the total number of dots with the length property.
dots.forEach(dot => {
  dot.addEventListener('click', event => {
    // ...

    // Show / hide buttons
    if (clickedDotIndex === 0) {
      previousButton.setAttribute('hidden', true)
      nextButton.removeAttribute('hidden')
    } else if (clickedDotIndex === dots.length - 1) {
      previousButton.removeAttribute('hidden')
      nextButton.setAttribute('hidden', true)
    }
  })
})
Clicking the second dot
If the user clicks the second dot (or any dots between the first and last dot), we want to show both arrows. We can do this with an else statement.
dots.forEach(dot => {
  dot.addEventListener('click', event => {
    // ...

    // Show / hide buttons
    if (clickedDotIndex === 0) {
      previousButton.setAttribute('hidden', true)
      nextButton.removeAttribute('hidden')
    } else if (clickedDotIndex === dots.length - 1) {
      previousButton.removeAttribute('hidden')
      nextButton.setAttribute('hidden', true)
    } else {
      previousButton.removeAttribute('hidden')
      nextButton.removeAttribute('hidden')
    }
  })
})
That’s it!
