🛠️ Datepicker: Building the calendar
We need to pass a Date object into the Datepicker if we want the it to work with any date. Let’s start by creating a new date.
const date = new Date()
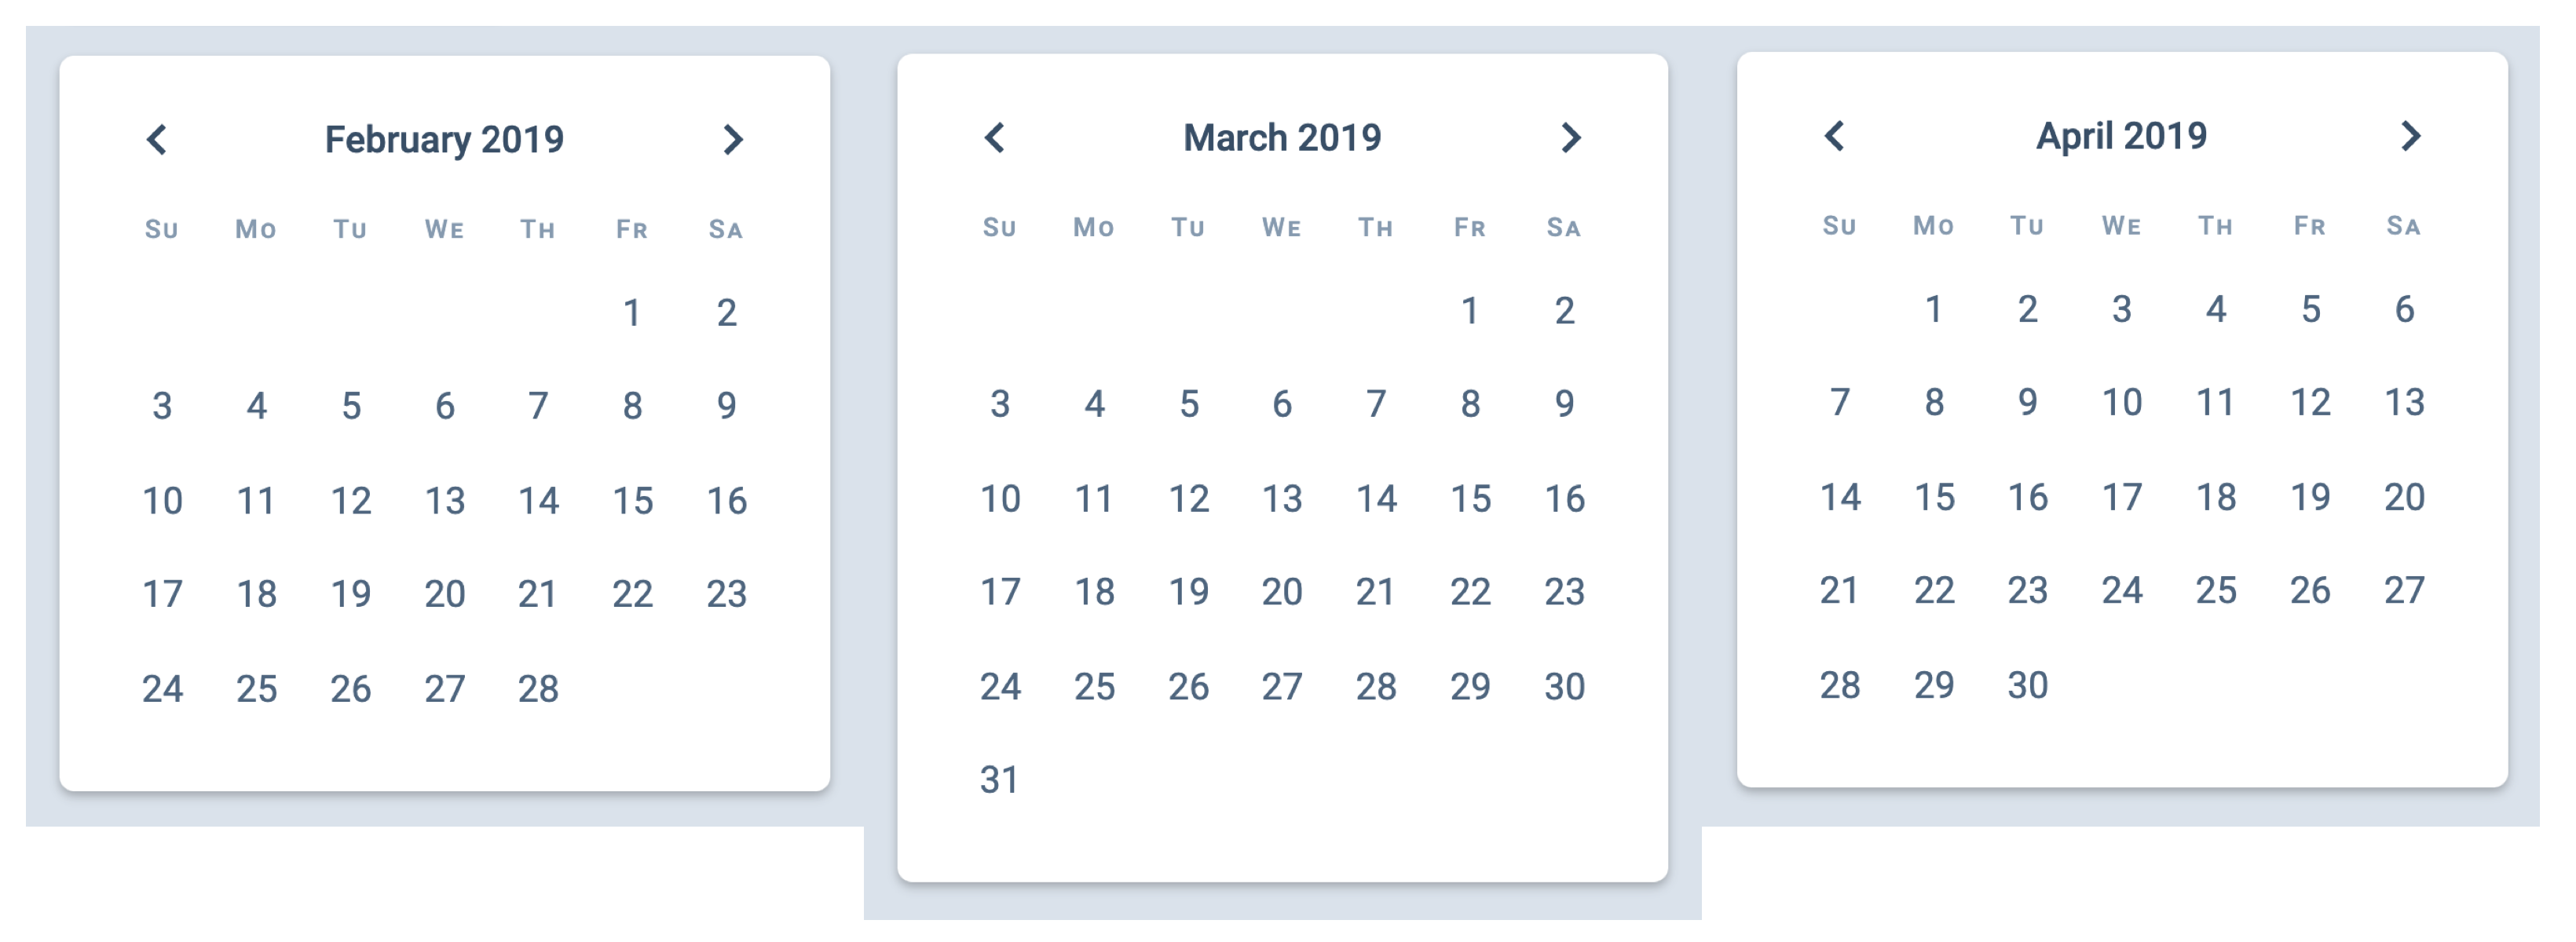
You can use any date you want. For the sake of consistency, we will use 13 February 2019 for this datepicker.
// Remember, month is zero-indexed. 1 means February.
const date = new Date(2019, 1, 13)
We need to update the calendar based on the date given.
Once again, there are three parts to the calendar:
The year-month indicator
The day-of-week indicator
The dates in the month
The year-month indicator
We want to create this HTML for the year-month indicator.
<div class="datepicker__year-month">
  <time datetime="2019-02">February 2019</time>
</div>
To build this, we first get the year-month indicator from the DOM with querySelector.
const yearMonthIndicator = document.querySelector('.datepicker__year-month')
Next, we need to get February from the date. We can get February if we create an array of months.
const monthsInAYear = [
  'January',
  'February',
  'March',
  'April',
  'May',
  'June',
  'July',
  'August',
  'September',
  'October',
  'November',
  'December'
]

const month = date.getMonth()
const monthName = monthsInAYear[month]
Next, we want to get a 4-digit year. We can use getFullYear.
const year = date.getFullYear()
Once we know year and monthName, we can create the HTML.
yearMonthIndicator.innerHTML = `
  <time datetime="2019-02">${monthName} ${year}</time>
`
For the datetime attribute, we want to get a value that says 2019-02.
We know these:
year: 2019month: 1
To get the correct month value, we can add 1 to month.
const oneIndexedMonth = month + 1
To get the 02, we can use a String method called padStart. This method takes in two arguments:
string.padStart(targetLength, padString)
targetLength: The length you want your string to be. In this case, we want 2.padString: If the string is shorter than targetLength, we add the value given padString for each character.
Example:
'2'.padStart(2, '0') // 02
'1001'.padStart(8, 'x') // xxxx1001
To use padStart, we need to convert a Number into a String. We can convert a Number into a String with toString
Using padStart for our case:
const datetimeMonth = (month + 1).toString().padStart(2, '0')
The code for the year month indicator should be:
yearMonthIndicator.innerHTML = `
  <time datetime="${year}-${datetimeMonth}">${monthName} ${year}</time>
`
Date grid
We need to know tow things to build the date grid:
What’s the first day of the month?
What’s the number of days in the month?
First day of the month
To get the first day of the month, we can use setDate and set the date to 1. Then, we use getDay to know which day it is.
const firstDayOfMonth = new Date(date.setDate(1)).getDay()
console.log(firstDayOfMonth) // 5
Number of days in a month
JavaScript helps you calculate the correct date if you provide a value that’s outside of a normal calendar range.
So, if you set the day argument to 0, you’ll get the last day of the previous month.
const lastDayOfJanuary = new Date(2019, 1, 0)
console.log(lastDayOfJanuary) // Thu Jan 31 2019
To get the number of days in the previous month, we can use getDate.
const numDaysInJanuary = lastDayOfJanuary.getDate()
console.log(numDaysInJanuary) // 31
To get the number of days in the current month, we increase the month-number by one:
const year = date.getFullYear()
const month = date.getMonth()
const lastDayInMonth = new Date(year, month + 1, 0)
const daysInMonth = lastDayInMonth.getDate()
console.log(daysInMonth) // 28
Building the date grid
Each button in the day grid has the following HTML:
<button>
  <time datetime="2019-02-01">1</time>
</button>
We can use the daysInMonth value to create one button for each day of the month. The simplest way to do it is through a for loop.
const dategrid = document.querySelector('.datepicker__date-grid')

for (let day = 1; day <= daysInMonth; day++) {
  const button = document.createElement('button')
  button.innerHTML = `
    <time>${day}</time>
  `

  dategrid.appendChild(button)
}
We need to add the datetime attribute to the <time> element. Here, both month and day values need to be 2-digit.
We can use padStart like what we did before.
for (let day = 1; day <= daysInMonth; day++) {
  // ...
  const datetimeDay = day.toString().padStart(2, '0')

  button.innerHTML = `
    <time datetime="${year}-${datetimeMonth}-${datetimeDay}">${day}</time>
  `

  // ...
}
First day of the month
First, we want to remove the CSS that sets the first day of the month to Friday.
/* Remove this CSS */
.datepicker__dates button:first-child {
  grid-column: 6;
}
Next, we need to set grid-column to the correct value depending on the first day of the Month.
grid-column for Sunday should be 1grid-column for Monday should be 2grid-column for Tuesday should be 3grid-column for Wednesday should be 4grid-column for Thursday should be 5grid-column for Friday should be 6grid-column for Saturday should be 7
One way to do this is set a CSS custom property on the date grid. We’ll use --firstDayOfMonth as the variable.
Here, We know JavaScript’s getDay function returns the following values:
Sunday returns 0
Monday returns 1
Tuesday returns 2
Wednesday returns 3
Thursday returns 4
Friday returns 5
Saturday returns 6
This means --firstDayOfMonth should be getDay() + 1.
for (let day = 1; day <= daysInMonth; day++) {
  // ...
  if (day === 1) button.style.setProperty('--firstDayOfMonth', firstDayOfMonth + 1)
  // ...

  button.innerHTML = `
    <time datetime="${year}-${datetimeMonth}-${datetimeDay}">${day}</time>
  `

  // ...
}
Then we use --firstDayOfMonth in the CSS like this:
/* Add this CSS */
.datepicker__date-grid button:first-child {
  grid-column: var(--firstDayOfMonth);
}
Testing the calendar
You can test this calendar by changing the year and month values. It should look right no matter which year or month you pass into the initial date value.