🛠️ Datepicker: Selecting a date

Hey ,

I'm thrilled to help you learn JavaScript. Unfortunately, you've landed on a page where you cannot access with your current purchase.

Please upgrade (use this link) access this content.

I'm super eager to help you learn more!

🛠️ Datepicker: Selecting a date

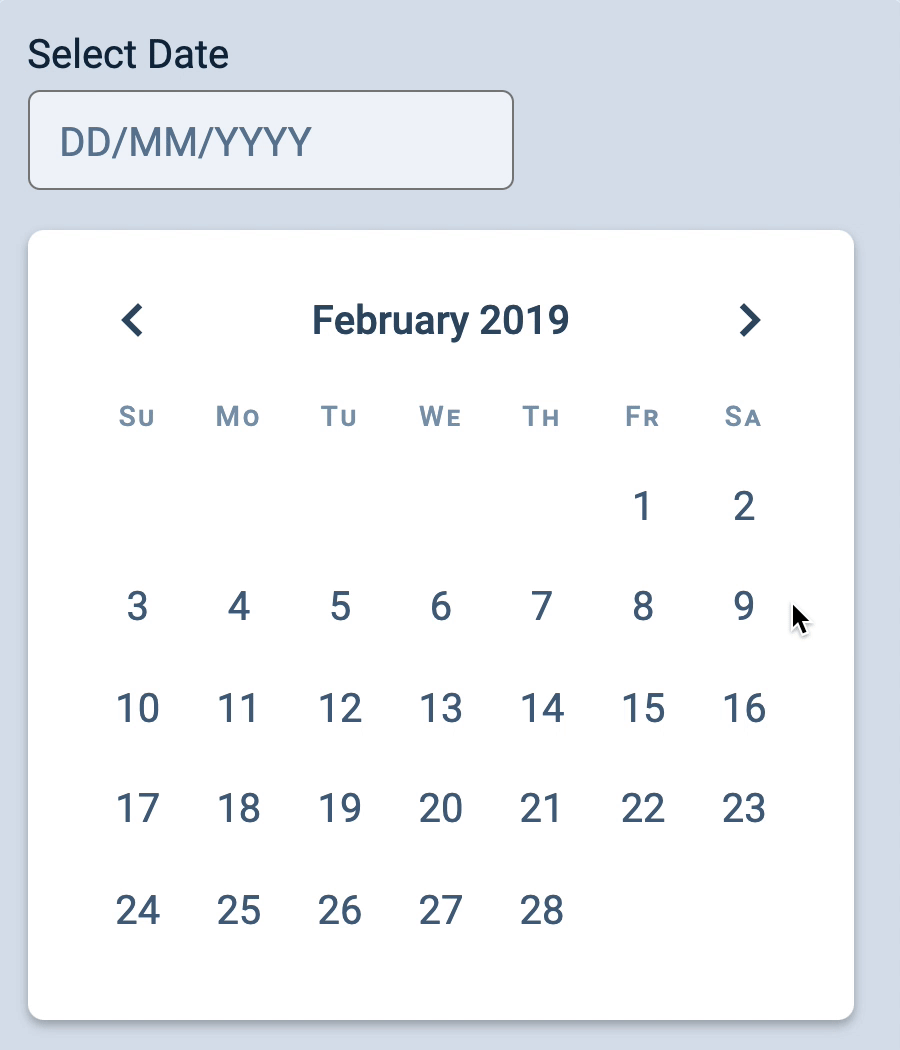
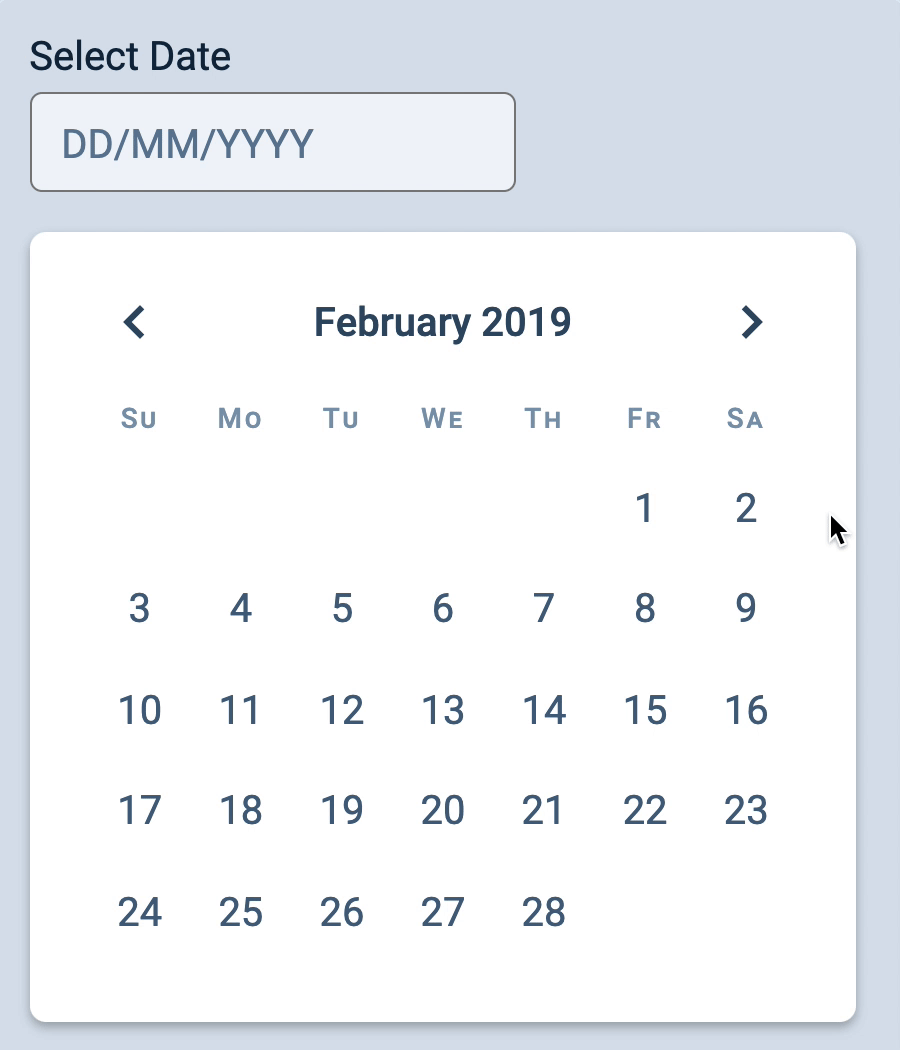
We want to do two things when a user clicks a date in the date grid:

  1. Highlight the selected date on the Datepicker
  2. Format and output the selected date to the input field
User clicks on 9 February 2019. 9 in the date grid gets a green highlight. Input shows 09/02/2019

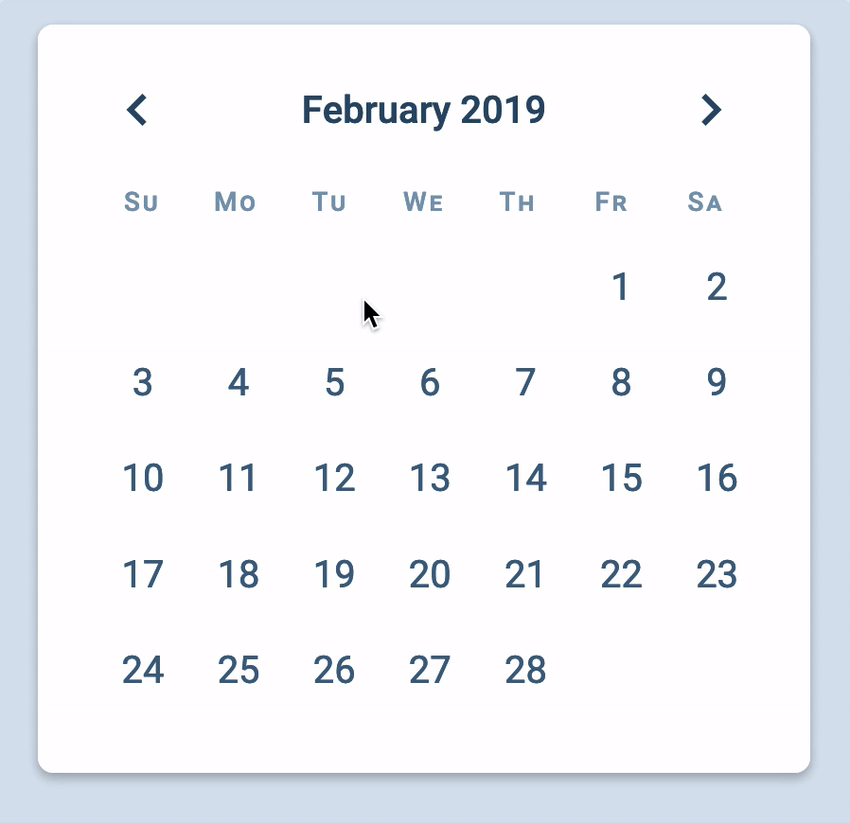
Highlighting the selected date

First, we need to add an event listener to the date grid. (We’ll use the event delegation pattern as usual). This event listener needs to be in createDatepicker

const createDatepicker = date => {
  // ...

  const dategrid = datepicker.querySelector('.datepicker__date-grid')
  dategrid.addEventListener('click', event => {
    // ...
  })

  // ...
}

We only want to do things if the user clicks on a date (which is a <button> element.

dategrid.addEventListener('click', event => {
  if (!event.target.matches('button')) return
})

We can add the is-selected class to highlight the clicked date.

dategrid.addEventListener('click', event => {
  if (!event.target.matches('button')) return
  const button = event.target
  button.classList.add('is-selected')
})

And we’ll remove the is-selected class from other dates.

dategrid.addEventListener('click', event => {
  if (!event.target.matches('button')) return
  const button = event.target
  const buttons = [...button.parentElement.children]

  // Showing the selected class
  buttons.forEach(button => button.classList.remove('is-selected'))
  button.classList.add('is-selected')
})
User clicks on 5, 7, 13, and 19 in succession. Green highlight appears on 5, 7, 13, then 19.

Showing the selected date in the input field

To show the selected date in the input field, we have to:

  1. Figure out what date is selected
  2. Formate the date for output
  3. Display the formatted date in the input field

Figuring out what date is selected

Each date in the dategrid contains a <time> element. You can look at the datetime attribute to get the selected date.

dategrid.addEventListener('click', event => {
  // ...

  const time = button.firstElementChild
  const datetime = time.getAttribute('datetime')
  const selectedDate = new Date(datetime)
})

Once again, we should not create dates with a date string. Things can break easily. We should create dates with the arguments approach.

To create a date with the argument approach, we can use the datetimeToDate function. But we need to edit datetimeToDate to work with date strings that contain days.

Here’s what we have written for datetimeToDate:

const datetimeToDate = datetime => {
  const [year, month] = datetime.split('-')
    .map(num => parseInt(num))

  return new Date(year, month - 1)
}

If we pass in a datetime value that is written in YYYY-MM-DD, we can use split to get year, month and day.

const datetimeToDate = datetime => {
  const [year, month, day] = datetime.split('-')
    .map(num => parseInt(num))

  console.log(year) // 2019
  console.log(month) // 2
  console.log(day) // 5
  // ...
}

datetimeToDate('2019-02-05')

We can use these values directly in new Date.

const datetimeToDate = datetime => {
  const [year, month, day] = datetime.split('-')
    .map(num => parseInt(num))

  // Remember, `month` needs to be zero-indexed
  return new Date(year, month - 1, day)
}

At this point, if you passed in a YYYY-MM format, datetimeToDate would break.

console.log(datetimeToDate('2019-02')) // Invalid Date
console.log(datetimeToDate('2019-02-03')) // February 3rd, 2019

This happens because day is undefined. We cannot pass undefined into new Date. There are a couple of ways to fix this.

One way is to return a Date with day only if there’s a day value.

const datetimeToDate = datetime => {
  const [year, month, day] = datetime.split('-')
    .map(num => parseInt(num))

  return day
    ? new Date(year, month - 1, day)
    : new Date(year, month - 1)
}

Another way is to set the default value for day to 1.

const datetimeToDate = datetime => {
  const [year, month, day = 1] = datetime.split('-')
    .map(num => parseInt(num))

  return new Date(year, month - 1, day)
}

Both methods do the same thing. We’ll use the second one since it’s shorter and cleaner.

Using the new datetimeToDate:

dategrid.addEventListener('click', event => {
  // ...

  const time = button.firstElementChild
  const datetime = time.getAttribute('datetime')
  const selectedDate = datetimeToDate(datetime)
  console.log(selectedDate)
})
User clicks on 2, 9, and 16. The console logs date for 2 Feb

Formatting the output

The input field requires a date written in DD/MM/YYYY. We can:

  1. Get DD with getDate.
  2. Get MM with getMonth (but we have to add 1 to this value).
  3. Get YYYY with getFullYear.
dategrid.addEventListener('click', event => {
  // ...

  const selectedDate = datetimeToDate(datetime)
  const year = selectedDate.getFullYear()
  const month = selectedDate.getMonth() + 1
  const day = selectedDate.getDate()
})

And we can create the required output format with a template string.

dategrid.addEventListener('click', event => {
  // ...

  const formatted = `${day}/${month}/${year}`
  console.log(formatted)
})
User clicks on 2, 9, and 16. Console shows 2/2/2019, 9/2/2019, and 16/2/2019

Pay attention to the console. Notice formatted gives you single digit numbers (whenever possible) for days and months? We wanted DD/MM/YYYY, so we need a two-digit string!

We can use toTwoDigitString to convert day and month into two-digit strings.

dategrid.addEventListener('click', event => {
  // ...

  const year = selectedDate.getFullYear()
  const month = toTwoDigitString(selectedDate.getMonth() + 1)
  const day = toTwoDigitString(selectedDate.getDate())

  const formatted = `${day}/${month}/${year}`
  console.log(formatted)
})
User clicks on 2, 9, and 16. Console shows 02/02/2019, 09/02/2019, and 16/02/2019

Displaying the formatted date

The datepicker needs to know where to display the formatted date. This means createDatepicker needs to take in the input field as an argument.

Let’s call this second argument input

const date = new Date(2019, 1, 13)
const form = document.querySelector('form')
const input = form.querySelector('input')

// ...

const createDatepicker = (input, date) => {
  // ...
}

// ...
form.appendChild(createDatepicker(input, date))

To output the date, we simply change the input's value.

dategrid.addEventListener('click', event => {
  // ...

  const formatted = `${day}/${month}/${year}`
  input.value = formatted
})

The input gets updated when the user clicks on a date. But the browser refreshes since we put the Datepicker in a <form>.

User clicks on 2, 9, and 16. The input field shows the correct formatted date with each click, but the browser refreshes and empties the input each time.

This is because buttons inside a <form> sometimes gets treated as submit buttons. In this case, our buttons aren’t submit buttons. We can tell browsers they’re just buttons by setting type to button.

const previousNextMonthButtons = `
  <div class="datepicker__buttons">
    <button type="button" class="datepicker__previous"> ... </button>
    <button type="button" class="datepicker__next"> ...  </button>
  </div>
`
const createDateGridHTML = date => {
  // ...
  for (let day = 1; day <= daysInMonth; day++) {
    const button = document.createElement('button')
    button.setAttribute('type', 'button')
    // ...
  }
  // ...
}

This fixes the refresh problem.

User clicks on 9 February 2019. 9 in the date grid gets a green highlight. Input shows 09/02/2019

And we’re done!