🛠️ Dota SPA: Building The Heroes List

Hey ,

I'm thrilled to help you learn JavaScript. Unfortunately, you've landed on a page where you cannot access with your current purchase.

Please upgrade (use this link) access this content.

I'm super eager to help you learn more!

🛠️ Dota SPA: Building The Heroes List

It’s almost impossible to build a Single Page App without a framework because of the complexity in each page. So the first thing we’re going to do is include a framework into the project.

For this project, we’re going to use the framework we built, Tiny.

// main.js
import Tiny from './Tiny/tiny.js'

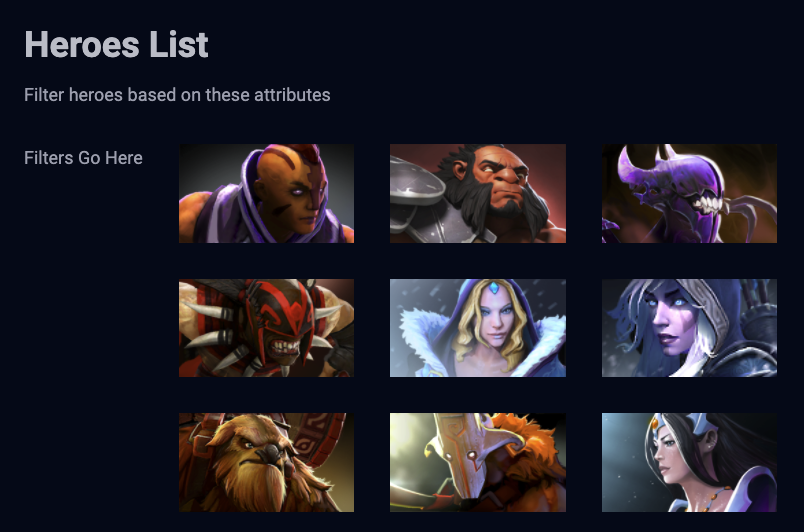
We’ll begin by populating the Heroes List Page with heroes.

Building the structure

The Heroes List Page contains three major sections:

  • The header
  • The filter
  • The heroes list

We’ll begin by creating the header.

// main.js
Tiny({
  selector: document.body,
  template () {
    return `
      <header class="site-header">
        <div class="wrap">
          <a href="/">
            <img src="/images/logo.png" alt="Dota 2 Logo" />
          </a>
        </div>
      </header>
    `
  }
})

Notice the absolute url used for the the logo. We usually use absolute urls to find assets like images.

Next, we need to include the filter (which is in a sidebar) and the heroes list (which is the main content in this page). According to the HTML, both of these are in the <main> tag.

We’ll use placeholder text to replace the content for now.

Tiny({
  // ...
  template () {
    return `
      <!-- header -->

      <main>
        <div class="wrap">
          <div class="site-title">
            <h1>Heroes List</h1>
            <p>Filter heroes based on these attributes</p>
          </div>

          <div class="sidebar-content">
            <div class="sidebar flow"> Filters Go Here </div>
            <div class="content"> Heroes Go Here </div>
          </div>
      </main>
    `
  }
})

Building the heroes list

To build the heroes list, we need to get a list of heroes from the Dota API. We can use afterMount to perform this initial fetch request.

After getting a list of heroes, we massage the data and get ready to populate it into the DOM.

Tiny({
  // ...
  afterMount () {
    const dotaApi = 'https://api.opendota.com/api'
    zlFetch(`${dotaApi}/constants/heroes`).then(response => {
      const heroes = Object.values(response.body).map(hero => {
        return {
          name: hero.localized_name,
          npcHeroName: hero.name.replace('npc_dota_hero_', ''),
          attackType: hero.attack_type.toLowerCase(),
          primaryAttribute: hero.primary_attr,
          roles: hero.roles.map(role => role.toLowerCase()),
          image: `https://api.opendota.com${hero.img}`
        }
      })

      // Put this data into the DOM somehow
    })
  }
  // ...
})

We need to re-render the component to add the Heroes into the DOM. The easiest way to do this is add the heroes into the components’ state.

Tiny({
  // ...
  afterMount () {
    const dotaApi = 'https://api.opendota.com/api'
    zlFetch(`${dotaApi}/constants/heroes`).then(response => {
      // ...
      this.setState({ heroes })
    })
  }
  // ...
})

We can then retrieve heroes from the state when we’re in template.

Tiny({
  // ...
  template () {
    console.log(this.state)
    // ...
  }
})

Notice the there are two console.log statements? The first one happens on the first render, which is called before afterMount.

To render heroes, we need to loop through state.heroes. To loop through state.heroes, we must make sure it is an array. So we need to make sure state.heroes begins with an empty array (which signifies zero heroes).

Tiny({
  // ...
  state: {
    heroes: []
  }
  // ...
})

We can now map through state.heroes — both on the initial render and after we obtained heroes from the Dota API. As we map through the heroes, we can populate the DOM with the necessary information.

Tiny({
  // ...
  template () {
    return `
      <!-- header -->

      <main>
        <div class="wrap">
          <!-- site title -->

          <div class="sidebar-content">
            <div class="sidebar flow"> Filters Go Here </div>
            <div class="content">
              <ul class="heroes-list">
                ${this.state.heroes
                  .map(hero => {
                    return `
                    <li>
                      <a href="#">
                        <span class="hero__name"> ${hero.name} </span>
                        <img src="${hero.image}" alt="${hero.name} image">
                      </a>
                    </li>
                  `
                  })
                  .join('')}
              </ul>
            </div>
          </div>
      </main>
    `
  }
})

A Tiny Improvement

We can use async and await inside afterMount to reduce indentation. First, we’ll add the async keyword to afterMount

Tiny({
  // ...
  async afterMount () {
    // ...
  }
  // ...
})

Then we await the response from the fetch request

Tiny({
  // ...
  async afterMount () {
    const dotaApi = 'https://api.opendota.com/api'
    const response = await zlFetch(/*...*/)
  }
  // ...
})

Then we perform the rest of the operation without having to put code inside a then call.

Tiny({
  // ...
  async afterMount () {
    const dotaApi = 'https://api.opendota.com/api'
    const response = await zlFetch(/*...*/)
    const heroes /* ... */ = this.setState({ heroes })
  }
  // ...
})