🛠️ DragDrop: JavaScript

Hey ,

I'm thrilled to help you learn JavaScript. Unfortunately, you've landed on a page where you cannot access with your current purchase.

Please upgrade (use this link) access this content.

I'm super eager to help you learn more!

🛠️ DragDrop: JavaScript

Since we’re building a Drag and Drop component, we should use the Drag and Drop API, right?

Nope.

You can build a Drag/Drop component with Drag and Drop API, but the Drag and Drop API is NOT the best technology for a Drag/Drop component.

It sounds ironic, I know 😑.

The Drag and Drop API is built to mimic dragging and dropping on a desktop. It produces a ghost image when you drag the component.

Styling is limited for this ghost image since it’s not an HTML Element. You can brute-force it with lots of hacks. But even if you brute force it, you still can’t change things like transform or opacity!

So we cannot use the Drag and Drop API (which is unfortunate). We need some other method. (I didn’t explain the Drag and Drop API in Learn JavaScript because we’re not going to use it).

Guess what? We can use Pointer events!

Preparations for Dragging

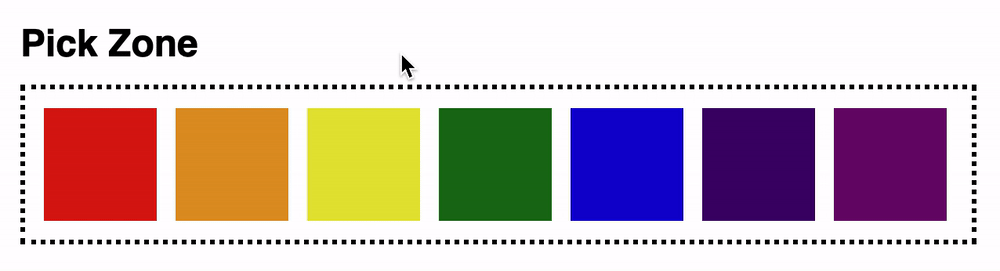
We need some way to indicate that our boxes are draggable. We cannot use the draggable attribute since we’re not using the Drag and Drop API.

I thought using data-draggable would be cool, so I added that for every box.

<div data-pickzone>
  <div class="box" data-color="red" data-draggable></div>
  <div class="box" data-color="orange" data-draggable></div>
  <div class="box" data-color="yellow" data-draggable></div>
  <div class="box" data-color="green" data-draggable></div>
  <div class="box" data-color="blue" data-draggable></div>
  <div class="box" data-color="indigo" data-draggable></div>
  <div class="box" data-color="violet" data-draggable></div>
</div>

We can get all draggable elements with querySelectorAll as usual.

const draggables = document.querySelectorAll('[data-draggable]')

When users hover their mouse onto a box, we can change the mouse cursor to let them know the box is draggable.

[data-draggable] {
  cursor: move;
}
Hover over box, mouse turns to move cursor.

Since we’re using Pointer Events, we also need a touch-action on each box. This prevents the default panning behaviour on touch devices.

[data-draggable] {
  /* ... */
  touch-action: none;
}

Anatomy of a drag

For a user to drag an element, they need to:

  1. Hold down their pointer
  2. Move the element
  3. Release their pointer

This means the dragging is split into three stages. We can detect these three stages with pointerdown, pointermove, and pointerup.

We’ll start by working on pointerdown.

const draggable = draggables[0]

draggable.addEventListener('pointerdown', event => {
  // ...
})

TIP: When you build components with many children elements, always work with ONE element first. It will make your life so much easier.

Preparing to drag

We need to be able to position an element at will if we want to drag it.

We can only position an element at will if we set its position to absolute. Once position is absolute, we can change the top and left values to move the element.

We will set position to absolute when the user holds down the mouse button. This prepares the element for dragging.

draggable.addEventListener('pointerdown', event => {
  const target = event.target
  target.style.position = 'absolute'
  // ...
})
Setting position to absolute.

Oops! Looks like we broke something?

But we didn’t break anything. If you set an element’s position to absolute, you take it out of the natural document flow. This is expected.

But we don’t want other elements to shift locations yet. Instead of dragging the actual element, we can make a clone of this element and drag that clone.

We make a clone of an element with cloneNode.

draggable.addEventListener('pointerdown', event => {
  // ...

  // Remove this
  target.style.position = 'absolute'

  // Add these
  const clone = target.cloneNode(true)
  clone.style.position = 'absolute'
})

We will add this clone in the <body> element. The <body> element is the best place because:

  1. The element’s top and left positions will not be affected by ancestor elements with position: relative.
  2. The element will not get hidden by ancestor elements with overflow: hidden or overflow: scroll.
draggable.addEventListener('pointerdown', event => {
  // ...
  document.body.append(clone)
})

Next, we want to position the clone on the clicked element. We can find the location by getting the clicked element’s bounding rectangle.

draggable.addEventListener('pointerdown', event => {
  // ...
  const box = target.getBoundingClientRect()
})

We only need set the clone’s top, left, width, and height to be the same values as the bounding original element.

draggable.addEventListener('pointerdown', event => {
  // ...

  const box = target.getBoundingClientRect()
  clone.style.left = `${box.left}px`
  clone.style.top = `${box.top}px`
  clone.style.width = `${box.width}px`
  clone.style.height = `${box.height}px`
})

If you clicked the first box now, it would appear as if nothing has happened.

Let’s rotate the clone slightly to give users feedback they’re dragging something.

draggable.addEventListener('pointerdown', event => {
  clone.style.transform = 'rotate(-5deg)'
})
Rotating the dragged target by -5deg.

We’ll hide the original element at the same time so users won’t get confused between the original and the clone. (Ideally, users shouldn’t even know there’s a clone).

draggable.addEventListener('pointerdown', event => {
  target.style.opacity = '0'
})
Hid the original element.

When the user releases their mouse button, we will revert the rotation so users know they’re not dragging anything.

We’ll do this with a pointerup event. We will create this event inside the pointerdown event since we created the clone inside pointerdown.

draggable.addEventListener('pointerdown', event => {

  clone.addEventListener('pointerup', event => {
    clone.style.transform = ''
  })
})
Rotated the clone back.

Finally, we want to reset the DOM by:

  1. Removing the clone
  2. Showing the original element

Once we do this, we will be able to click the element as many times as we want. (It’s like the clone never existed at all).

draggable.addEventListener('pointerdown', event => {

  clone.addEventListener('pointerup', event => {
    // ...
    clone.remove()
    target.style.opacity = 1
  })
})

Dragging

When a user moves their mouse, it creates a pointermove event. We can use this pointermove event to drag the clone.

draggable.addEventListener('pointerdown', event => {
  // ...

  clone.addEventListener('pointermove', event => {
    // ...
  })
})

We can detect the amount a user moved with event.movementX and event.movementY.

We can drag the clone by changing its left and top values.

draggable.addEventListener('pointermove', event => {
  // ...
  const left = parseFloat(clone.style.left)
  const top = parseFloat(clone.style.top)

  clone.style.left = `${left + event.movementX}px`
  clone.style.top = `${top + event.movementY}px`
})

Unfortunately, the method we have is not foolproof. If the user moves too fast while dragging the element, their pointer might leave the element behind… 😰 .

To prevent this from happening, we need to capture all subsequent pointer events on the clone. We can do this with setPointerCapture in pointerdown.

// Notice this is in pointerdown!
draggable.addEventListener('pointerdown', event => {
  // ...

  clone.setPointerCapture(event.pointerId)
  clone.addEventListener('pointermove', event => {/* ... */})

  // ...
})

Now users will not be able to fling the clone away from their pointers. You can even drag the clone outside of the screen and back. The clone will continue to follow the mouse.

Since we used setPointerCapture to capture the pointer event, we should also release the pointer with releasePointerCapture when the user releases their mouse button.

(Technically we don’t need to do this since we deleted the clone… But take it as a good practice to clean up after yourself. We’ll need it in a later lesson).

clone.addEventListener('pointerup', event => {
  // ...
  clone.releasePointerCapture(event.pointerId)
})

Dropping

When we release the mouse button, we want to “drop” the element in the correct position.

There are two potential cases here:

  1. User drops clone outside the dropzone
  2. User drops clone inside the dropzone

Dropping outside the dropzone

When users drop an element outside the dropzone, we want to invalidate that drag. We behave as if nothing happened because the drag was an error.

We have already done this with our code by removing the clone and displaying the original.

Dropping inside the dropzone

If the user drops the clone inside the dropzone, we want to transfer the original from the pick zone into the dropzone.

But how do we detect if the element is inside the dropzone? We can detect if the element is inside a dropzone with a method called elementFromPoint.

elementFromPoint gives you the closest element to the screen from the given point.

const droppedArea = document.elementFromPoint(x, y)

We can pass the clone’s left and top position into elementFromPoint to check where it was dropped.

clone.addEventListener('pointerup', event => {
  // ...
  const left = parseFloat(clone.style.left)
  const top = parseFloat(clone.style.top)
  const droppedArea = document.elementFromPoint(left, top)
  console.log(droppedArea)
})

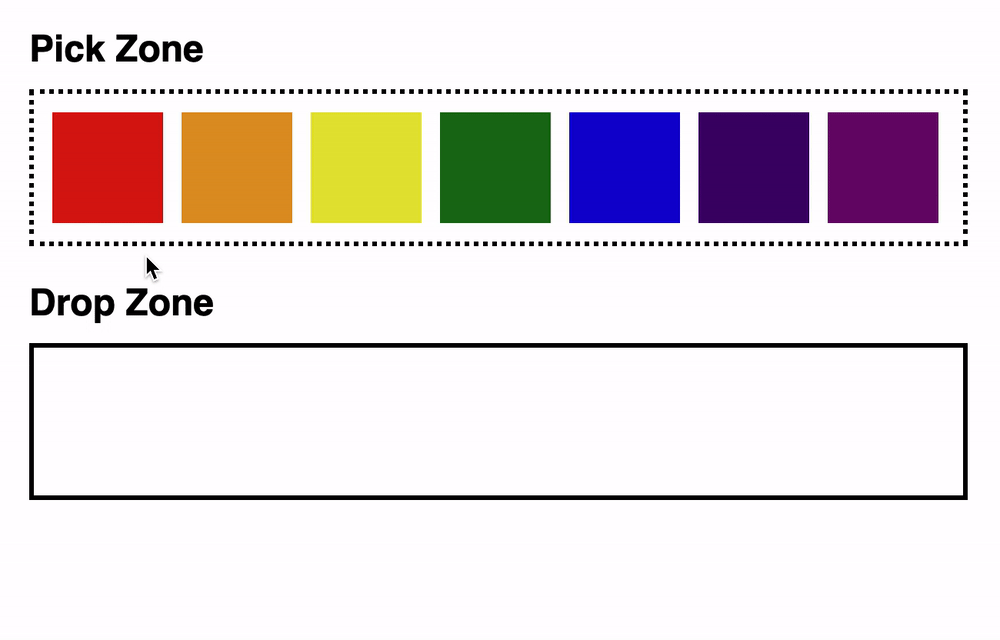
As you can see, elementFromPoint gives you the closest element to the screen.

  • It returns <div data-dropzone></div> if the element was dropped into the dropzone directly.
  • But it returns <div class="box">..</div> if the element was dropped onto another element.

Fret not, we can still detect if the clone was dropped into the dropzone with closest.

clone.addEventListener('pointerup', event => {
  // ...
  const left = parseFloat(clone.style.left)
  const top = parseFloat(clone.style.top)
  const droppedArea = document.elementFromPoint(left, top)
  const dropzone = droppedArea.closest('[data-dropzone]')

  if (dropzone) {
    // Dropped into Dropzone
  }
})

If the clone was dropped into the dropzone, we append it to the dropzone. This automatically moves the element from its original location to the dropzone.

clone.addEventListener('pointerup', event => {
  // ...
  if (dropzone) {
    dropzone.append(target)
  }
})

Dragging other elements

To drag other elements, we can loop through them all and run the code we wrote.

draggables.forEach(draggable => {
  draggable.addEVentListener('pointerdown', event => {
    // ...
  })
})

Fixing the problem in Safari

You won’t be able to drag elements in Safari right now.

This happens because Safari doesn’t support event.movementX and event.movementY yet.

It’s funny because if you console.log the event object in Safari, you see event.movementX and event.movementY just fine! Except… they’re always 0

clone.addEventListener('pointermove', event => {
  // ...
  console.log(movementX, movementY)
})

So we’re left in a situation where we can’t use movementX and movementY, but we can’t tell Safari (and mobile Safari) aside from other browsers… 😑

Fixing movementX and movementY

Thankfully, this is a quick fix. MDN states that movementX has the following calculation:

currentEvent.movementX = currentEvent.screenX - previousEvent.screenX.

movementY must also uses the same calculations:

currentEvent.movementY = currentEvent.screenY - previousEvent.screenY.

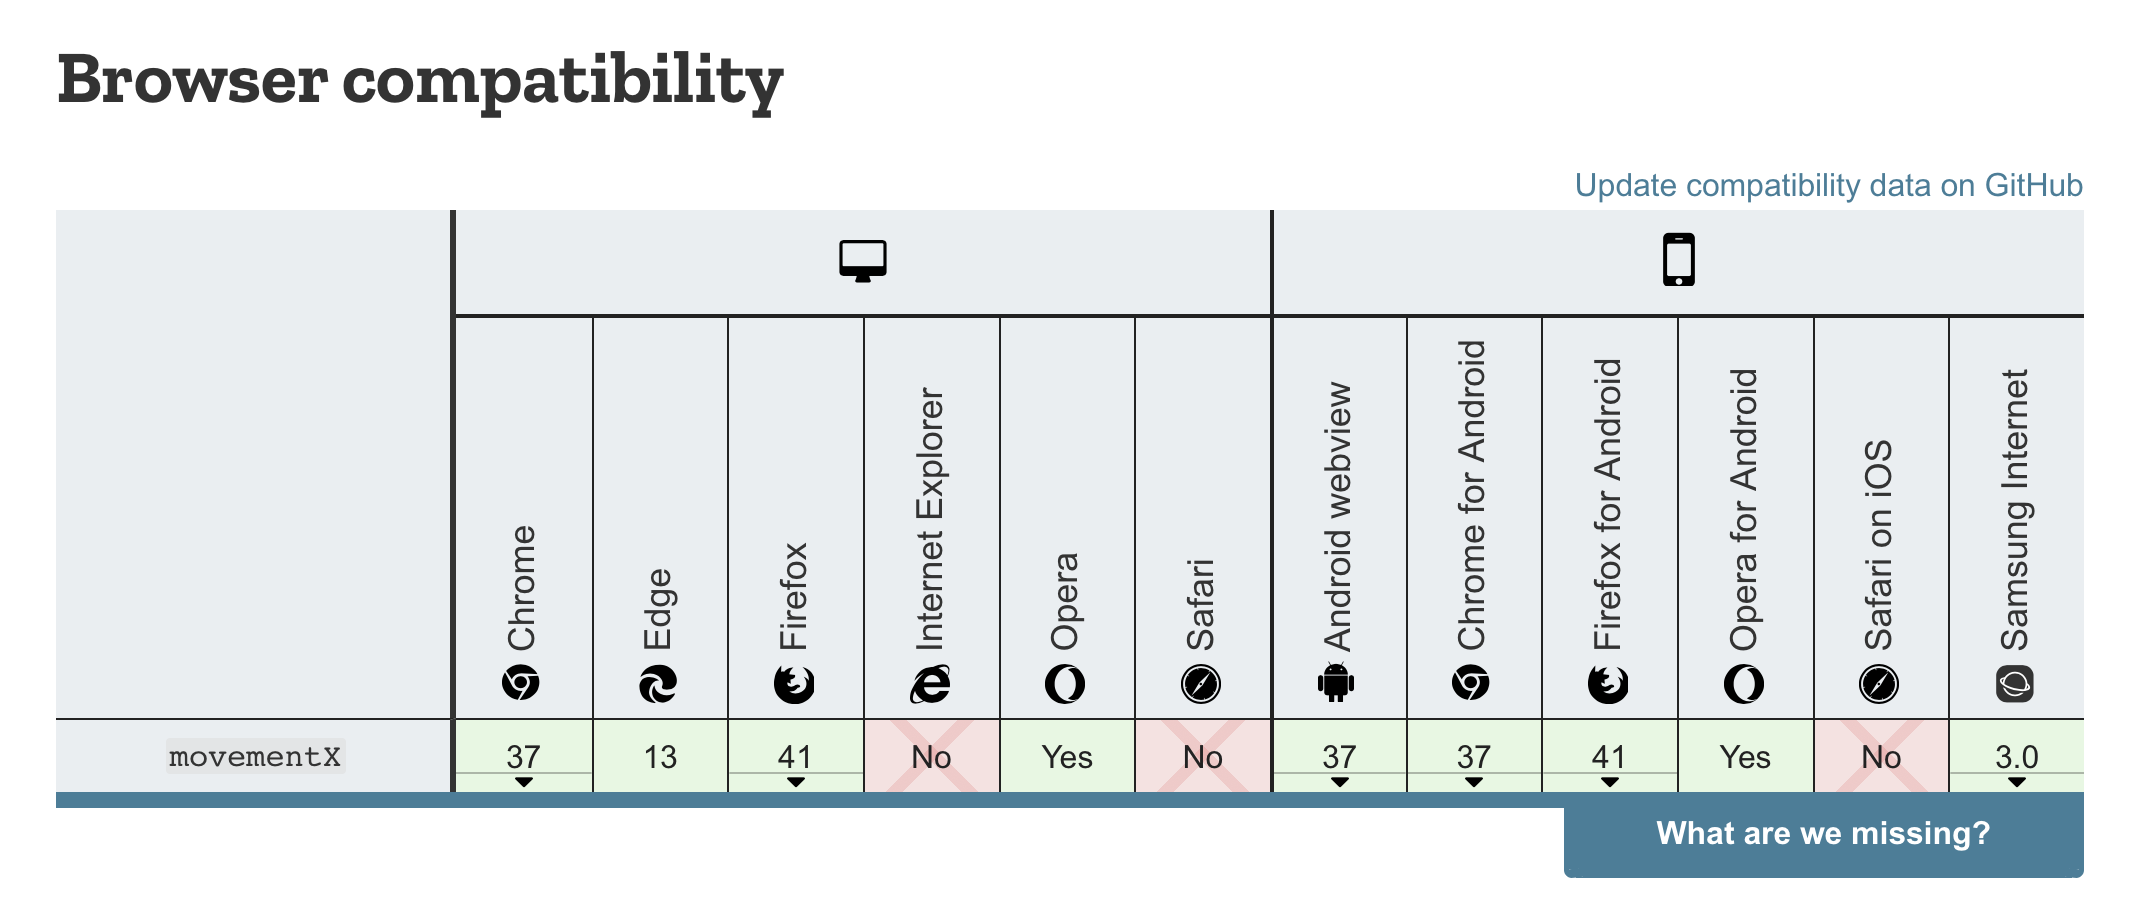
Armed with this information, we can calculate the movementX and movementY values ourselves.

Calculating movementX and movementY

We need screenX and screenY values from the previous pointer event. For the very first event, we need to get the originating values from the pointerdown event.

draggable.addEventListener('pointerdown', event => {
  let prevScreenX = event.screenX
  let prevScreenY = event.screenY
  // ...
})

When the user moves the pointer, we get screenX and screenY from the current pointermove event. This lets us calculate movementX and movementY.

We will then update prevScreenX and prevScreenY with the current values.

clone.addEventListener('pointermove', event => {
  const { screenX, screenY } = event
  const movementX = screenX - prevScreenX
  const movementY = screenY - prevScreenY

  prevScreenX = screenX
  prevScreenY = screenY
})

And we fixed the movementX and movementY problem with Safari.