Intro to forms
Hey ,
I'm thrilled to help you learn JavaScript. Unfortunately, you've landed on a page where you cannot access with your current purchase.
Please upgrade (use this link) access this content.
I'm super eager to help you learn more!
Hey ,
I'm thrilled to help you learn JavaScript. Unfortunately, you've landed on a page where you cannot access with your current purchase.
Please upgrade (use this link) access this content.
I'm super eager to help you learn more!
Forms allow users to enter information; they’re essential for websites and web applications. When a user submits a form, the information they entered can be processed directly in the frontend (with JavaScript) or sent to the backend.
All forms must be created with the <form> element. Each form should have at least two attributes—method and action.
<form method="post" action="/some-url"> <!-- ... --> </form>
method tells the browser which HTTP method to use to submit the form. You can choose from get and post; and you’ll learn what these methods are in a later module.
action tells the browser what URL to submit the information to. In this case, it’s /some-url. If you want to process the information in the frontend, you don’t need the action attribute.
Forms must contain at least one field (officially, they’re called widgets, but I call them fields) and a submit button, like this:
<form method="post" action="/some-url">
  <label for="first-name">First name</label>
  <input type="text" name="first-name" id="first-name">
  <button type="submit">Submit form</button>
</form>
Form fields should have three things:
name attribute for each fieldlabel for each fieldid attribute for each field<label for="first-name">First name</label>
<input type="text" name="first-name" id="first-name">
The name attribute lets servers extract values from fields. In this case, a server can find a user’s first name by looking for the first-name field.
The label describes what a field is about. In this case, a user knows they should enter their first name into the input because the label exists.

When a user clicks on a label, you’ll want the browser to focus on a field. To do so, you need to provide the label with a for attribute; this for attribute should match the id of the targeted field.

The submit button lets users submit a form. You can create a submit button with an <input> element or a <button> element. Many people prefer the <button> element because it’s easier to style buttons.
<!-- Submit button created with <input> -->
<input type="submit" value="Submit form">
<!-- Submit button created with <button> -->
<button type="submit">Submit form</button>
Users can submit a form in two ways:
The submit event occurs when a user submits a form. You can listen to the submit event through an event listener.
const form = document.querySelector('form')
form.addEventListener('submit', e => {
// Do something here
console.log('submitting form')
})
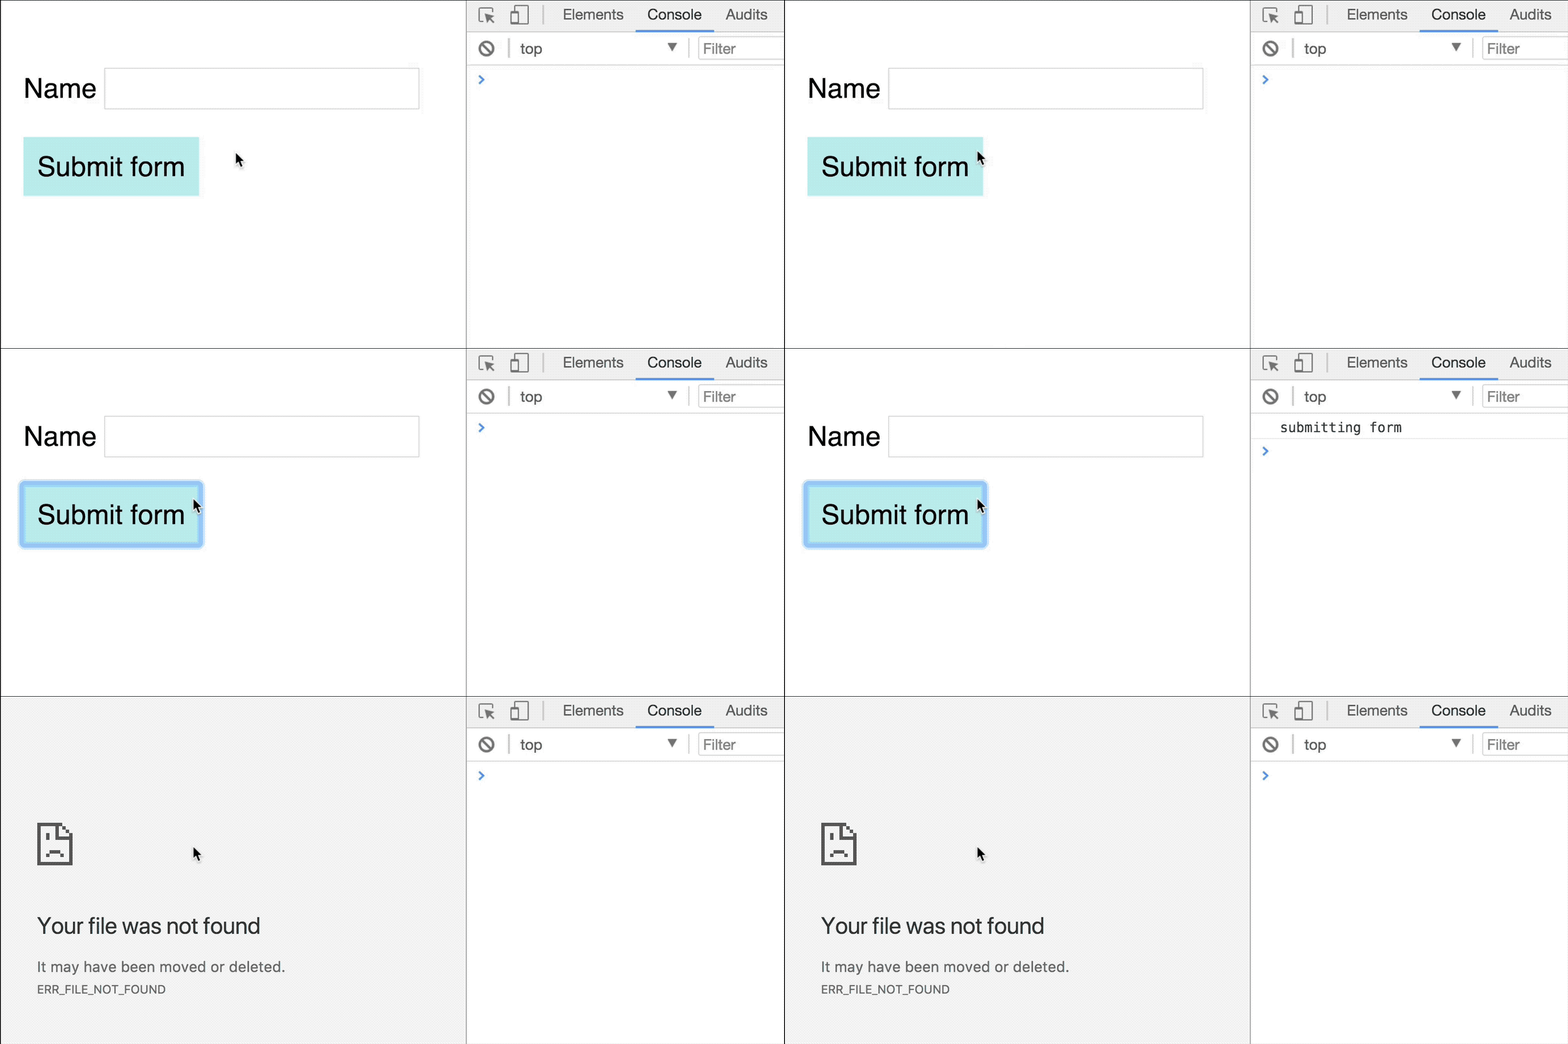
When the above form is submitted, browsers will log submitting form into the console for a split second before saying the url mentioned in the action attribute cannot be found.

This is normal—the default behavior for a form, when submitted, is to navigate to the url mentioned in the action attribute. If you want to perform actions before the navigation occurs, you need to stop the default behavior with event.preventDefault.
form.addEventListener('submit', e => {
e.preventDefault()
// Do stuff here
console.log('Default prevented. Yay!')
})
There are two reasons for preventing a form’s default behavior.
First, it allows you to alter field values (or even create new fields) with JavaScript before sending it to the server. You’ll learn how to alter field values in a future lesson.
When you’re ready to submit the form to the server, you can continue the submission process by calling form.submit.
form.addEventListener('submit', e => {
e.preventDefault()
// Do stuff here
console.log('Change stuff here')
// Continues the submission
form.submit()
})
Second, preventing a form’s default behavior allows you to get and send data with AJAX (asynchronous JavaScript). You’ll learn more about AJAX in a later module.
form.addEventListener('submit', e => {
e.preventDefault()
// Sends form with AJAX.
// You'll learn more about this in a later chapter
fetch(form.action, { /* fetch options */ })
})
console.log statement after preventing the default behavior, then continue the submission process.<form method="post" action="/some-url">
<label for="first-name">First name</label>
<input type="text" name="first-name" id="first-name">
<button type="submit">Submit form</button>
</form>
console.log statement after preventing the default behavior, then continue the submission process.const form = document.querySelector('form')
form.addEventListener('click', ev => {
ev.preventDefault()
console.log('do stuff')
form.submit()
})