🛠️ Google Maps Clone: Driving directions
You learned how to draw directions on a map. The next thing to learn is how to let users search for directions from one place to another.
Your browser doesn't support embedded videos. Watch the video here instead.
For Google Maps, you need to use the places library. (Or you won’t be able to search directions from one address to another).
Adding the places library
To use the places library, you need to add the libraries=places query parameter to your Google Maps API call.
const fetchGoogleMapsApi = _ => {
  // ...
  script.src = `https://maps.googleapis.com/maps/api/js?key=${apiKey}&libraries=places&callback=initGoogleMaps`
  // ...
}
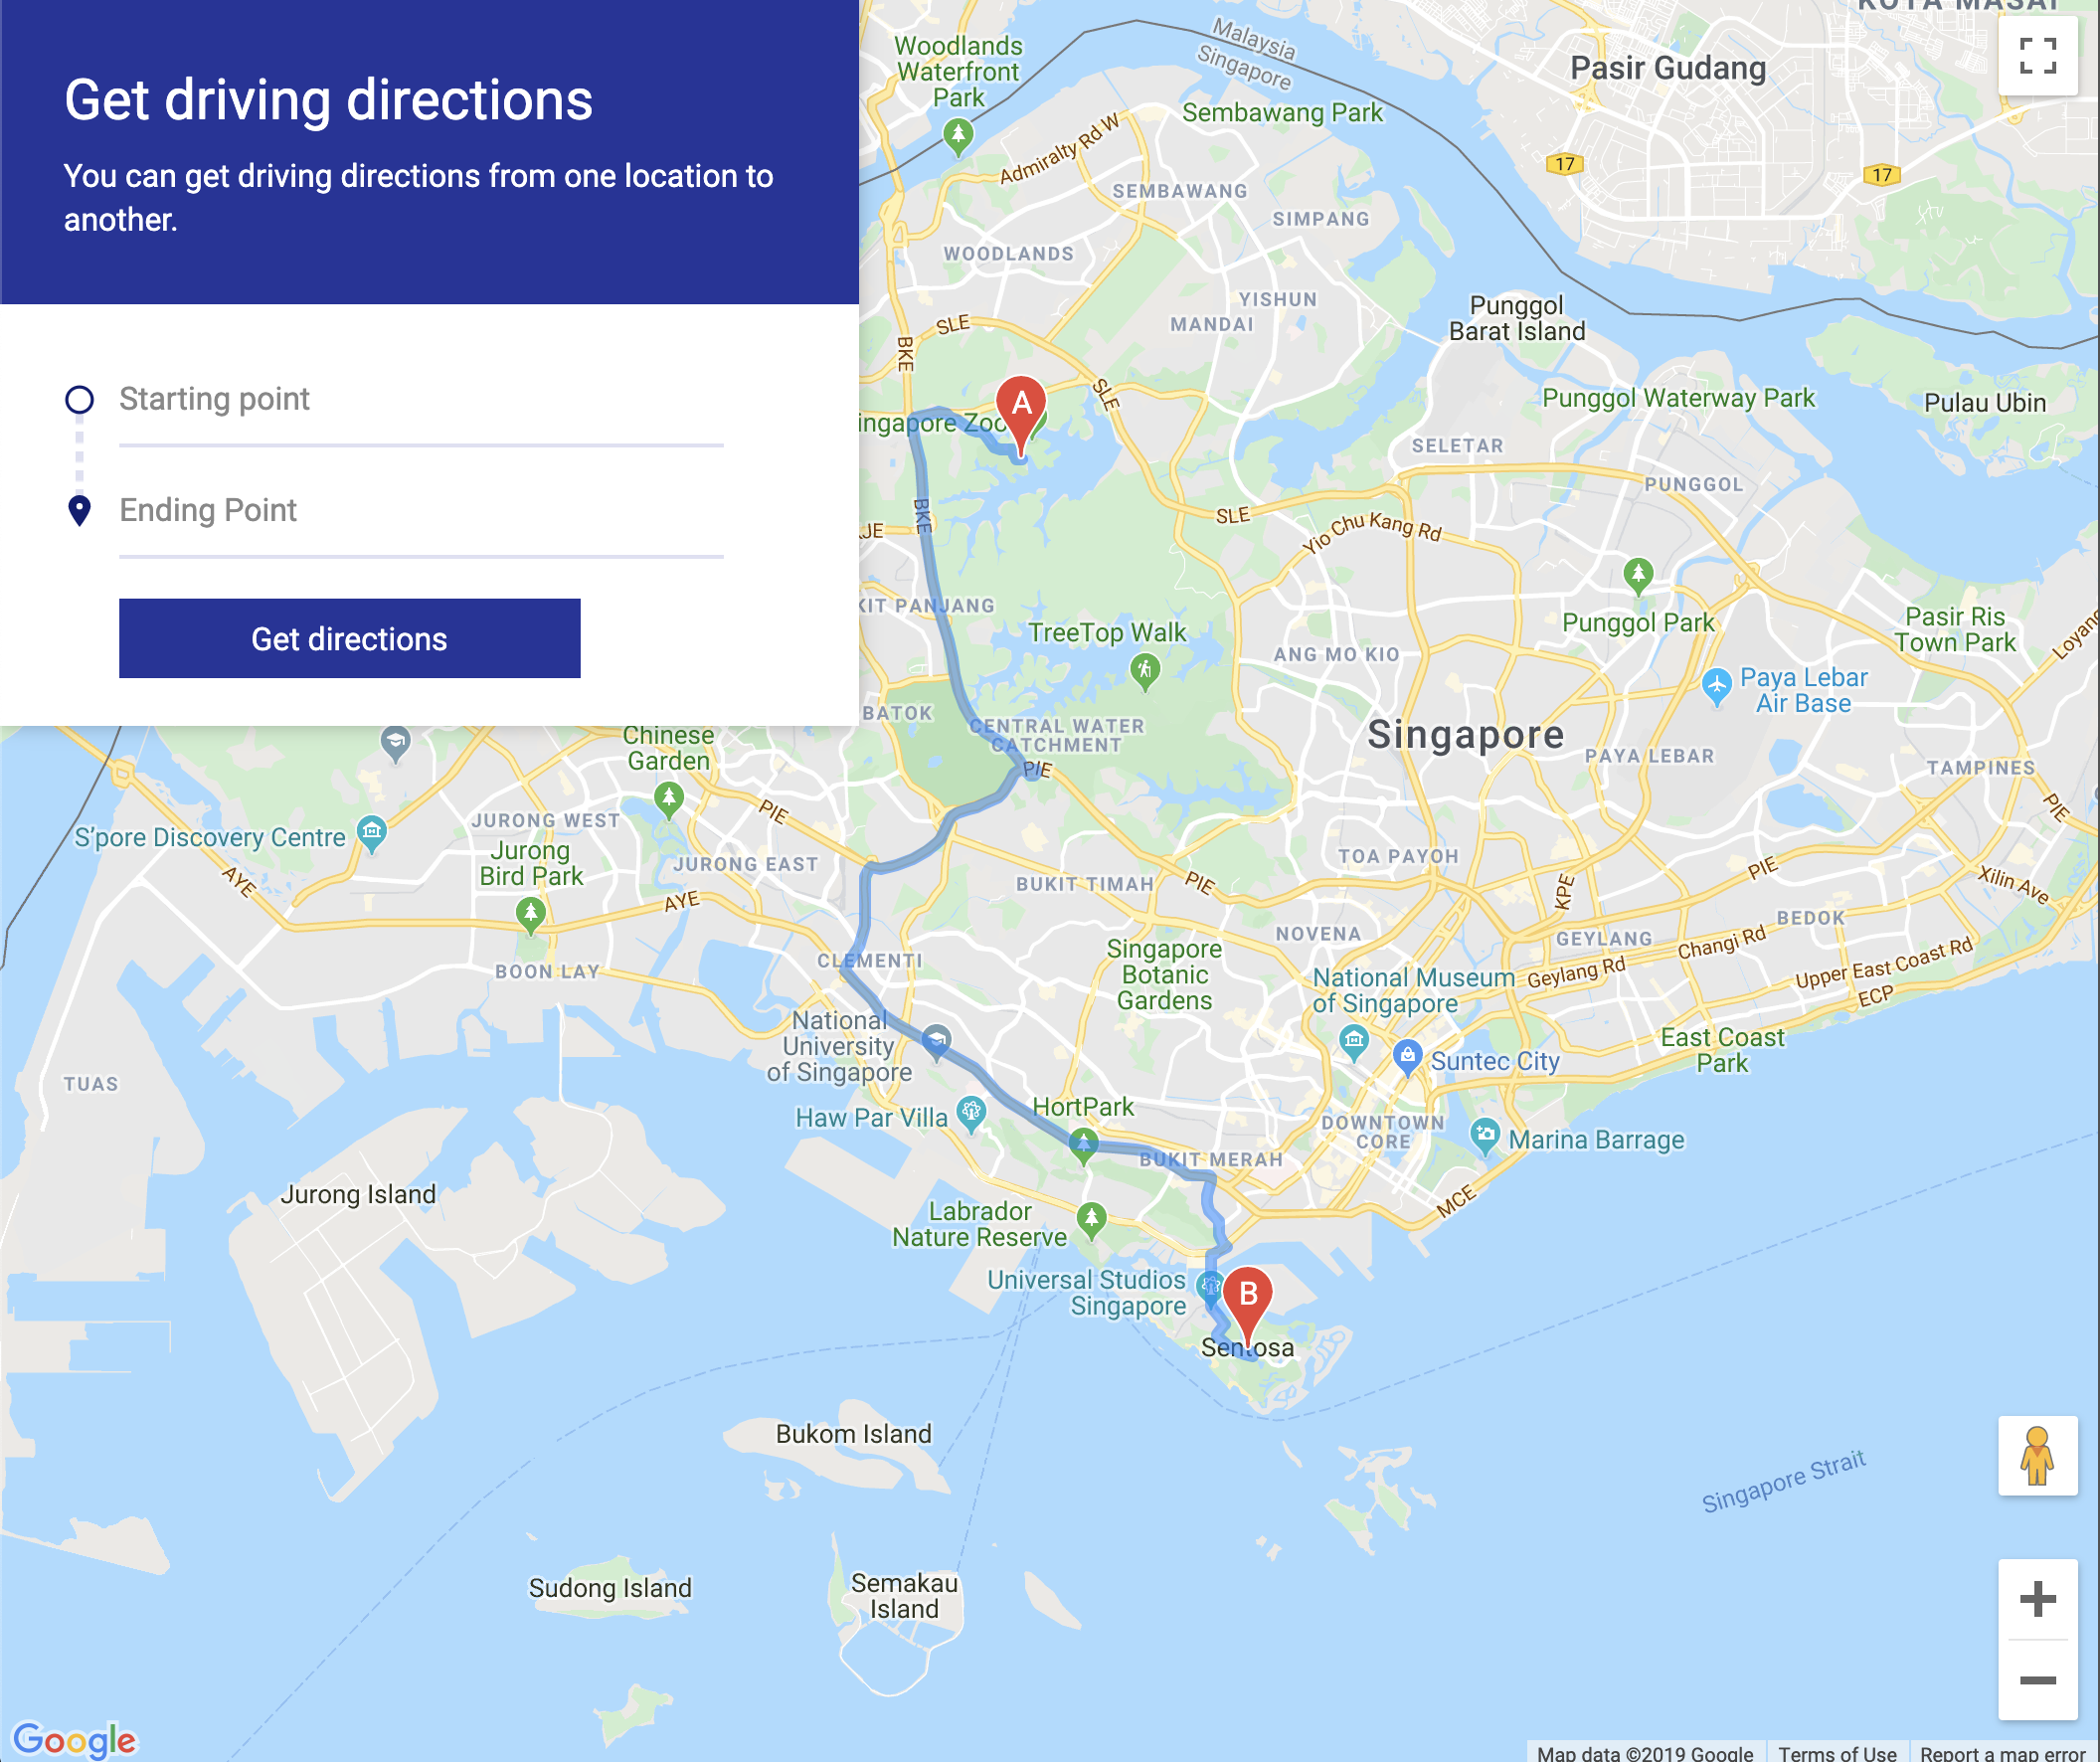
Building the search panel
We’ll build a search panel that allows users to enter two addresses. I’ve created the UI for you. You can find it in the starter file for this lesson.
The HTML for the search panel looks like this:
<form action="#" class="search-panel" autocomplete="off">
  <!-- ... -->
  <div class="search-panel__body">
    <div class="search-box">
      <span class="search-box__stopover-icon"></span>
      <input type="search" ... />
    </div>

    <!-- Another search box -->
    <!-- The Get directions button -->
  </div>
</form>
Google’s places library contains an Autocomplete Widget. (We called this the Typeahead). It gives us some default HTML, CSS, and JavaScript so you don’t have to write much to get started.
(But styling the widget can be a pain in the ass. I won’t go into the styling in this course. You can find the required styles in the starter file).
To use Google’s Autocomplete Widget, you need to pass an input element into google.maps.places.Autocomplete.
In this case, we have two input elements.
function initGoogleMap () {
  // ...
  const searchPanel = document.querySelector('.search-panel')
  const searchBoxes = [...searchPanel.querySelectorAll('.search-box')]

  searchBoxes.forEach(searchBox => {
    const input = searchBox.querySelector('input')
    new google.maps.places.Autocomplete(input)
  })
}
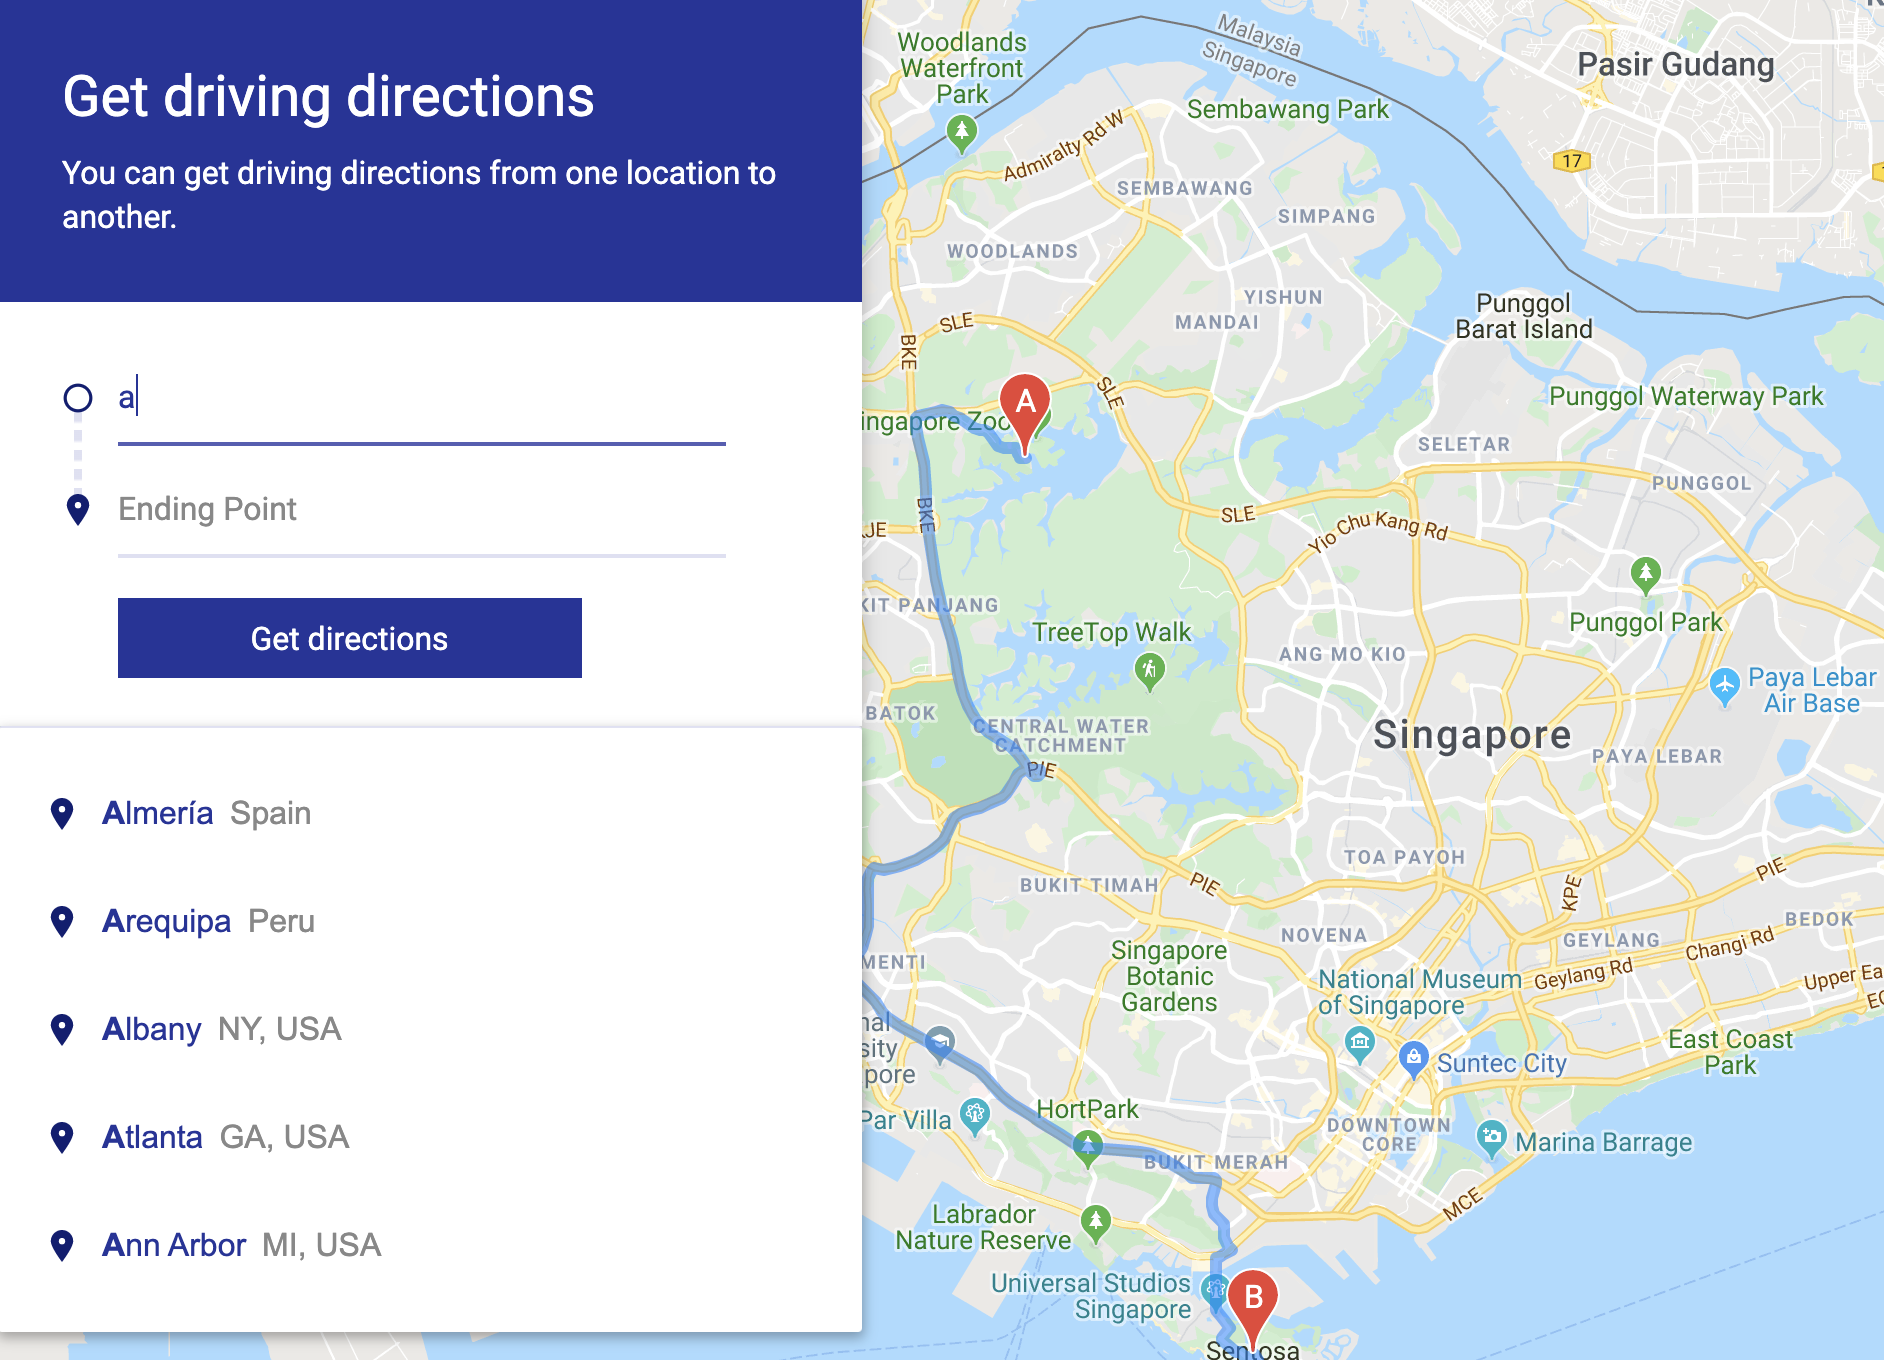
This creates an Autocomplete (or Typeahead) for the search box. We’ll call it Autocomplete for this lesson since Google calls it Autocomplete.
You can see the Autocomplete if you type something into any of the input fields.
You can also click on the predictions in the Autocomplete widget and it’ll fill in the predictions for you.
(If you’re up for a challenge, you can create an autocomplete component yourself through Google’s Autocomplete Service ).
Searching closer to the map
I’m based in Singapore. I created my map to be in Singapore. But my search results were way off the mark!
We want the search results to be bounded (or at least near to) the map you created. To do this, we use the autocomplete’s bindTo method.
You’ll have to search the Docs for this feature. You can find it in this guide for the Autocomplete widget.
function initGoogleMap () {
  // ...
  searchBoxes.forEach(searchBox => {
    const input = searchBox.querySelector('input')
    const autocomplete = new google.maps.places.Autocomplete(input)
    autocomplete.bindTo('bounds', map)
  })
}
Drawing the route
When the user presses the “Get directions” button, we want to draw a route. We can do that by listening to the submit event.
function initGoogleMap () {
  // ...
  searchPanel.addEventListener('submit', event => {
    // ...
  })
}
First, we want to prevent the form from submitting (and refreshing the page).
function initGoogleMap () {
  // ...
  searchPanel.addEventListener('submit', event => {
    event.preventDefault()
  })
}
Next, we need to get the values from both input fields. We’ll call the starting point “origin”, and the ending point “destination”.
searchPanel.addEventListener('submit', event => {
  // ...
  const originInput = searchBoxes[0].querySelector('input')
  const destinationInput = searchBoxes[1].querySelector('input')

  const origin = originInput.value.trim()
  const destination = destinationInput.value.trim()
})
Once we know the origin and destination, we can draw the directions.
searchPanel.addEventListener('submit', event => {
  // ...
  const request = {
    origin,
    destination,
    travelMode: 'DRIVING'
  }

  getDirections(request)
    .then(result => {
      new google.maps.DirectionsRenderer({
        map,
        directions: result
      })
    })
    .catch(console.error)
})
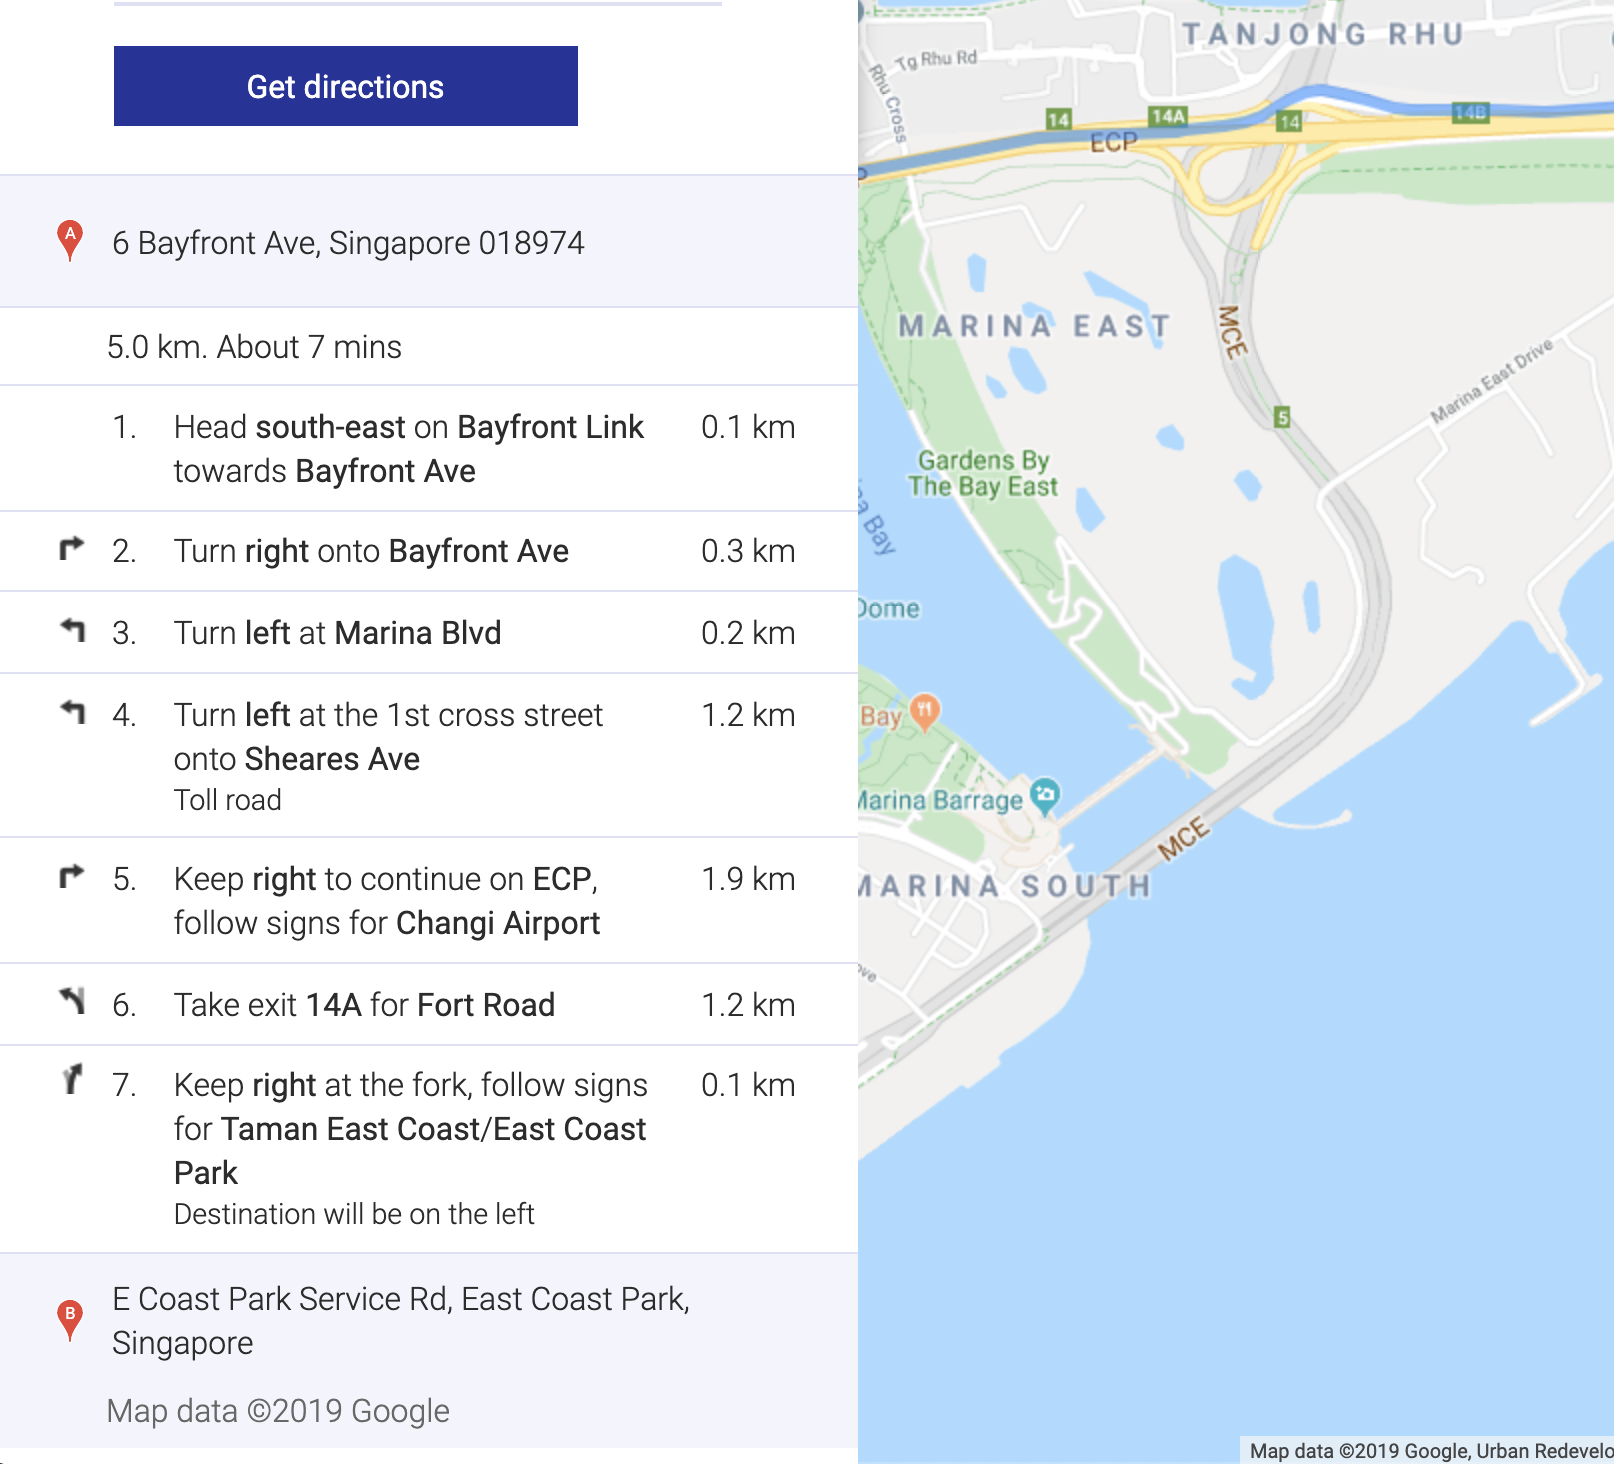
Rendering the directions panel
The Google Maps API lets you create a directions panel that shows you turn-by-turn instructions. You need to tell Google where you add this panel. For this, we’ll add a <div> with a class called directions-panel.
<body>
  <form class="search-panel"> ... </form>
  <div class="directions-panel"></div>
  <!-- ... -->
</body>
Next, you tell Google about this <div> in the directions renderer.
function initGoogleMaps () {
  // ...
  getDirections(request)
    .then(result => {
      new google.maps.DirectionsRenderer({
        // ...
        panel: document.querySelector('.directions-panel')
      })
    })
    .catch(console.error)
}
Redrawing directions
If the user performs another search right after their first search, you’ll notice Google draws two routes.
The previous route
The current route
Your browser doesn't support embedded videos. Watch the video here instead.
This happens because we used a “new” instance of the Directions Renderer. Because we have two renderers, we have two plotted routes on the map.
To fix this, we need to use the same renderer. We can do so by declaring the renderer first.
function initGoogleMaps () {
  // ...
  const directionsRenderer = new google.maps.DirectionsRenderer({
    map,
    panel: document.querySelector('.directions-panel')
  })
}
When we get the directions, we can draw on the same renderer with the setDirections method.
searchPanel.addEventListener('submit', event => {
  // ...
  getDirections(request)
    .then(result => {
      directionsRenderer.setDirections(result)
    })
    .catch(console.error)
})
Your browser doesn't support embedded videos. Watch the video here instead.
That’s it!