🛠️ Infinite Scroll: Infinite load
Let’s start building the Infinite Scroll component by fetching all letters. We want to make sure everything looks good.
const endpoint = 'https://api.learnjavascript.today/letters'
zlFetch(endpoint)
  .then(response => {
    console.log(response.body)
  })
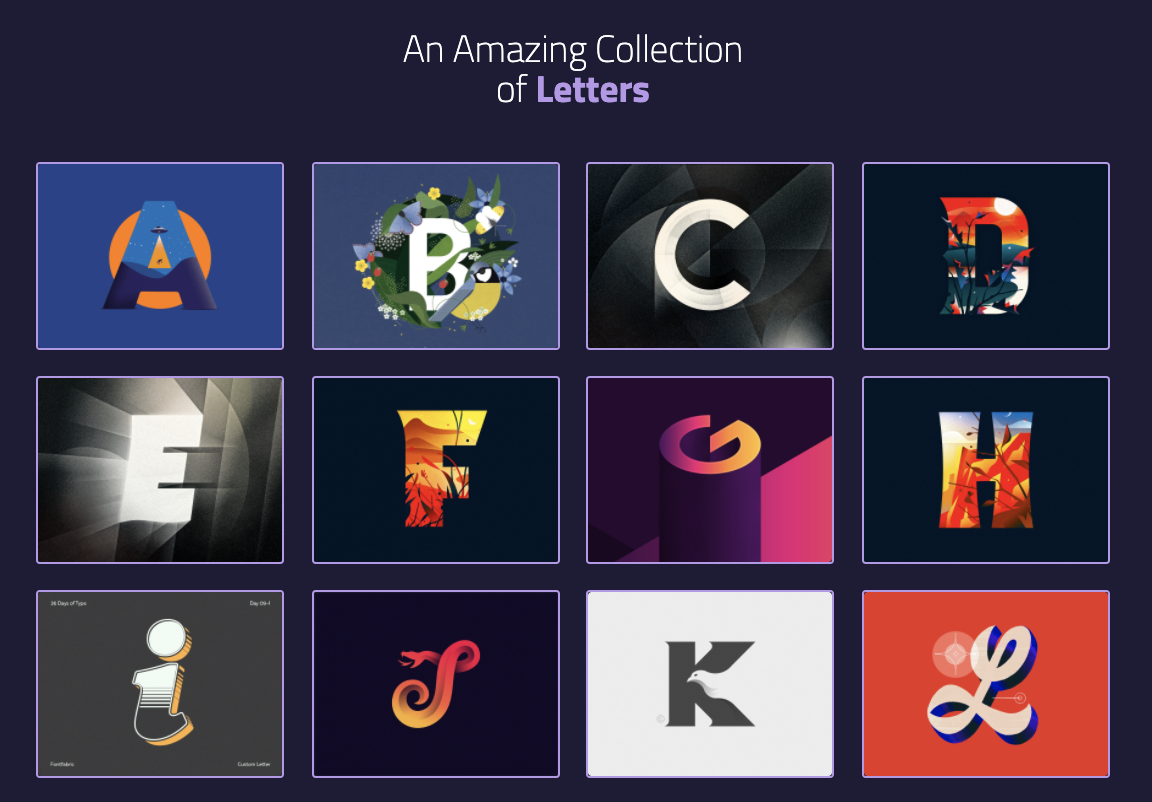
You should see an array of 36 objects in the console.

We want to add all 36 letters to the DOM. We’ll create an <li> element with the following HTML for each letter.
<li>
  <a class="letter" href="LINK_TO_SHOT">
    <span>By CREATOR_NAME</span>
    <img src="LINK_TO_IMAGE" alt="ALT_TEXT" width="400" height="300">
  </a>
</li>
We can make the HTML for each letter with this code:
zlFetch(endpoint)
  .then(response => {
    const { letters } = response.body

    letters.forEach(letter => {
      const li = document.createElement('li')
      li.innerHTML = `
        <a class="letter" href="${letter.shotUrl}">
          <span>By ${letter.creator}</span>
          <img src="${letter.imageUrl}" alt="Picture of ${letter.letter}" width="400" height="300">
        </a>
      `
    })
  })
We can add each letter into the DOM with appendChild.
const lettersElement = document.querySelector('.letters')

zlFetch(endpoint)
  .then(response => {
    const { letters } = response.body

    letters.forEach(letter => {
      // ...
      lettersElement.appendChild(li)
    })
  })
You should see all 36 letters in the DOM at this point:
We should also hide the spinner since we are done fetching.
const spinner = document.querySelector('.spinner')

zlFetch(/*...*/)
  .then(response => {
    // ...
    spinner.setAttribute('hidden', true)
  })
A slightly better way to add letters to the DOM
Changing the DOM is an expensive operation. We should change the DOM as little times as possible.
The code above changes the DOM 36 times. We can change the DOM only once if we use a Document Fragment.
First, we’ll create a document fragment before we loop through letters.
zlFetch(/*...*/)
  .then(response => {
    // ...

    const fragment = document.createDocumentFragment()

    letters.forEach(letter => {
      // ...
    })
  })
Then, we add each <li> into the document fragment.
zlFetch(/*...*/)
  .then(response => {
    // ...
    letters.forEach(letter => {
      // ...
      fragment.appendChild(li)
    })
  })
Finally, we add the document fragment into the DOM.
zlFetch(/*...*/)
  .then(response => {
    // ...
    letters.forEach(/*...*/)
    lettersElement.appendChild(fragment)
  })
Fetching 6 letters
We only have 36 letters. We can do “Infinite Scroll” if we fetched all the data upfront. So we’ll fetch 6 letters each time instead.
We can fetch 6 letters by setting limit to 6.
zlFetch(`${endpoint}?limit=6&page=1`)
  .then(response => {/*...*/})
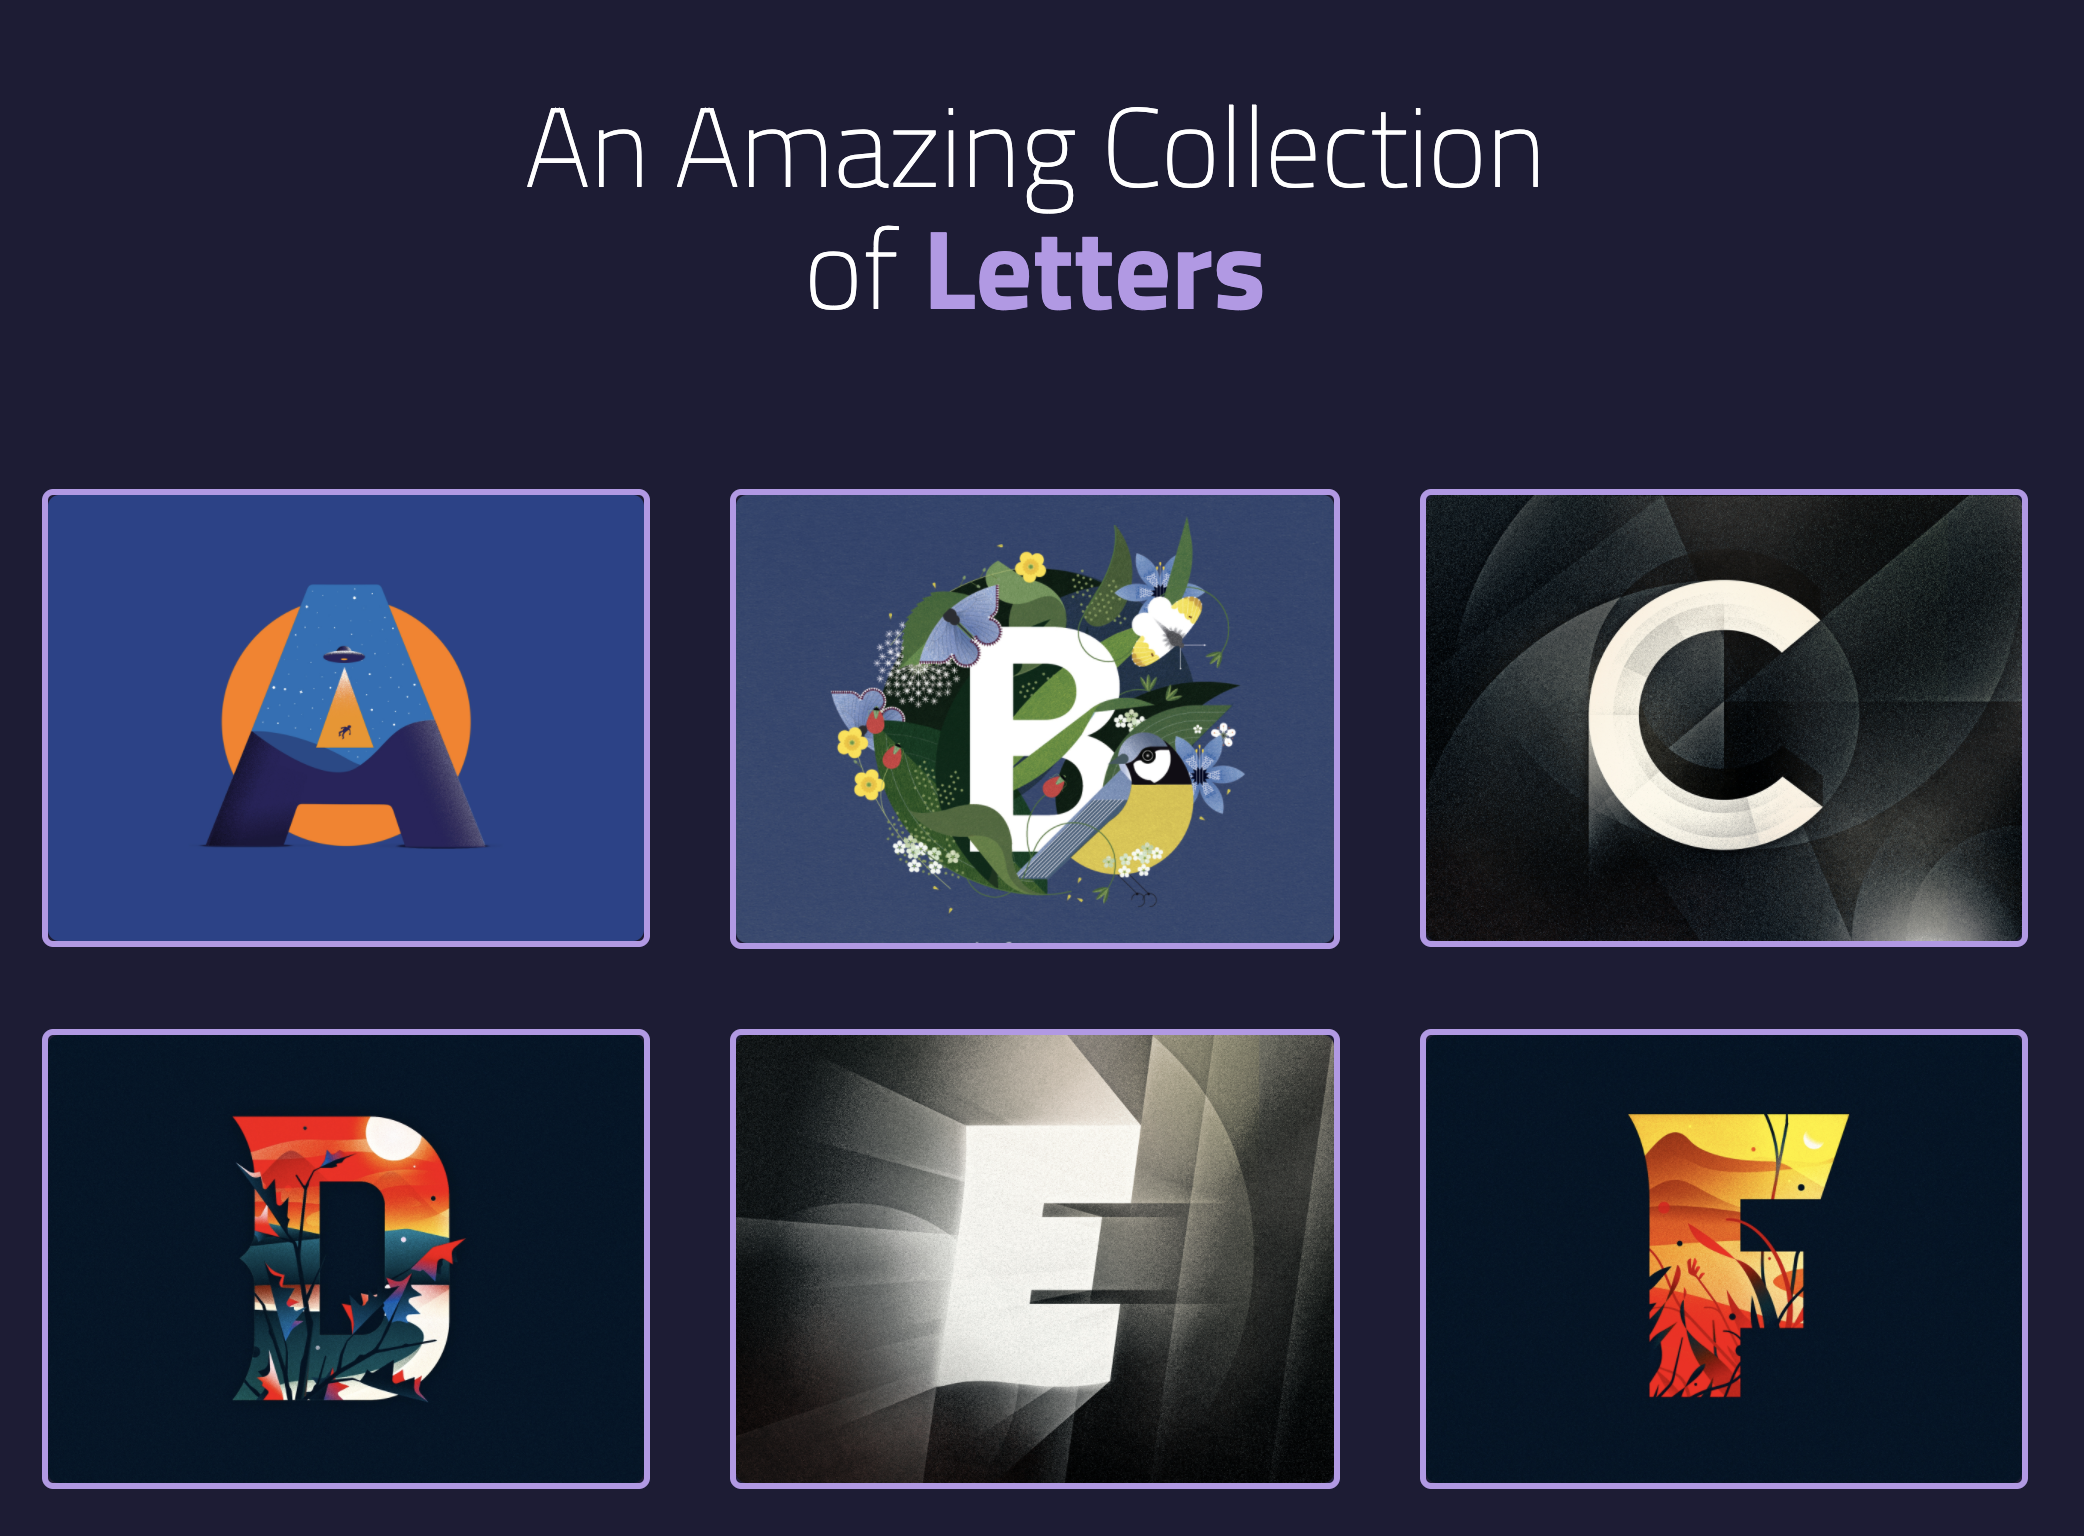
You should see only 6 characters now.
Fetching the second page
The easiest way to fetch the second page is to let a user click a “Load more” button.
We need to add this button to the HTML. We’ll put it after the spinner.
<div class="center">
  <svg class="spinner"> ... </svg>
  <button class="load-more-button">Load more</button>
</div>
We need an event listener to make this button work.
const button = document.querySelector('button')

button.addEventListener('click', event => {
  // ...
})
In this case, we want to fetch the second page. We can get the second page by setting page to 2.
button.addEventListener('click', event => {
  zlFetch(`${endpoint}?limit=6&page=2`)
    .then(response => {
      console.log(response.body.letters)
    })
})
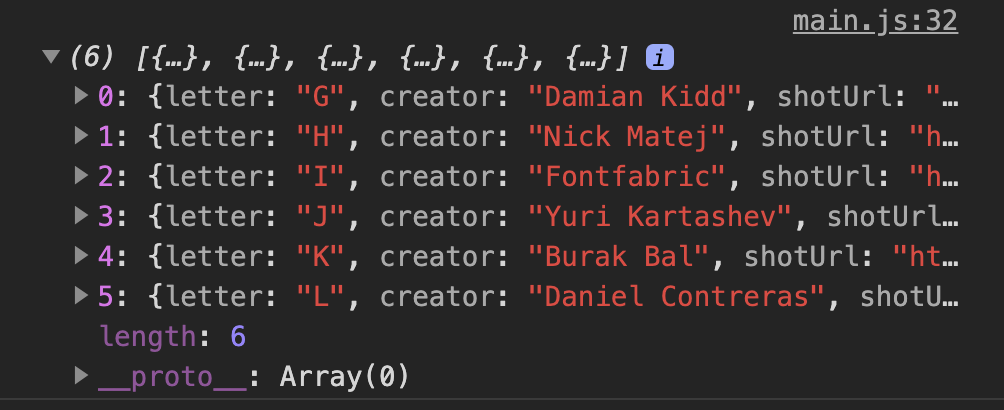
You should see letters G to L in the console.
We want to show the spinner when we’re fetching the letters so users know they’re waiting for content.
When we get a response, we want to hide the spinner so users know we’re done fetching.
button.addEventListener('click', event => {
  spinner.removeAttribute('hidden')

  zlFetch(/*...*/)
    .then(response => {
      // ...
      spinner.setAttribute('hidden', true)
    })
})
There’s no need to show the button and the spinner at the same time. One is enough. When we show the spinner, we can hide the button.
button.addEventListener('click', event => {
  spinner.removeAttribute('hidden')
  loadMoreButton.setAttribute('hidden', true)

  zlFetch(`${endpoint}?limit=6&page=2`)
    .then(response => {
      spinner.setAttribute('hidden', true)
      loadMoreButton.removeAttribute('hidden')
    })
})

Finally, we will create one <li> element for each letter (6 letters in total) and append them to the DOM.
loadMoreButton.addEventListener('click', event => {
  // ...
  zlFetch(/*...*/)
    .then(response => {
      const { letters } = response.body
      const fragment = document.createDocumentFragment()

      letters.forEach(letter => {
        const li = document.createElement('li')
        li.innerHTML = `
          <a class="letter" href="${letter.shotUrl}">
            <span>By ${letter.creator}</span>
            <img src="${letter.imageUrl}" alt="Picture of ${letter.letter}" width="400" height="300">
          </a>
        `
        fragment.appendChild(li)
      })

      lettersElement.appendChild(fragment)
    })
})
Fetching the third page
What happens if we click the load more button one more time?
That’s right. We’ll fetch page 2 again.
We fetch page 2 again because we hardcoded page=2 in the request url.
loadMoreButton.addEventListener('click', event => {
  // ...

  // Hardcoded page=2 here
  zlFetch(`${endpoint}?limit=6&page=2`)
  // ...
})
We need to set page=3 to get the next page.
The easiest way is to set the page number as a custom attribute. We’ll call it data-next-page.
loadMoreButton.addEventListener('click', event => {
  // ...
  zlFetch(`${endpoint}?limit=6&page=2`)
    .then(response => {
      // ...
      loadMoreButton.dataset.nextPage = 3
    })
})
We will use data-next-page as a variable in the fetch request, like this:
loadMoreButton.addEventListener('click', event => {
  // ...
  const { nextPage } = loadMoreButton.dataset

  zlFetch(`${endpoint}/?limit=6&page=${nextPage}`)
    .then(/*...*/)
})
For this to work, we need to set data-next-page to 2 when we fetch page 1.
zlFetch(`${endpoind}?limit=6&page=1`)
  .then(response => {
    // ...
    loadMoreButton.nextPage = 2
  })
Fetching the fourth page
We have hardcoded pages 2 and 3 in the code above. This gets us up to page 3, but we can’t go to page 4.
We need another way to increase the page count to fetch pages 4 and up. We can increase the page count in two ways:
- Keep a
count variable outside of the fetch request. Increase count each time we fetch one page.
- Use
nextPage provided by the API.
Both methods work. In this case, the API made things easy by returning a nextPage property. This nextPage property contains the next page’s url.
zlFetch(`${endpoind}?limit=6&page=1`)
  .then(response => {
    // ...
    console.log(response.body)
  })

We can set data-next-page to value this nextPage contains.
zlFetch(`${endpoind}?limit=6&page=1`)
  .then(response => {
    const { nextPage, letters } = response.body
    // ...

    loadMoreButton.dataset.nextPage = nextPage
  })
This lets us fetch the second page.
We can also use the same nextPage value to fetch the 3rd, 4th, and subsequent pages.
loadMoreButton.addEventListener('click', event => {
  // ...
  zlFetch(loadMoreButton.dataset.nextPage)
    .then(response => {
      const { nextPage, letters } = response.body
      // ...
      loadMoreButton.dataset.nextPage = nextPage
    })
})
Last page
Since we set limit to 6, there are a total of 6 pages. We exhaust the stream of content when we reach page 6.
When we exhaust our content, we want to do two things:
- Hide the load more button (since there’s nothing more to load).
- Show the “Get more lettery goodness” section to direct users to Dribbble. (I’ll call this the Dribbble section).
The Letters API tells you there’s no more content when there’s no nextPage property.
loadMoreButton.addEventListener('click', event => {
  // ...
  zlFetch(loadMoreButton.dataset.nextPage)
    .then(response => {
      const { nextPage, letters } = response.body
      // ...

      if (nextPage) {
        // Has next Page
      } else {
        // No more content
      }
    })
})
We want to fetch the next page when there’s more content. This is what we’ve done so far.
loadMoreButton.addEventListener('click', event => {
  // ...
  zlFetch(loadMoreButton.dataset.nextPage)
    .then(response => {
      const { nextPage, letters } = response.body
      // ...
      if (nextPage) {
        loadMoreButton.dataset.nextPage = nextPage
      }
    })
})
If there’s no more content, we want to hide the load more button and show the Dribbble section.
const dribbbleSection = document.querySelector('.dribbble-section')

loadMoreButton.addEventListener('click', event => {
  // ...
  zlFetch(loadMoreButton.dataset.nextPage)
    .then(response => {
      // ...
      if (nextPage) {
        // ...
      } else {
        loadMoreButton.setAttribute('hidden', true)
        dribbbleSection.removeAttribute('hidden')
      }
    })
})
With this, we’ve done an “infinite load” feature. Users can click the “load more” button until there is no more content.
The “infinite scroll” is simply the next step.