Creating a server that works with the History API can be extremely complex. We’re not going to dive in there since it can be a full course by itself!
What we’re going to do instead, is to create a server capable of serving the same index.html file regardless of the link the user visited. We can then use JavaScript to show the correct information to users.
We’ll be building this minimum viable server with Node and Express.
Preparing to create a server
First, we want to create a project to host the server. I named mine project for this lesson.
Second, you want to navigate to the project with your terminal. A simple way is to use VS Code’s integrated terminal. I shared how to do this in the Starter Template lesson.
Third, run npm init. Hit enter for everything that shows up. (We’re not concerned about the actual configuration here, so we’ll quickly pass through the not so important stuff).
npm init
This process creates a package.json file that manages the packages we’re going to use for the server.
Next, we want to install Express.js, which is a framework that helps you create servers easily in Node. We’ll use the --save flag to indicate this a dependency we need in a production server.
npm install express --save
Next, we’ll install Nodemon to speed up the development process. Nodemon reloads the server automatically when you change JavaScript file. This helps refresh the server so we can debug immediately.
We’ll use a --save-dev flag since we only use Nodemon when we code. It is a dev-dependency.
npm install nodemon --save-dev
Creating a Server
We need to create a file for the server. I usually name this server.js, but I’ve seen other people use app.js.
Next, we need to import Express JS into server.js before we can use it. We can do this by requiring express. This process works the same way as importing a module with ES modules).
Note: I’m not explaining servers in detail for this course. We’ll dive deeper into servers in another course.
Listening for requests
We use listen to listen for requests via a port. This port can be any number ranging from 1024 to 65353, but we tend to use a 3000 or 8080 (no idea why). If 3000 or 8080 is used up, we usually use a number around that range.
app.listen(3000, _ => {
  console.log('Listening on http://localhost:3000')
})
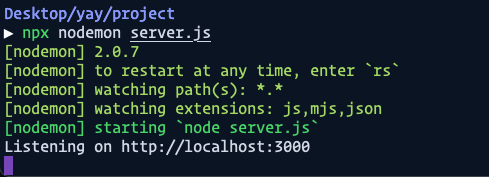
We can serve up the index.html file with a command that looks like this:
npx nodemon server.js
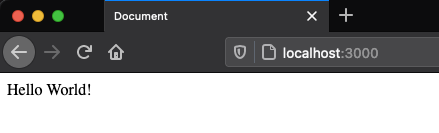
If you go to http://localhost:3000 at this point, you should see your index.html file.
We can make things easier for us going forward by writing nodemon server.js as a npm script inside package.json. It looks like this:
Once we do this we can run the server with npm run server.
npm run server
Loading assets
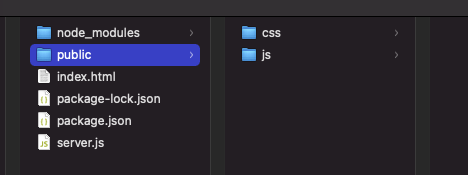
Assets like CSS, JavaScript, and images are often placed inside a folder called public in the Node ecosystem. Sometimes this public folder can also be called static. It’s up to you what to call it.
I chose to use the public folder, and I added my CSS and JS files like this:
We need to allow people to access this public folder upon request. So we’ll put express.static above the routing part.
// Getting the static assets
app.use(express.static('public'))

// Routing Part
app.use(function (req, res) {
  res.sendFile(path.resolve(__dirname, 'index.html'))
})
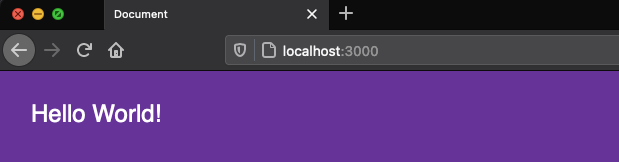
We can now access the CSS file and JS files via index.html like this. Pay special attention to the / at the beginning of the path. This means an absolute URL (which we talked about way at the beginning of this course).