Selecting multiple elements

Hey ,

I'm thrilled to help you learn JavaScript. Unfortunately, you've landed on a page where you cannot access with your current purchase.

Please upgrade (use this link) access this content.

I'm super eager to help you learn more!

Selecting multiple elements

Sometimes, you need to select many elements at once, to do so, you can use querySelectorAll.

querySelectorAll

querySelectorAll lets you select multiple elements at once. The syntax of querySelectorAll is similar to querySelector.

const NodeList = Element.querySelectorAll(selector)

The selector object in querySelectorAll is the same selector object in querySelector:

  • To select elements with a specific class, you prepend the class with .
  • To select elements with a specific tag, you write the tag name directly
  • To select elements with a specific attribute, you write the attribute in square ([]) brackets
<p>Paragraph 1</p>
<p>Paragraph 2</p>
<p>Paragraph 3</p>
const paragraphs = document.querySelectorAll('p')
Selecting three paragraphs at once with `querySelectorAll`

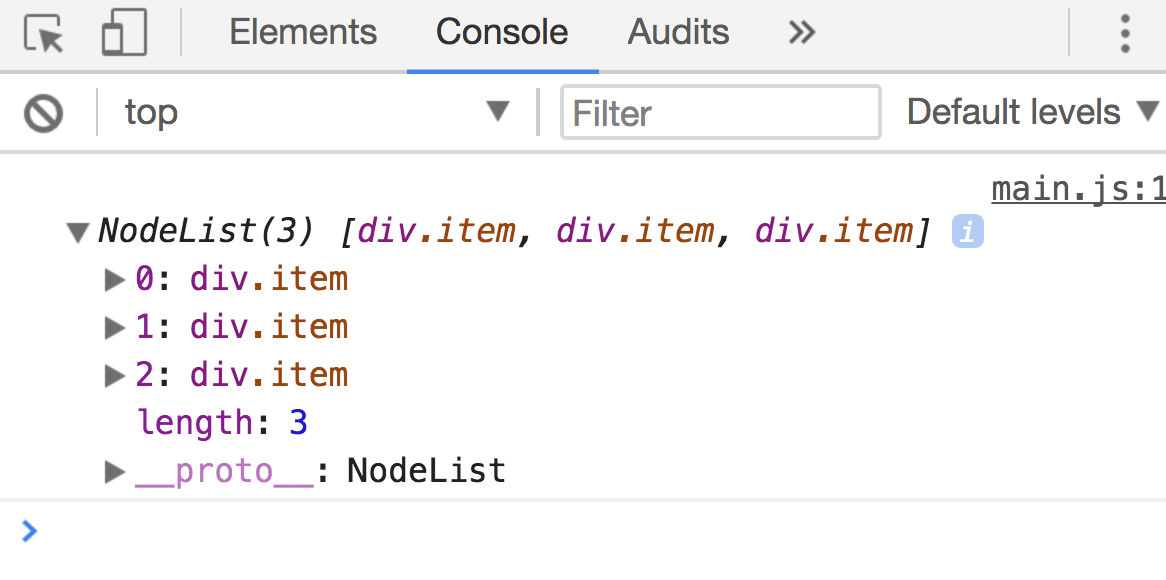
querySelectorAll returns a NodeList. A NodeList is a list of nodes. An Element is a specific type of Node. (See the next lesson on nodes vs elements if you want more clarification).

Acting on each element

A NodeList is an array-like object—objects that look like arrays. Array-like objects have a length properties and has numbers as keys.

<div class="item">Item 1</div>
<div class="item">Item 2</div>
<div class="item">Item 3</div>
const items = document.querySelectorAll('.item')
console.log(items)
Console.log of a nodelist
A NodeList is an array-like object

If you want to do something with each element in a NodeList, you need to loop through the NodeList. The code below adds a red class to each element in the NodeList.

const items = document.querySelectorAll('.item')
for (item of items) {
  item.classList.add('red')
}

You can also use the forEach loop if you don’t want to use the for...of loop.

const items = document.querySelectorAll('.item')
items.forEach(item => item.classList.add('red'))

Note: NodeLists may not have the forEach method in older browsers. If you encounter this scenario, you can convert your NodeList into an Array with Array.from.

const elementArray = Array.from(NodeList)

Getting a specific Element from a list of NodeList

You can get items through NodeLists as if you’re getting items through arrays. To get the first item, you use an index of 0; to get the second item, you use an index of 1, and so on.

const items = document.querySelectorAll('.item')

const firstItem = items[0]
console.log(firstItem) // <div class="item">Item 1</div>

const secondItem = items[1]
console.log(secondItem) // <div class="item">Item 2</div>

Note: Do you see that we’re actually using the bracket notation to get items from objects? (Hint: NodeList is an array-like object, and array-like objects uses numbers as keys).

Alternate methods to select multiple elements

You may have heard of methods like getElementsByClassName and getElementsByTagName. You can use them if you wish to, but there’s no need for them most of the time.

They’re slightly quicker than querySelectorAll (but the speed difference is negligible most of the time), and they return live collections (live lists).

To get a more informed opinion, it may make sense to look at live vs non-live collections.

Live vs non-live collections

Lets say you have the following HTML:

<p>Paragraph 1</p>
<p>Paragraph 2</p>
<p>Paragraph 3</p>

And you’ve selected the paragraphs with both querySelectorAll and getElementsByTagName.

const liveCollection = document.getElementsByTagName('p')
const staticCollection = document.querySelectorAll('p')

At this point, both liveCollection and staticCollection refer to the same thing – the three paragraphs.

If you add another paragraph through JavaScript sometime later, liveCollection will update itself and include the fourth paragraph. staticCollection, on the other hand, will remain as the three paragraphs you selected initially.

That’s the difference between live and non-live collections.

When to use Live Collections?

Live collections seem extremely helpful since it updates automatically whenever new elements are added or removed. But we don’t use live collections much because the use cases are quite limited.

The most obvious example is this. Let’s say you have a list of elements and you want to listen to each list item.

<ul>
  <li> Item 1 </li>
  <li> Item 2 </li>
  <li> Item 3 </li>
</ul>

When you add event listeners, you may do something like this:

const listItems = document.getElementsByTagName('li')
for (const item of listItems) {
  item.addEventListener('click', _ => { /* ... */})
}

Now let’s say you add another <li> into the HTML with JavaScript. (We’ll cover how in later module).

Since live collections get updated automatically, the event listeners should also be added to the new list item… right?

Unfortunately no.

listItems only contains three items when we run the for loop over it. So event listeners will only be added to these three elements existing elements. No event listeners will be added to new elements.

If you want to listen to all <li> elements, a better way is to use the event delegation pattern (explained in a later module) which looks something like this:

const ul = document.querySelector('ul')
ul.addEventListener('click', _ => { /* ... */})

For now, just know there are live-collections and non-live collections.

Exercise

Practice selecting Elements with querySelectorAll.

<div id="star-wars">
  <div class="character" data-type="good-guy">Luke Skywalker</div>
  <div class="character" data-type="good-guy">Yoda</div>
  <div class="character" data-type="villain">Darth Vader</div>
</div>

Do the following:

  1. Select all good guys with attributes
  2. Give good guys a yay class
  3. Select all villains with attributes
  4. Give villains a nay class
  5. Select all characters through the character class
  6. Give all characters a star-wars class

Answers

  • Select all good guys with attributes
  • Give good guys a yay class
const goodGuys = document.querySelectorAll('[data-type="good-guy"]')

// Giving yay class
Array.from(goodGuys).forEach(elem => elem.classList.add('yay'))
  • Select all villains with attributes
  • Give villains a nay class
const badGuys = document.querySelectorAll('[data-type="villain"]')

// Giving nay class
Array.from(badGuys).forEach(elem => elem.classList.add('nay'))
  • Select all characters through the character class.
  • Give all characters a star-wars class
const characters = document.querySelectorAll('.character')
Array.from(characters).forEach(elem => elem.classList.add('star-wars'))