🛠️ Todolist: Editing tasks

Hey ,

I'm thrilled to help you learn JavaScript. Unfortunately, you've landed on a page where you cannot access with your current purchase.

Please upgrade (use this link) access this content.

I'm super eager to help you learn more!

🛠️ Todolist: Editing tasks

We want to allow users to edit two things:

  1. Check/uncheck the task
  2. Change the task name

Once again, anything with Ajax creates a set of interesting challenges. (You’ll see).

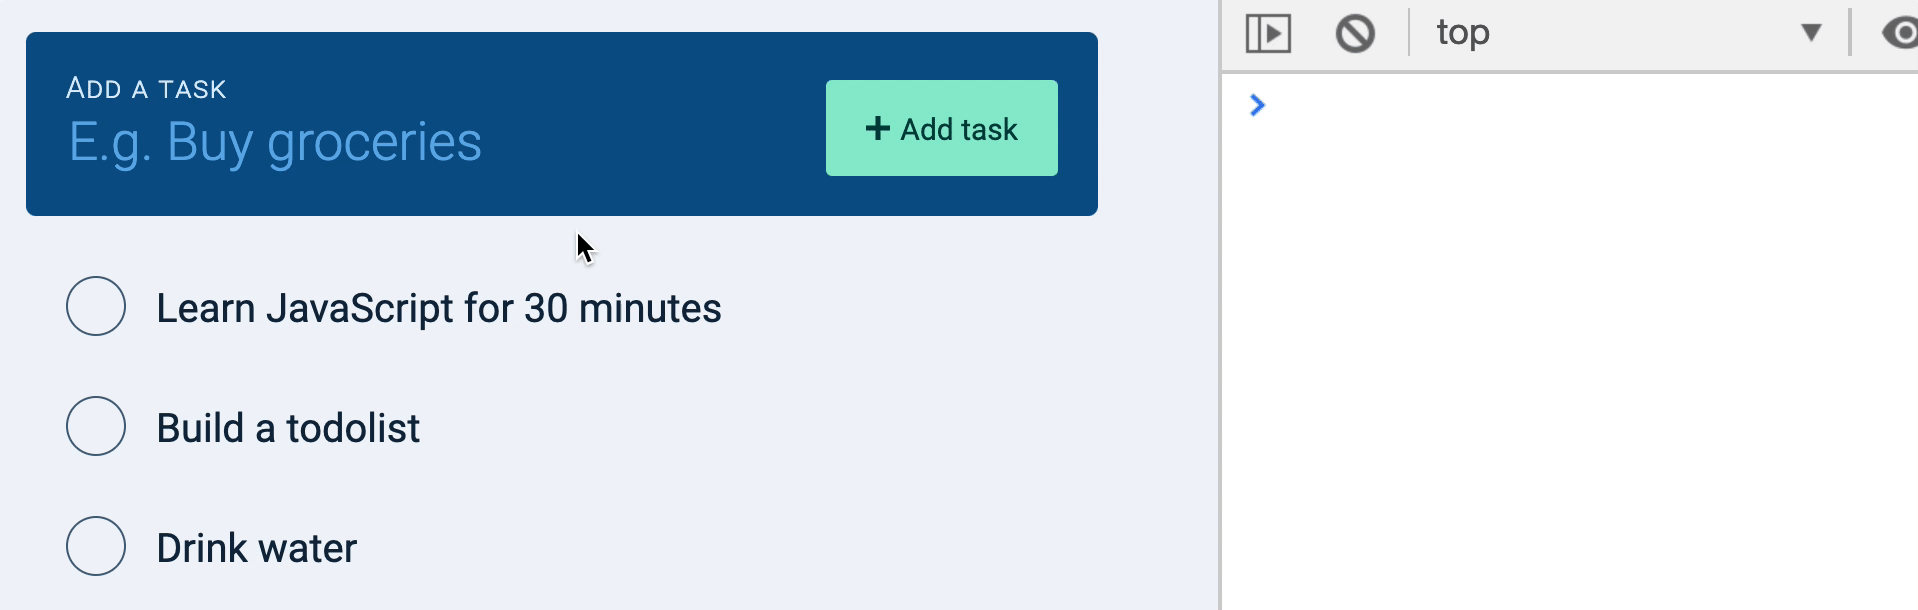
Checking/unchecking a task

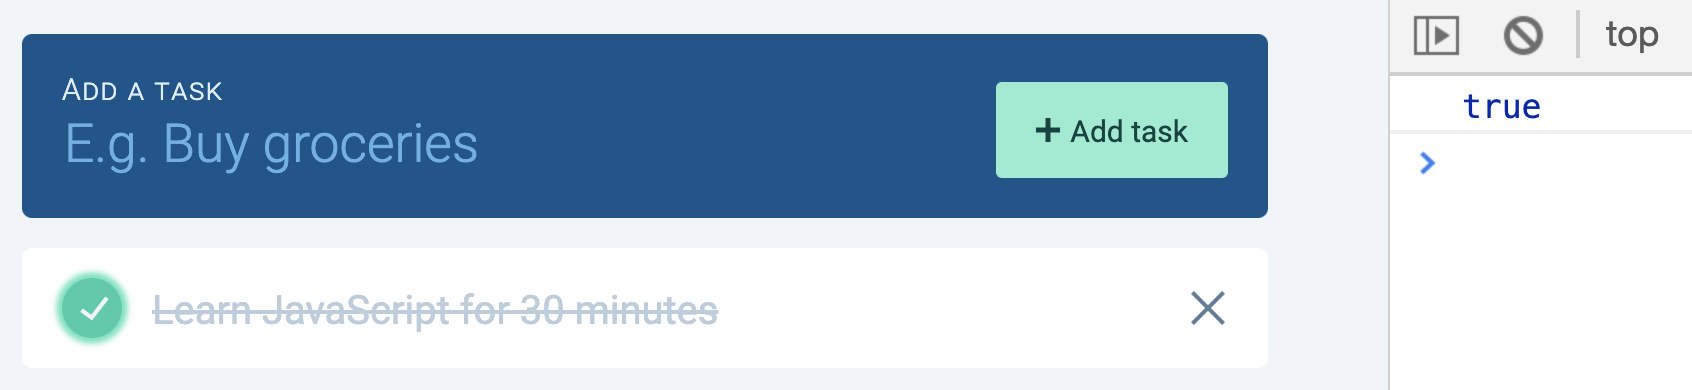
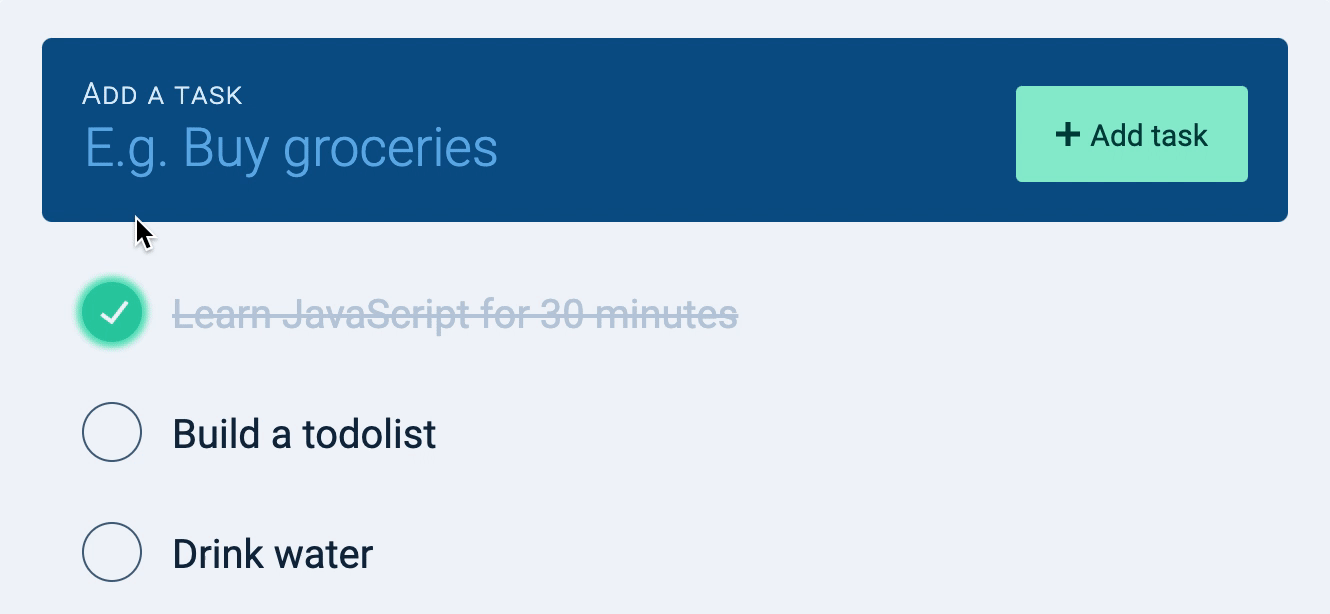
When a user clicks on a checkbox, we want to check the checkbox. This completes the task. We also want to save the completed task to the server.

When the checkbox is checked (or unchecked), it fires a change event. We can listen for this change event to know if the user checks a checkbox. Since there are many checkboxes, we can use an event delegation pattern.

taskList.addEventListener('change', event => {
  if (!event.target.matches('input[type="checkbox"]')) return
  const checkbox = event.target
  console.log(checkbox)
})
checkbox element logged into the console

The API lets us edit a task by sending a PUT request to /tasks/:id. This means we need to know the task id before we can send a request.

We can get the task id from the checkbox’s id attribute.

taskList.addEventListener('change', event => {
  // ...
  const checkbox = event.target
  const id = checkbox.id
  console.log(id)
})
ID of checkbox logged into the console.

We also need to know whether the task is done. If the task is done, the checkbox is checked. If the task is not done, the checkbox is unchecked.

taskList.addEventListener('change', event => {
  // ...
  const done = checkbox.checked
  console.log(checked)
})
If the checkbox is checked, console logs true. Otherwise, console logs false.

We’ve fulfilled the requirements to send the PUT request. Let’s send it now.

taskList.addEventListener('change', event => {
  // ...
  const checkbox = event.target
  const id = checkbox.id
  const done = checkbox.checked

  zlFetch.put(`${rootendpoint}/tasks/${id}`, {
    auth,
    body: {
      done
    }
  })
    .then(response => {
      console.log(response.body)
    })
    .catch(error => console.error(error))
})

If the PUT request is successful, we should get a response from the server that contains the updated task.

Response from server contains updated task. It has the 'id', 'name' and 'done' properties.

Fetching done tasks

If you refresh the Todolist, you’ll notice the task you completed remains unchecked.

Check first task. Refresh page. First task remains unchecked.

This happens because we did not use the done property from the fetched tasks when we make task elements.

To ensure the completed task remains checked, we need to use the done. If done is true, we set the checkbox to checked.

const makeTaskElement = ({ id, name, done }) => {
  taskElement.innerHTML = DOMPurify.sanitize(`
    <input
      type="checkbox"
      id="${id}"
      ${done ? 'checked' : ''}
    />
    ...
  `)
}

The checkbox should remain checked now.

Check task. Refresh page. Task remains checked.

And if you uncheck the checkbox and refresh the page, the task should be unchecked.

Uncheck task. Refresh page. Task remains unchecked.

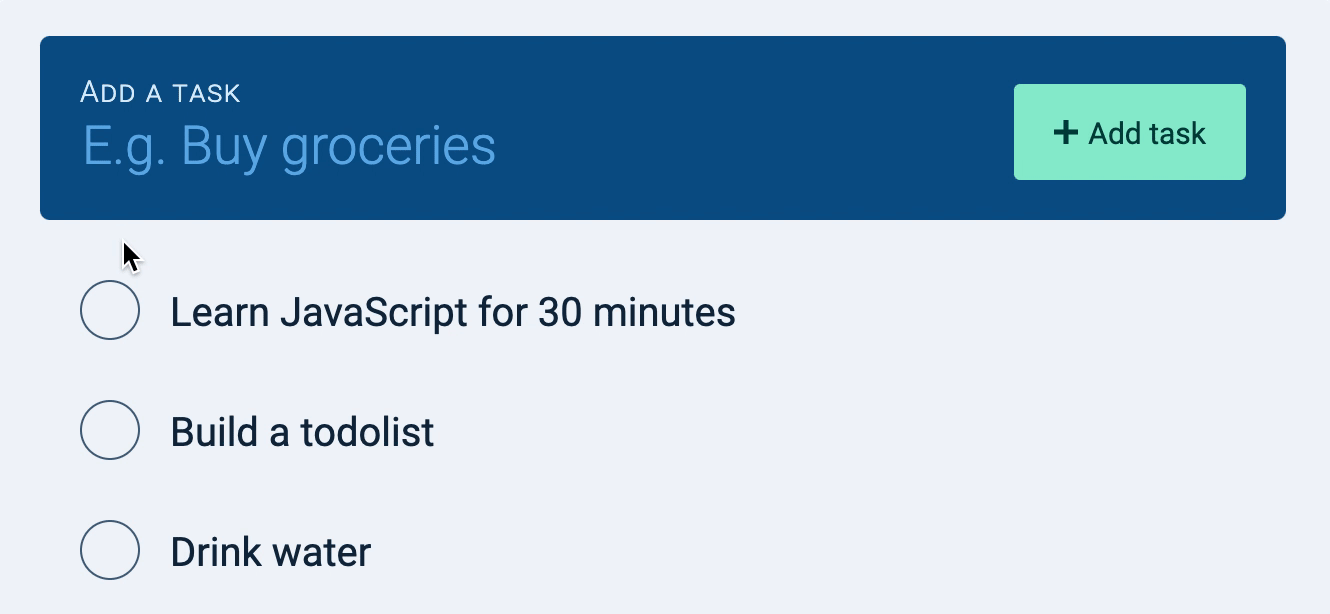
Editing the task name

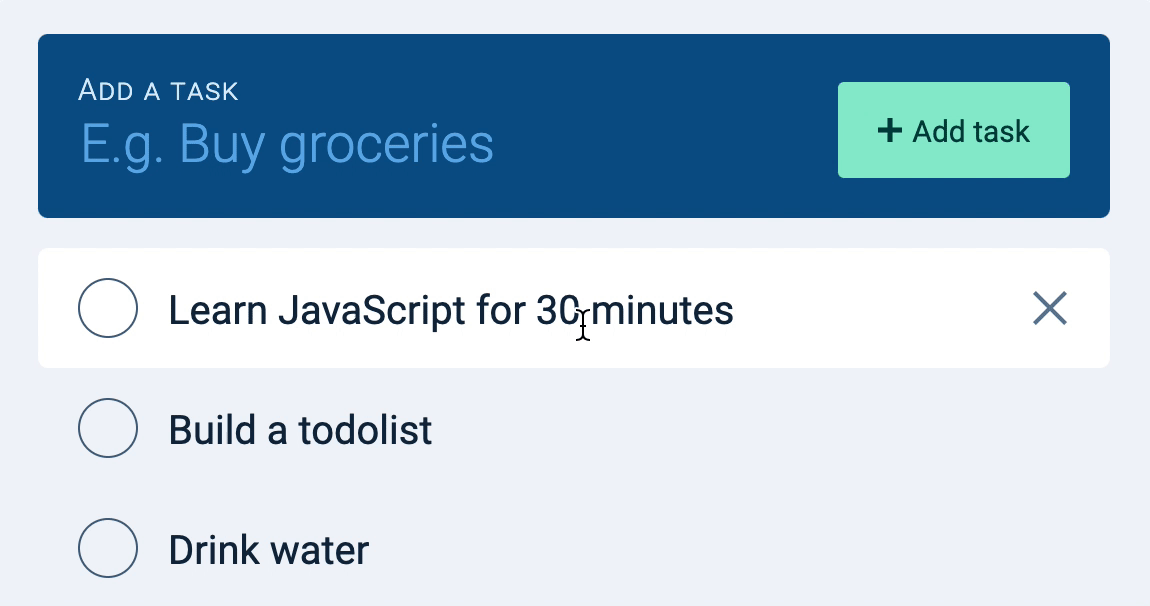
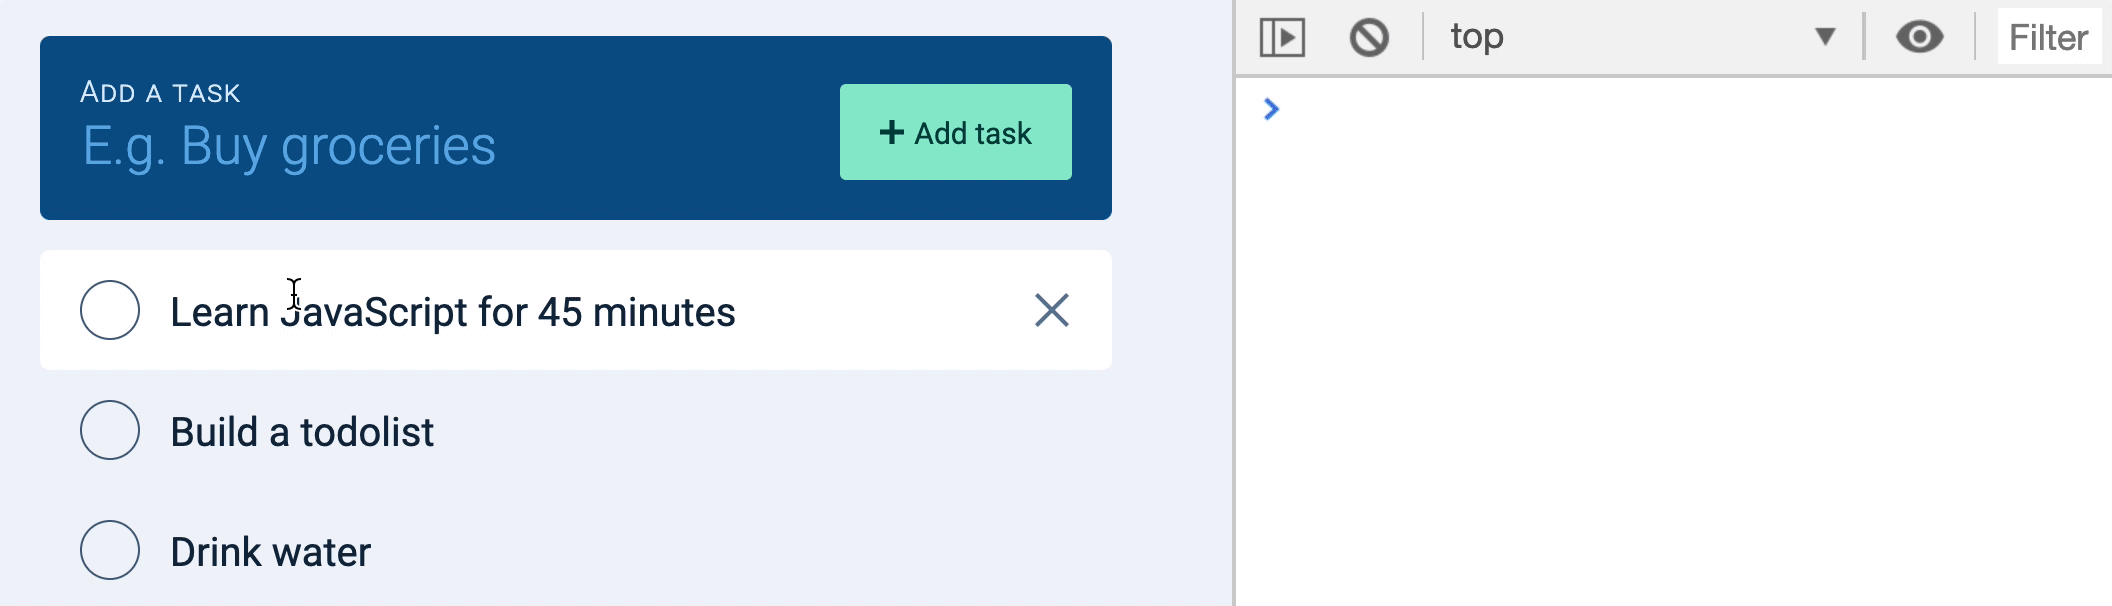
The Todolist API lets us change the name of the task as well. If we want to allow users to change the name of the task, we need to let them edit the task in the UI first.

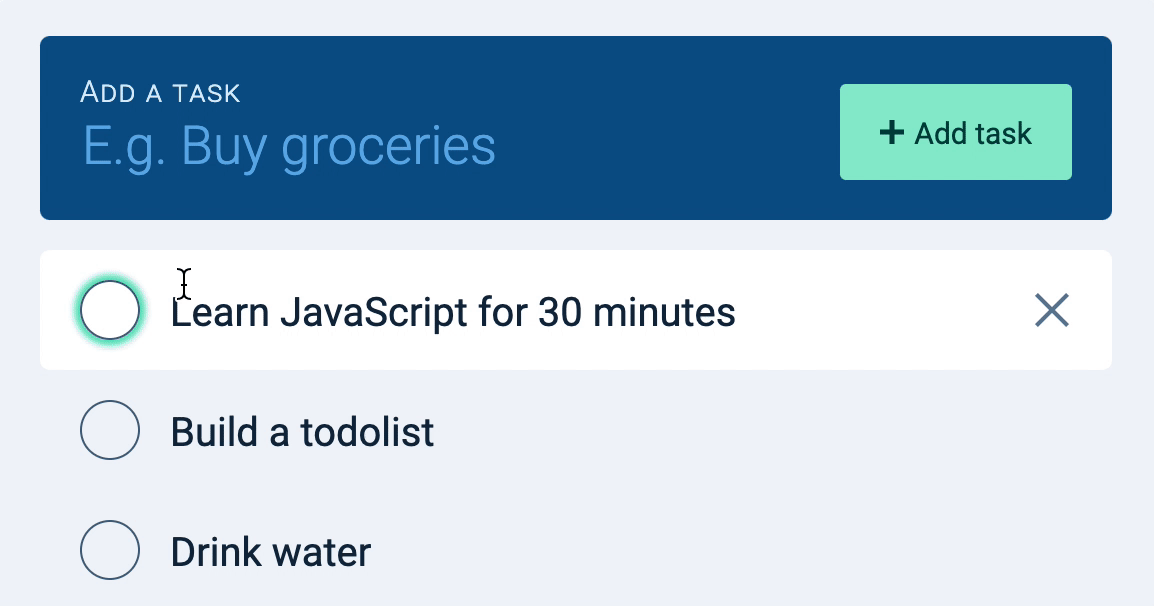
Allowing users to edit the task name

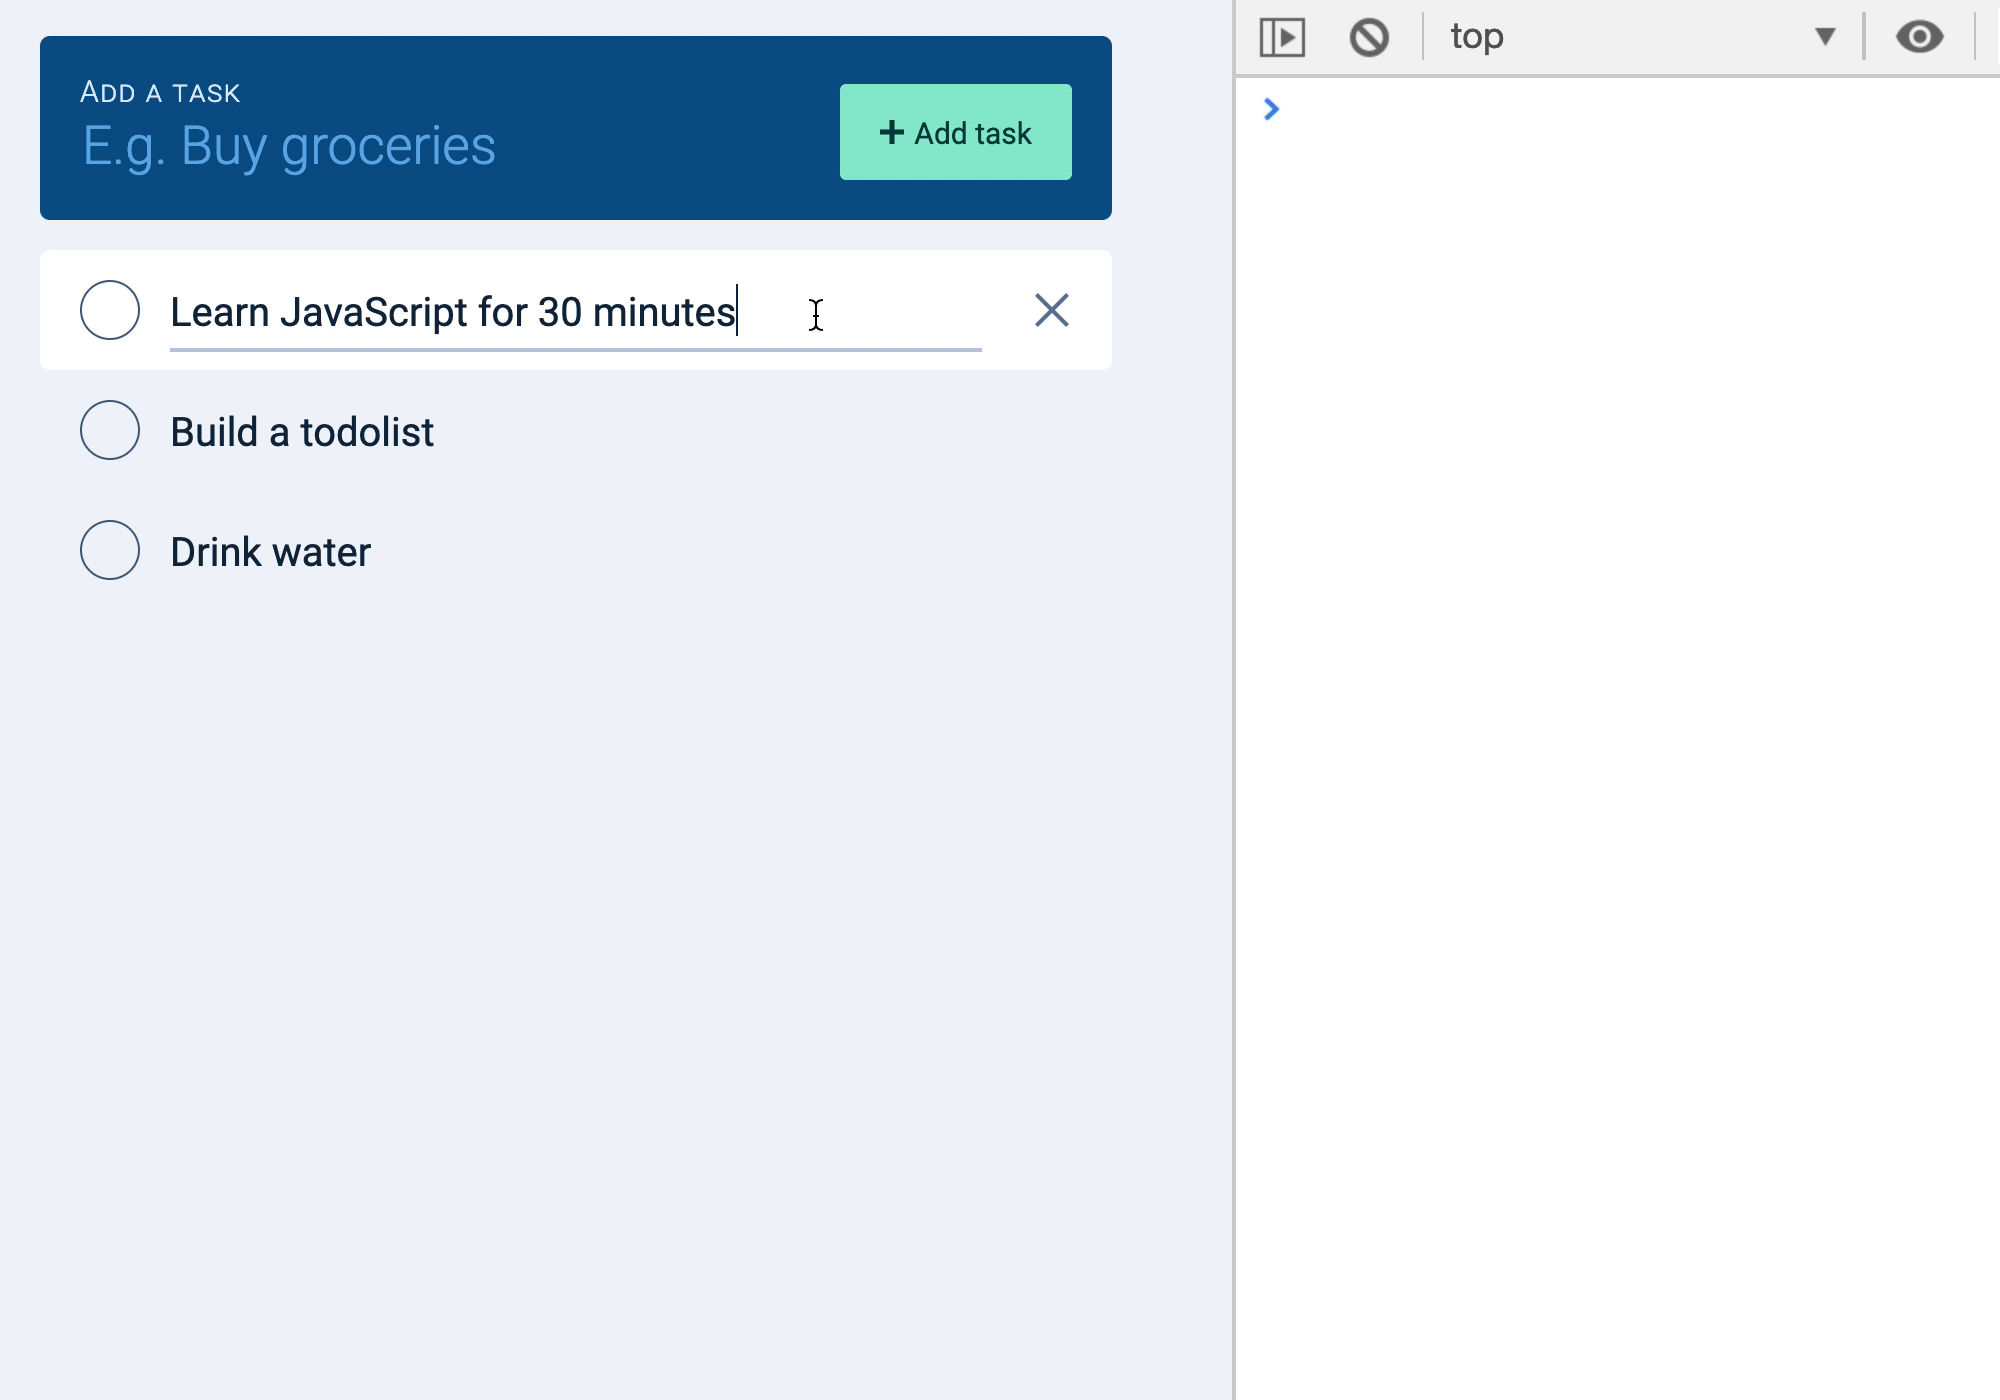
We can do this by changing the .task__name from a <span> element to an <input> element. (You have to style the <span> and <input> elements accordingly, but I did it for you already).

// Change this
const makeTaskElement = ({ id, name, done }) => {
  task.innerHTML = DOMPurify.sanitize(`
    ...
    <span class="task__name">${name}</span>
    ...
  `)
})

// To this
const makeTaskElement = ({ id, name, done }) => {
  // ...
  task.innerHTML = DOMPurify.sanitize(`
    ...
    <input class="task__name" value="${name}" />
    ...
  `)
})

With this change, users should be able to edit a task.

Click on task name. Task becomes editable.

Choosing an event to listen to

We have two options here. We can either update the database when

  1. The user types into the input field
  2. The user removes focus from the input field

The option you choose determines the event you’ll listen for:

  1. Option 1: listen for input event
  2. Option 2: listen for blur event

Both options have their pros and cons.

If you choose option 1, you might send too many requests to the server. (Because you’ll trigger a PUT request whenever a user types into the input field).

If you choose option 2, there’s a chance you don’t send anything to the server. (If the user types into the input field, but closes the tab immediately, the input field doesn’t lose focus, and the request doesn’t get sent).

Which should you choose?

Here, we’ll choose option 1 because sending too many requests beats not updating the database according to our users’ actions. (Also, because there’s a way to reduce the number of requests we send).

Saving the task name to the database

As before, because there are many tasks in the DOM, the best way is to use an event delegation pattern.

taskList.addEventListener('input', event => {
  if (!event.target.matches('.task__name')) return
  // Do something
})

First, we need to find the input value:

taskList.addEventListener('input', event => {
  if (!event.target.matches('.task__name')) return
  const input = event.target
  const inputValue = DOMPurify.sanitize(input.value.trim())
  console.log(inputValue)
})
Editing task. Console shows task name on each keystroke

To update the Todolist API, we need to know the id of the task. We can find the id from the checkbox. And we can find the checkbox by traversing upwards to the task.

taskList.addEventListener('input', event => {
  // ...
  const taskElement = input.parentElement
  const checkbox = taskElement.querySelector('input[type="checkbox"]')
  const id = checkbox.id
  console.log(id)
})
id from the checkbox of the edited task.

Once we know the checkbox’s id, we can update the task.

taskList.addEventListener('input', event => {
  if (!event.target.matches('.task__name')) return
  // ...

  zlFetch.put(`${rootendpoint}/tasks/${id}`, {
    auth,
    body: {
      name: inputValue
    }
  })
    .then(response => {
      console.log(response.body)
    })
    .catch(error => console.error(error))
})

The task should remain updated if you refresh the DOM.

Edited task remains updated after a refresh.

Updating task name and done at the same time

Did you know the input event fires whenever the checkbox checked state changes?

taskList.addEventListener('input', event => {
  console.log(event.target)

  // ...
})
Clicking on checkbox triggers a input event.

This means we can update done and name at the same time—with the input event. We don’t need two event listeners. (Less code, easier to read!).

We’ll work on this.

You can comment out (or delete) the change event listener now.

Updating the input event listener

First, we need to know we’re listening for two elements:

  1. A change in the checkbox’s checked state
  2. A change in the text value

This means event.target can either be the checkbox or the text field.

We need to find BOTH the checkbox and the text field with each event. The best way is to traverse up to the task element.

taskList.addEventListener('input', event => {
  const taskElement = event.target.parentElement
  const checkbox = taskElement.querySelector('input[type="checkbox"]')
  const taskInput = taskElement.querySelector('.task__name')

  console.log(checkbox)
  console.log(taskInput)
})
Doesn't matter whether the user clicks the checkbox or edits the task. We get the checkbox and the text field for both events.

To update the task, we need three things—the checked state, the id, and the task name.

taskList.addEventListener('input', event => {
  // ...

  const id = checkbox.id
  const done = checkbox.checked
  const name = DOMPurify.sanitize(taskInput.value.trim())
})

Once we know these three values, we can send a PUT request to update the task.

taskList.addEventListener('input', event => {
  // ...
  zlFetch.put(`${rootendpoint}/tasks/${id}`, {
    auth,
    body: {
      name,
      done
    }
  })
    .then(response => {
      console.log(response.body)
    })
    .catch(error => console.error(error))
})
Both checkbox and task name are updated on refresh.

Sending fewer requests

Since we used the input event, we send one request every time a user edits a task. That’s a lot of requests!

Sends one PUT request per input key

We want to reduce the number of requests we send because of two reasons.

First, each request cost money for the user. Requests and responses require data. More usage of data means we make users spend more money (especially if they don’t have an unlimited data plan).

Second, each request means work for the server. If we reduce requests, servers do less work. This is why many APIs have rate-limits.

How to send fewer requests

Did you notice that requests that are sent earlier get overwritten by requests that are sent later?

Since requests that are sent earlier get overwritten, it means we only need to send out the final request. (The request when a user finished editing the task).

We know the user finished editing the task when they stop typing. The best way to tell when they stop typing is use the amount of time between keystrokes as a proxy. If the user does not type anything for an amount of time, we can assume they have stopped typing.

In code, here’s what we’ll do:

  1. Set a timeout when a user begins typing. Let’s say we set the timeout for 1 second (1000ms).
  2. If the user types something in the next second, we restart the timeout for another second.
  3. If the user doesn’t type anything in the next second, we assume they stopped typing. At this point, we send the request.

The actual implementation of this timeout function is called debounce. It looks like this:

function debounce(callback, wait, immediate) {
  let timeout
  return function () {
    const context = this
    const args = arguments
    const later = function () {
      timeout = null
      if (!immediate) callback.apply(context, args)
    }
    const callNow = immediate && !timeout
    clearTimeout(timeout)
    timeout = setTimeout(later, wait)
    if (callNow) callback.apply(context, args)
  }
}

Basically, debounce lets you:

  1. Set a timer for X milliseconds.
  2. If the debounced function gets called again within X milliseconds, restart the timer.
  3. If X milliseconds passed and debounced function did not get called, trigger the callback.

(I won’t be explaining how to build debounce in this course. You will be able to figure it out after learning about apply and other advanced JavaScript features later).

Here’s how you use debounce:

const debouncedFunction = debounce(callback, wait)

If you want to wait for 1 second (1000ms), you set wait to 1000.

const debouncedFunction = debounce(callback, 1000)

callback is the function we want to call. In this case, it’s the callback for the event listener.

const debouncedFunction = debounce(event => {
  const taskElement = event.target.parentElement
  const checkbox = taskElement.querySelector('input[type="checkbox"]')
  const taskInput = taskElement.querySelector('.task__name')

  const id = checkbox.id
  const done = checkbox.checked
  const name = DOMPurify.sanitize(taskInput.value.trim())

  zlFetch.put(`${rootendpoint}/tasks/${id}`, {
    auth,
    body: {
      name,
      done
    }
  })
    .then(response => {
      console.log(response.body)
    })
    .catch(error => console.error(error))
}, 1000)

Finally, we want to trigger debouncedFunction when the user edits a task.

taskList.addEventListener('input', debouncedFunction)
Task debounced for one second.

Putting it together in one step:

taskList.addEventListener('input', debounce(event => {
  const taskElement = event.target.parentElement
  const checkbox = taskElement.querySelector('input[type="checkbox"]')
  const taskInput = taskElement.querySelector('.task__name')

  const id = checkbox.id
  const done = checkbox.checked
  const name = DOMPurify.sanitize(taskInput.value.trim())

  zlFetch.put(`${rootendpoint}/tasks/${id}`, {
    auth,
    body: {
      name,
      done
    }
  })
    .then(response => {
      console.log(response.body)
    })
    .catch(error => console.error(error))
}, 1000))

Don’t wait for too long

Debounce can introduce a problem if you wait too long. In the example below, one request was sent even though three tasks were changed.

Changed three tasks quickly. Some tasks were not saved.
Task 1 and task 2 did not get saved. Task 3 did.

This happened because we debounced all input events on <ul>.

One way to fix the problem is to listen (and debounce) input events for each task (which means we don’t use the event delegation pattern). The downside to this approach is we have lots of event listeners.

Another way to fix the debounce problem is simply to reduce the debounce duration. In this example, I reduced the debounced duration to 250ms and all three tasks got saved.

taskList.addEventListener('input', debounce(/*...*/, 250))
Changed three tasks quickly. All tasks were saved.

What you choose depends on your situation. In this case, I’d say setting a debounce to 250ms works.